Symptoms: Customers states when trying to turn key the car dies and all the dash lights turn off.
Tech: When testing the battery, it was at 9 volts. After hooking up the car to a power source of 14 volts it starts up without issue. The Alternator was charging to a proper voltage ( 13.5-14 volts). The car ran for 15-20 minutes and the battery was at a full charge. When the car tried to start on its own power it was starting very weak. The battery voltage would surge very low when trying to start the car and then the car would start. We had diagnosed that the starter motor was slowly draining and battery and the motor was turning very slow and not starting the engine.
This is step by step of removing the starter and installing the new unit.
1 . Unbolt battery strap. and move it to the side, do not unbolt the other side.
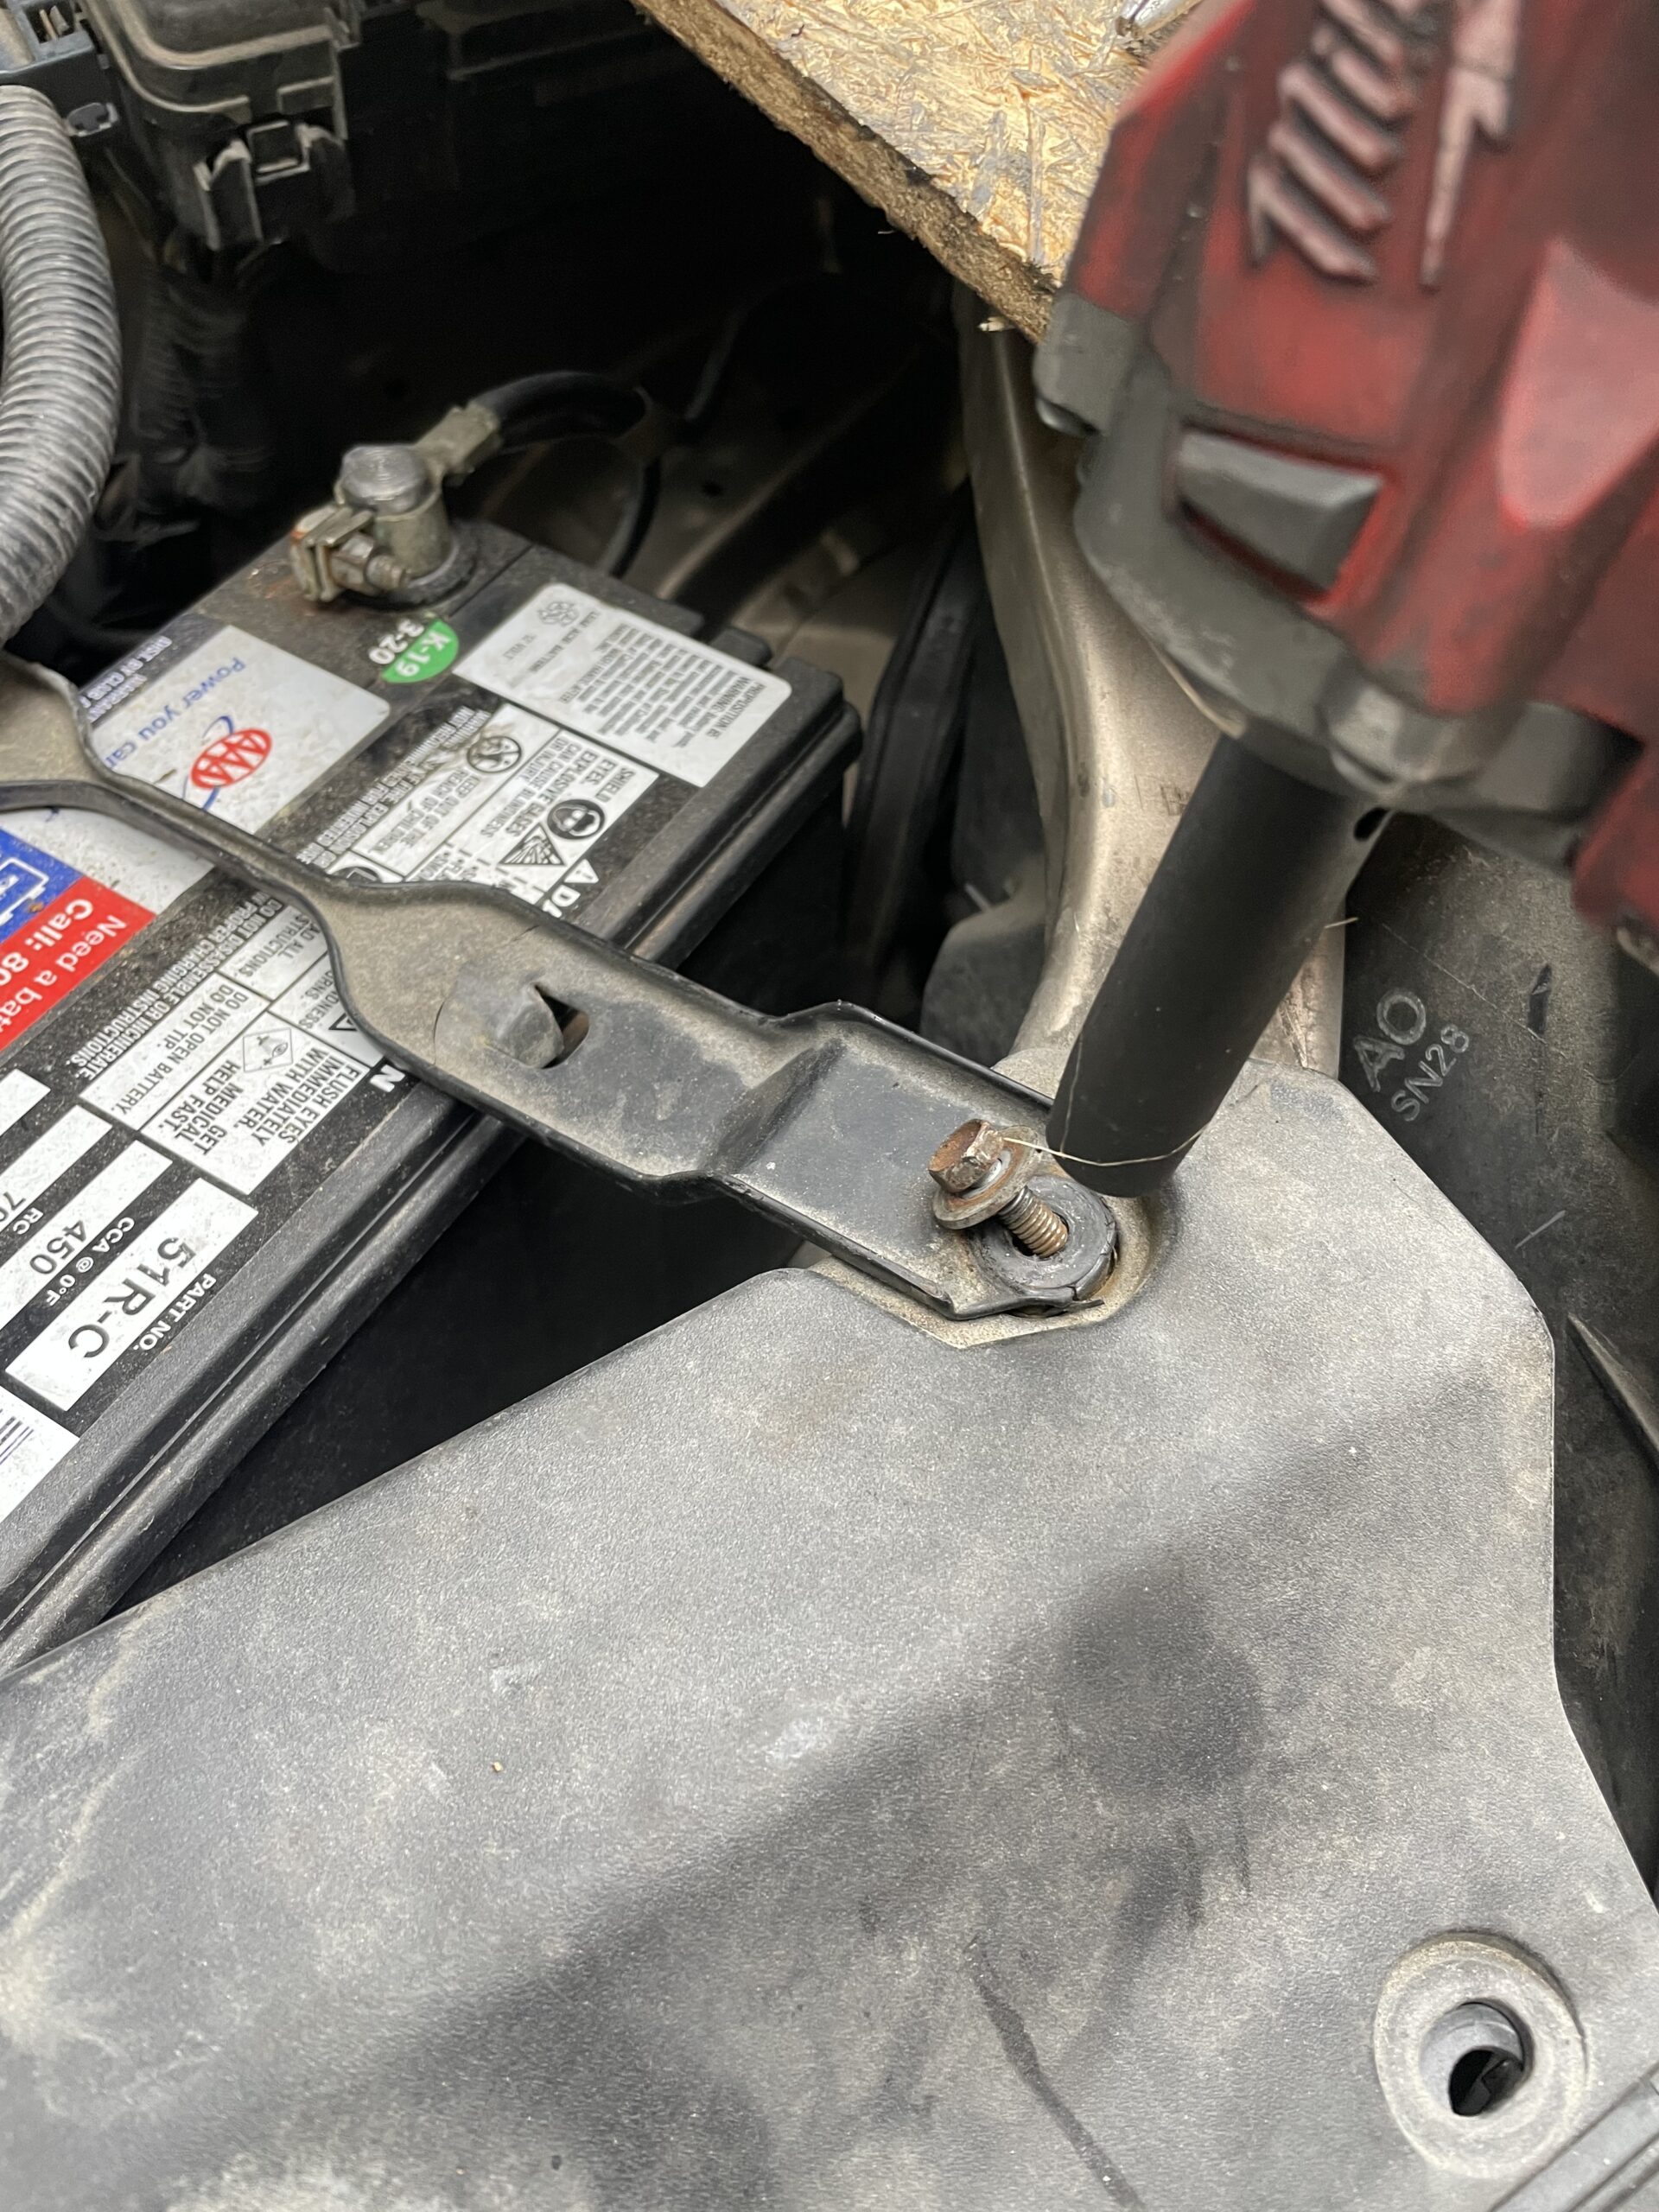

2. Using a 10mm. Unbolt the positive and negative terminals. Then pick up the battery and put it to the side.

3. Remove the battery tray. Put to the side.
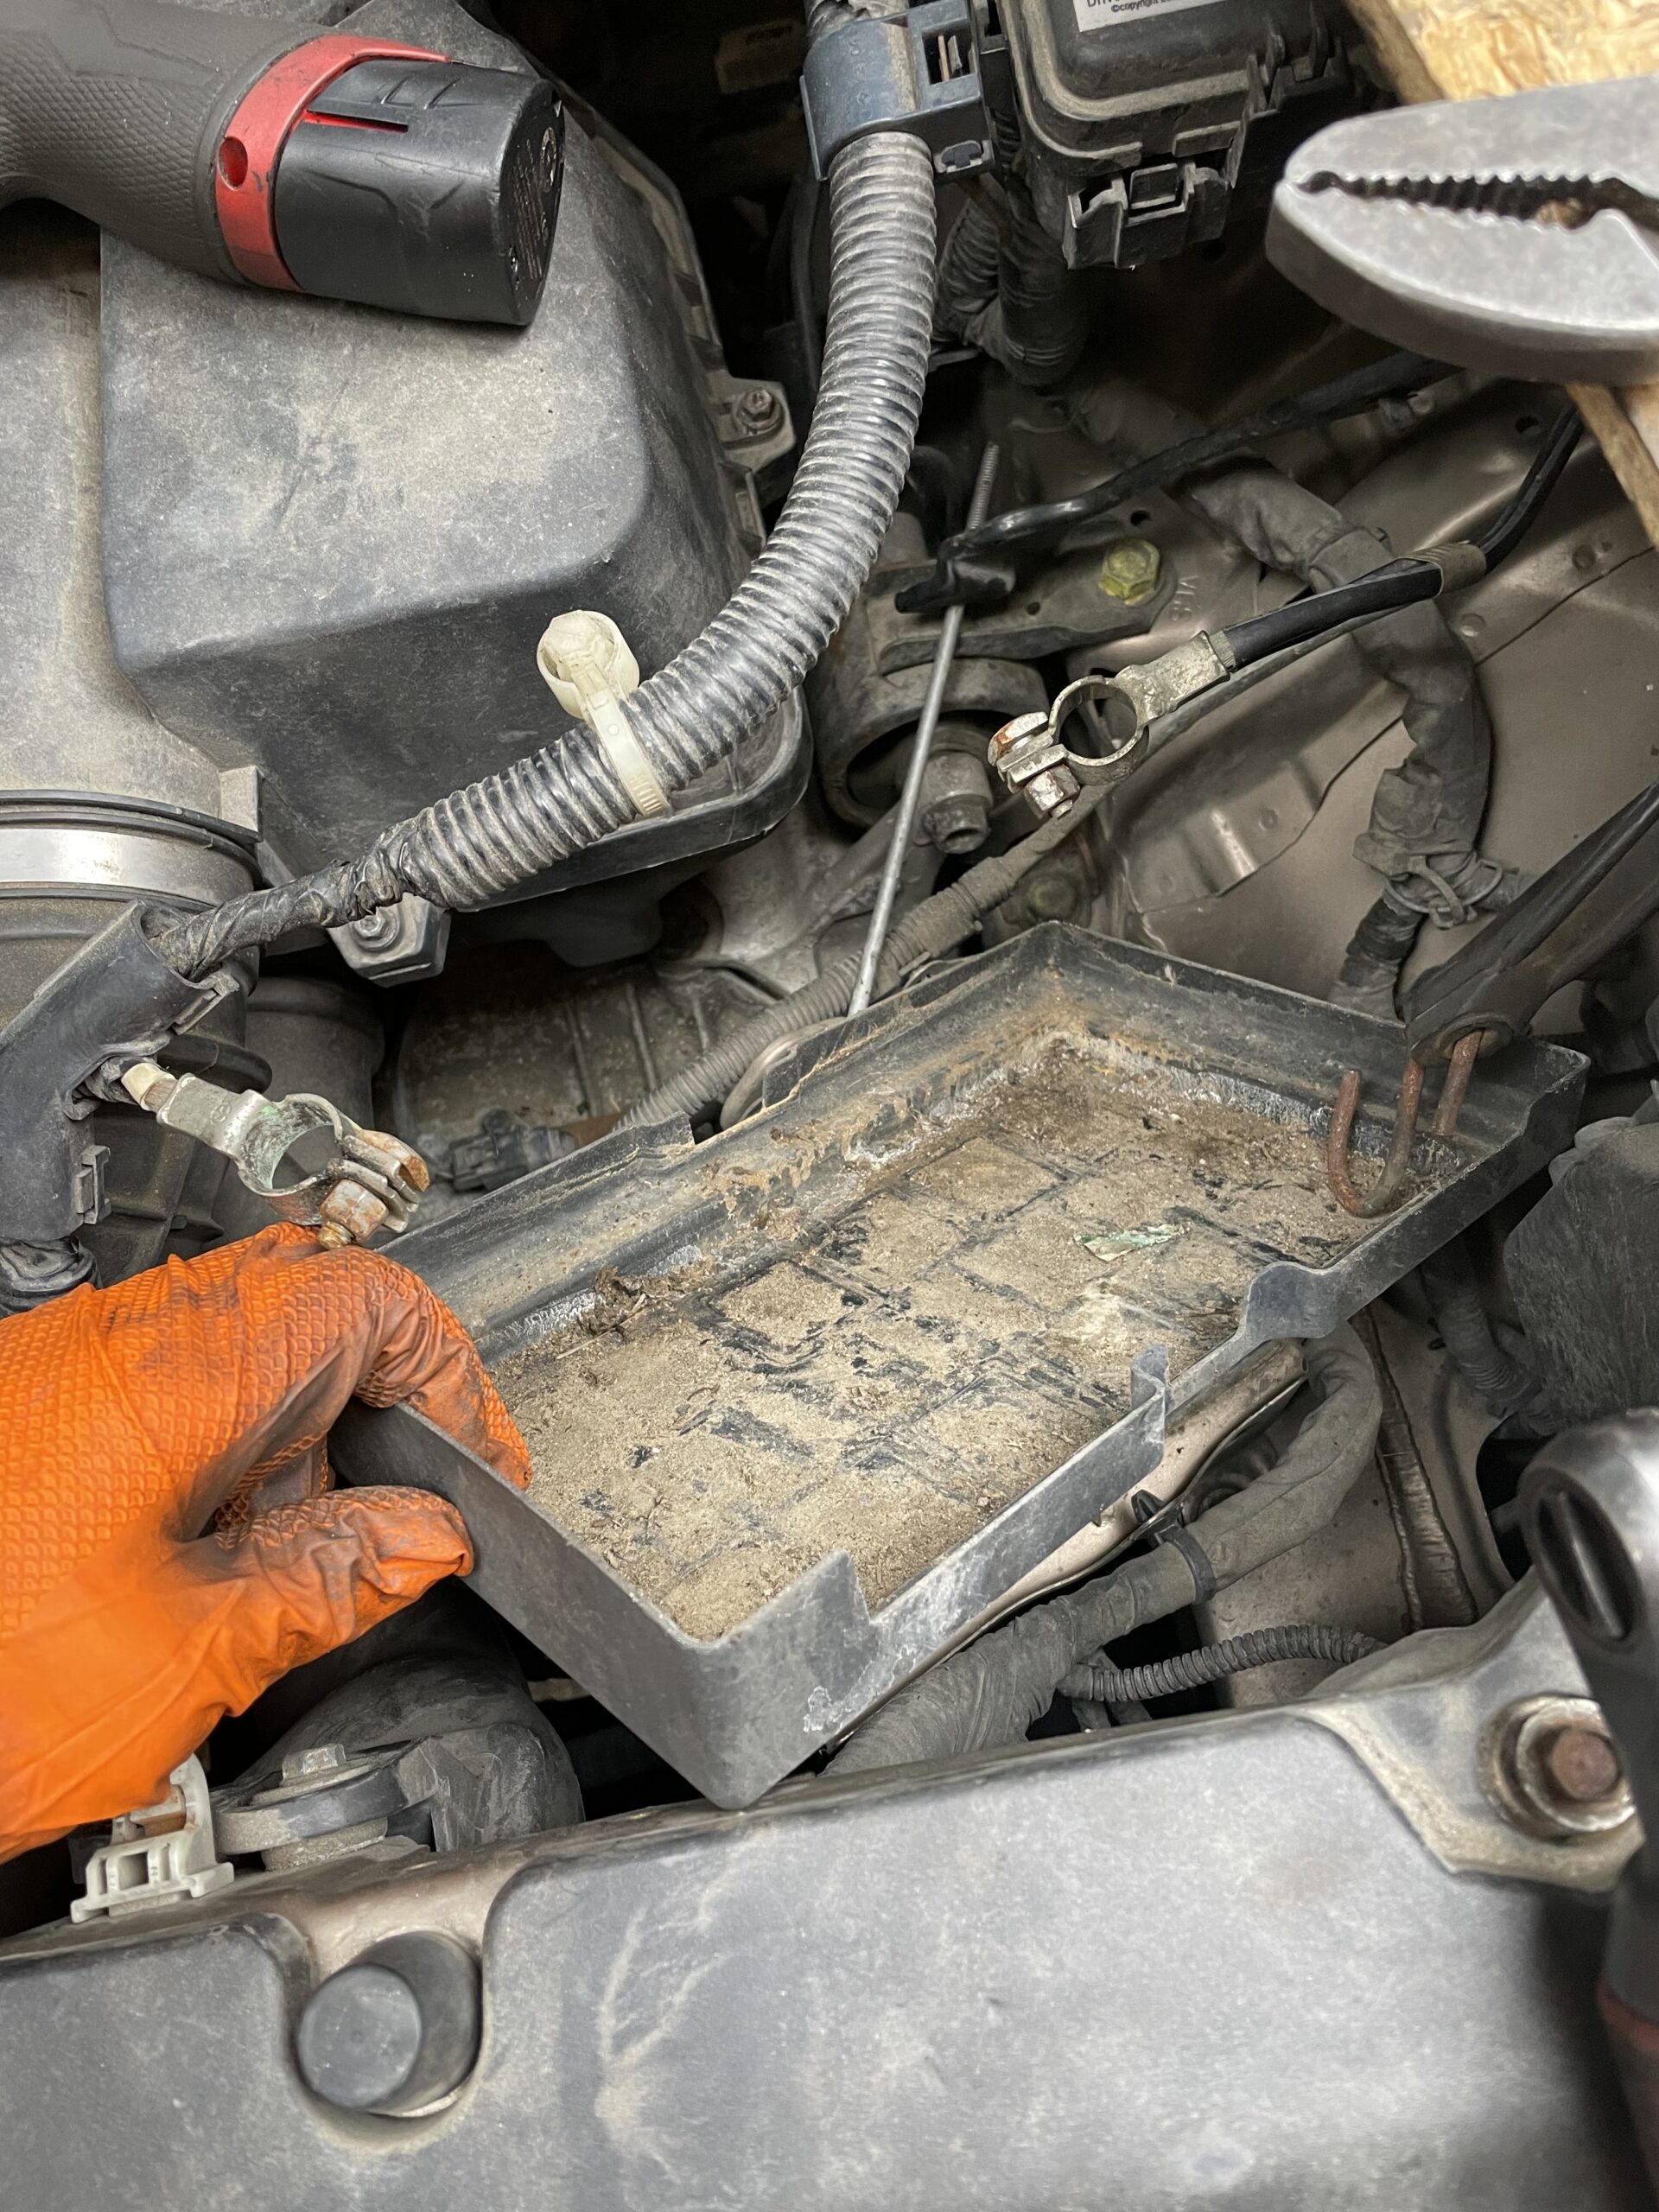
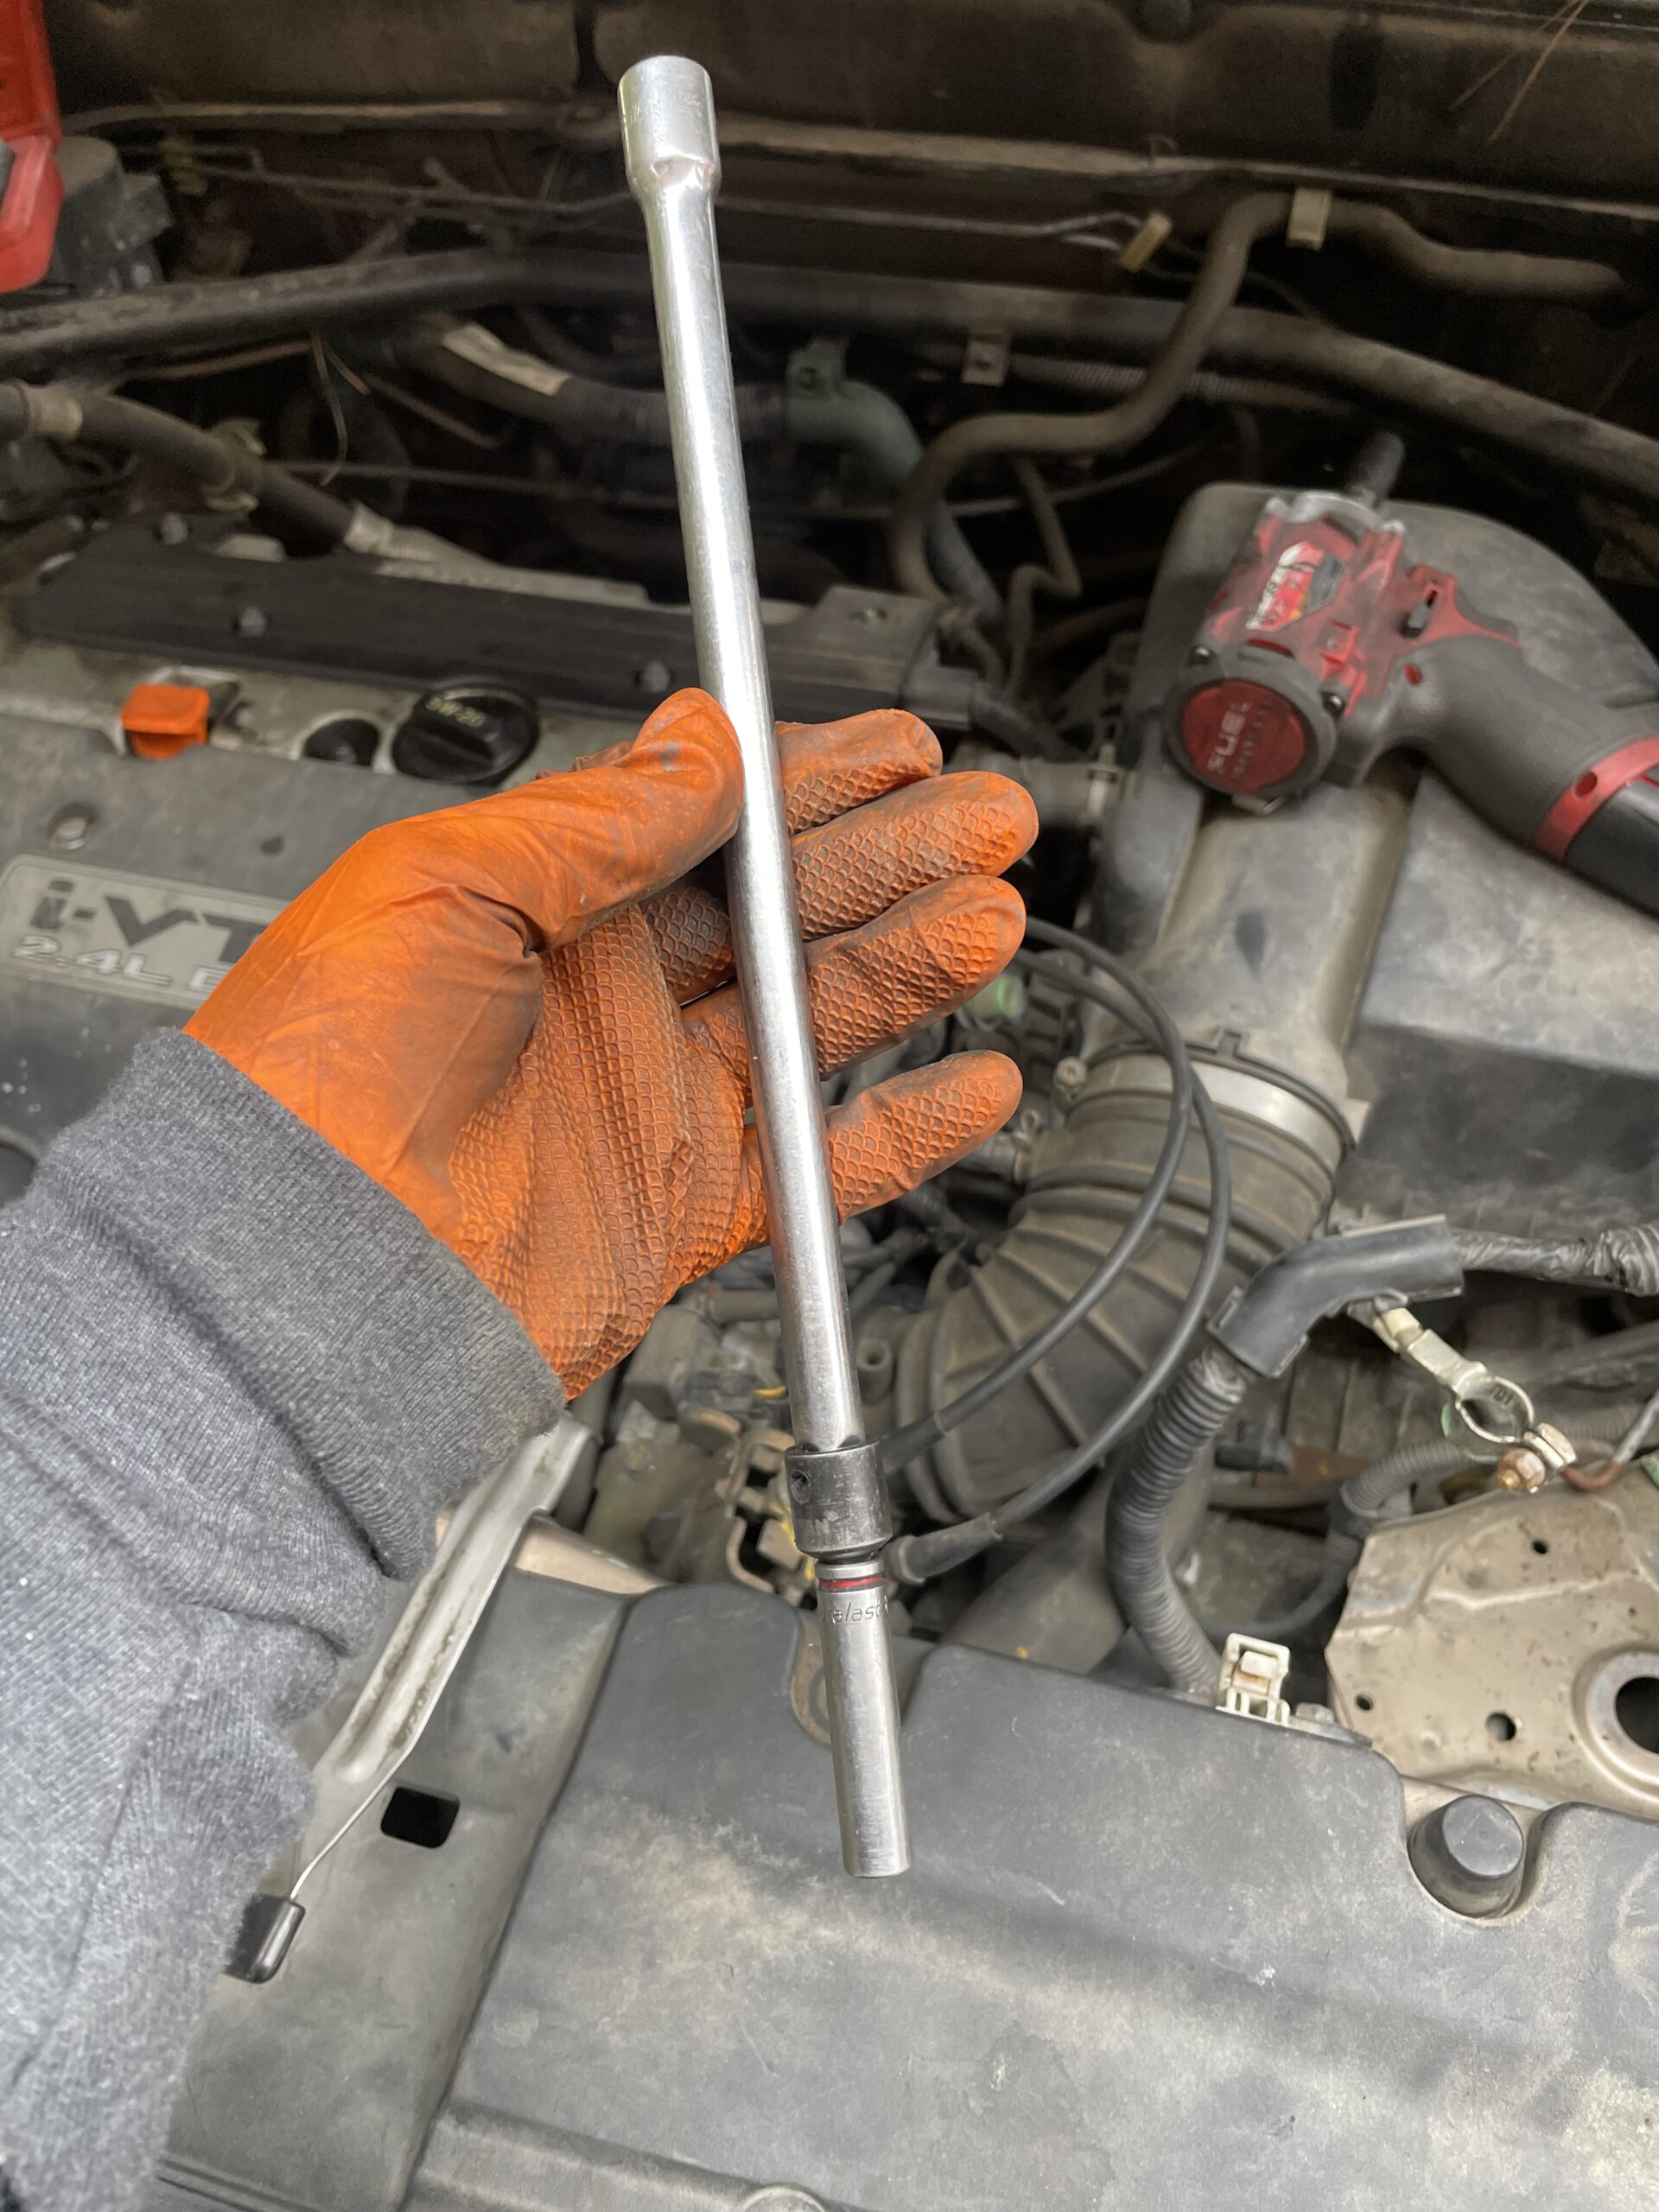
4. Using a long extension with a 8mm. Unbolt all of the bolts holing on to the top of the air box.


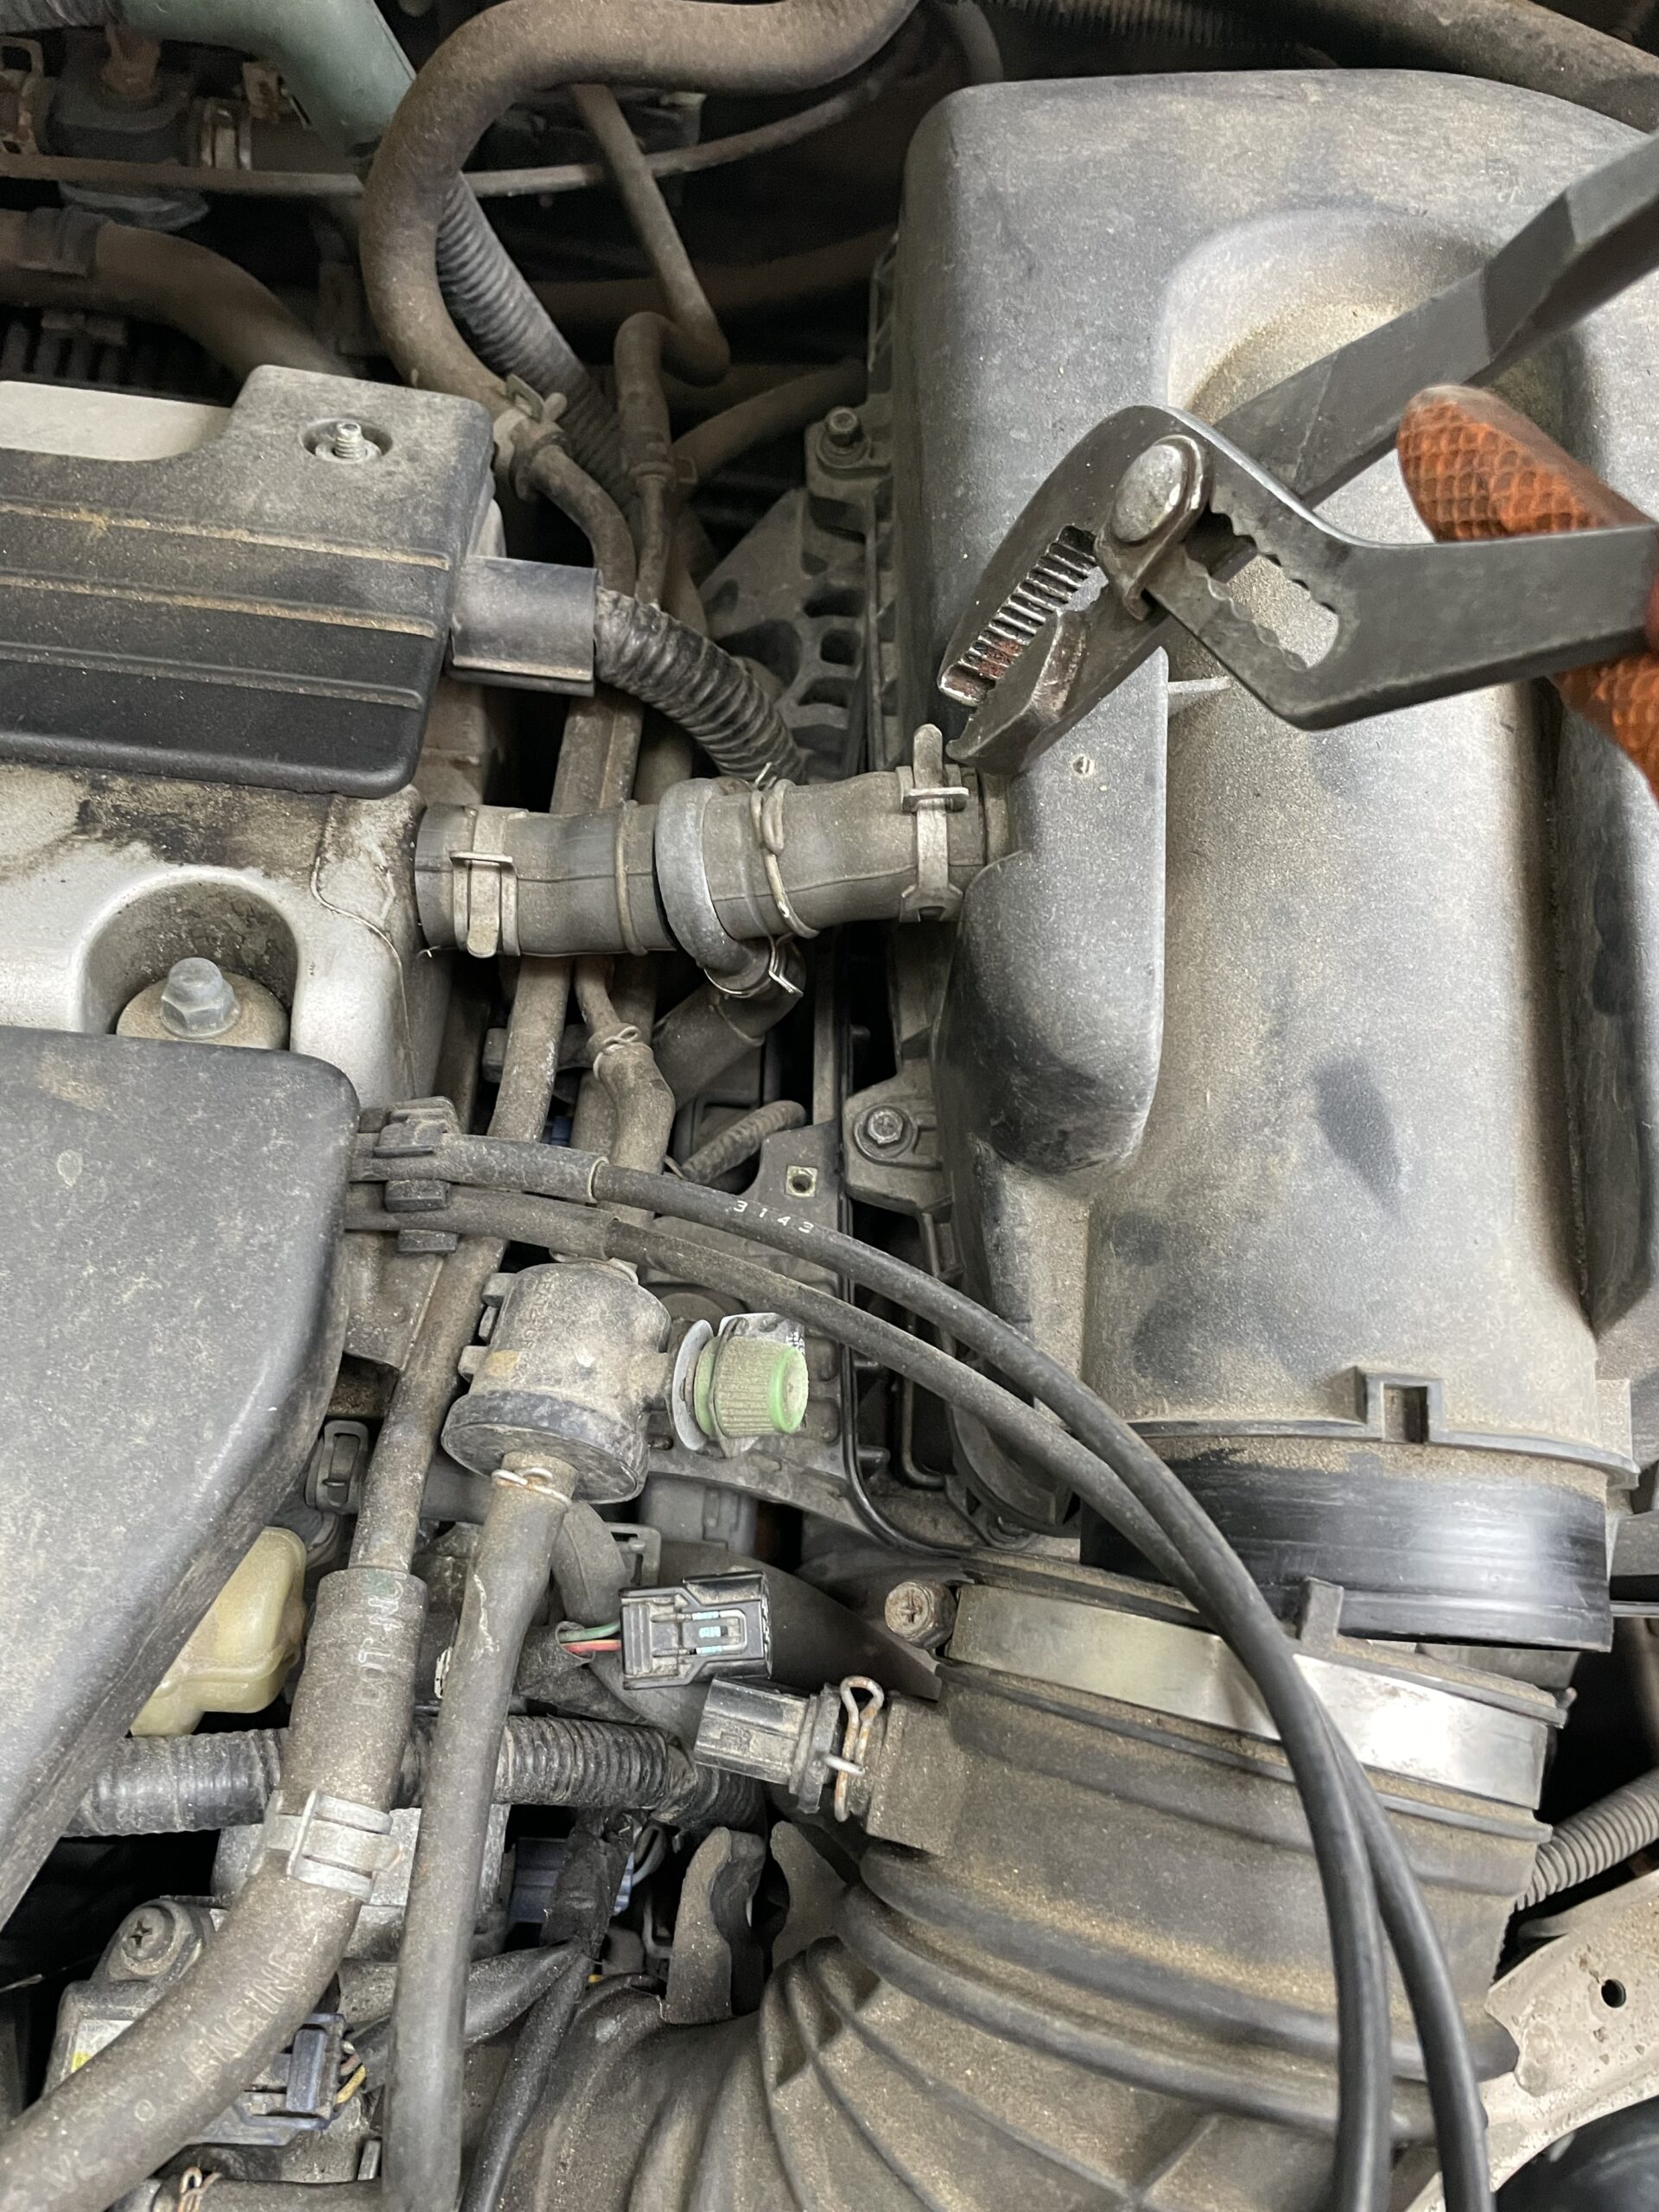
5. Un-clip the vacuum hose.
6. Undo the mass air flow sensor.

7. Wiggle the air box top and pull it up and out of the way.


8. Unbolt the 10mm bolts VTEC cover.
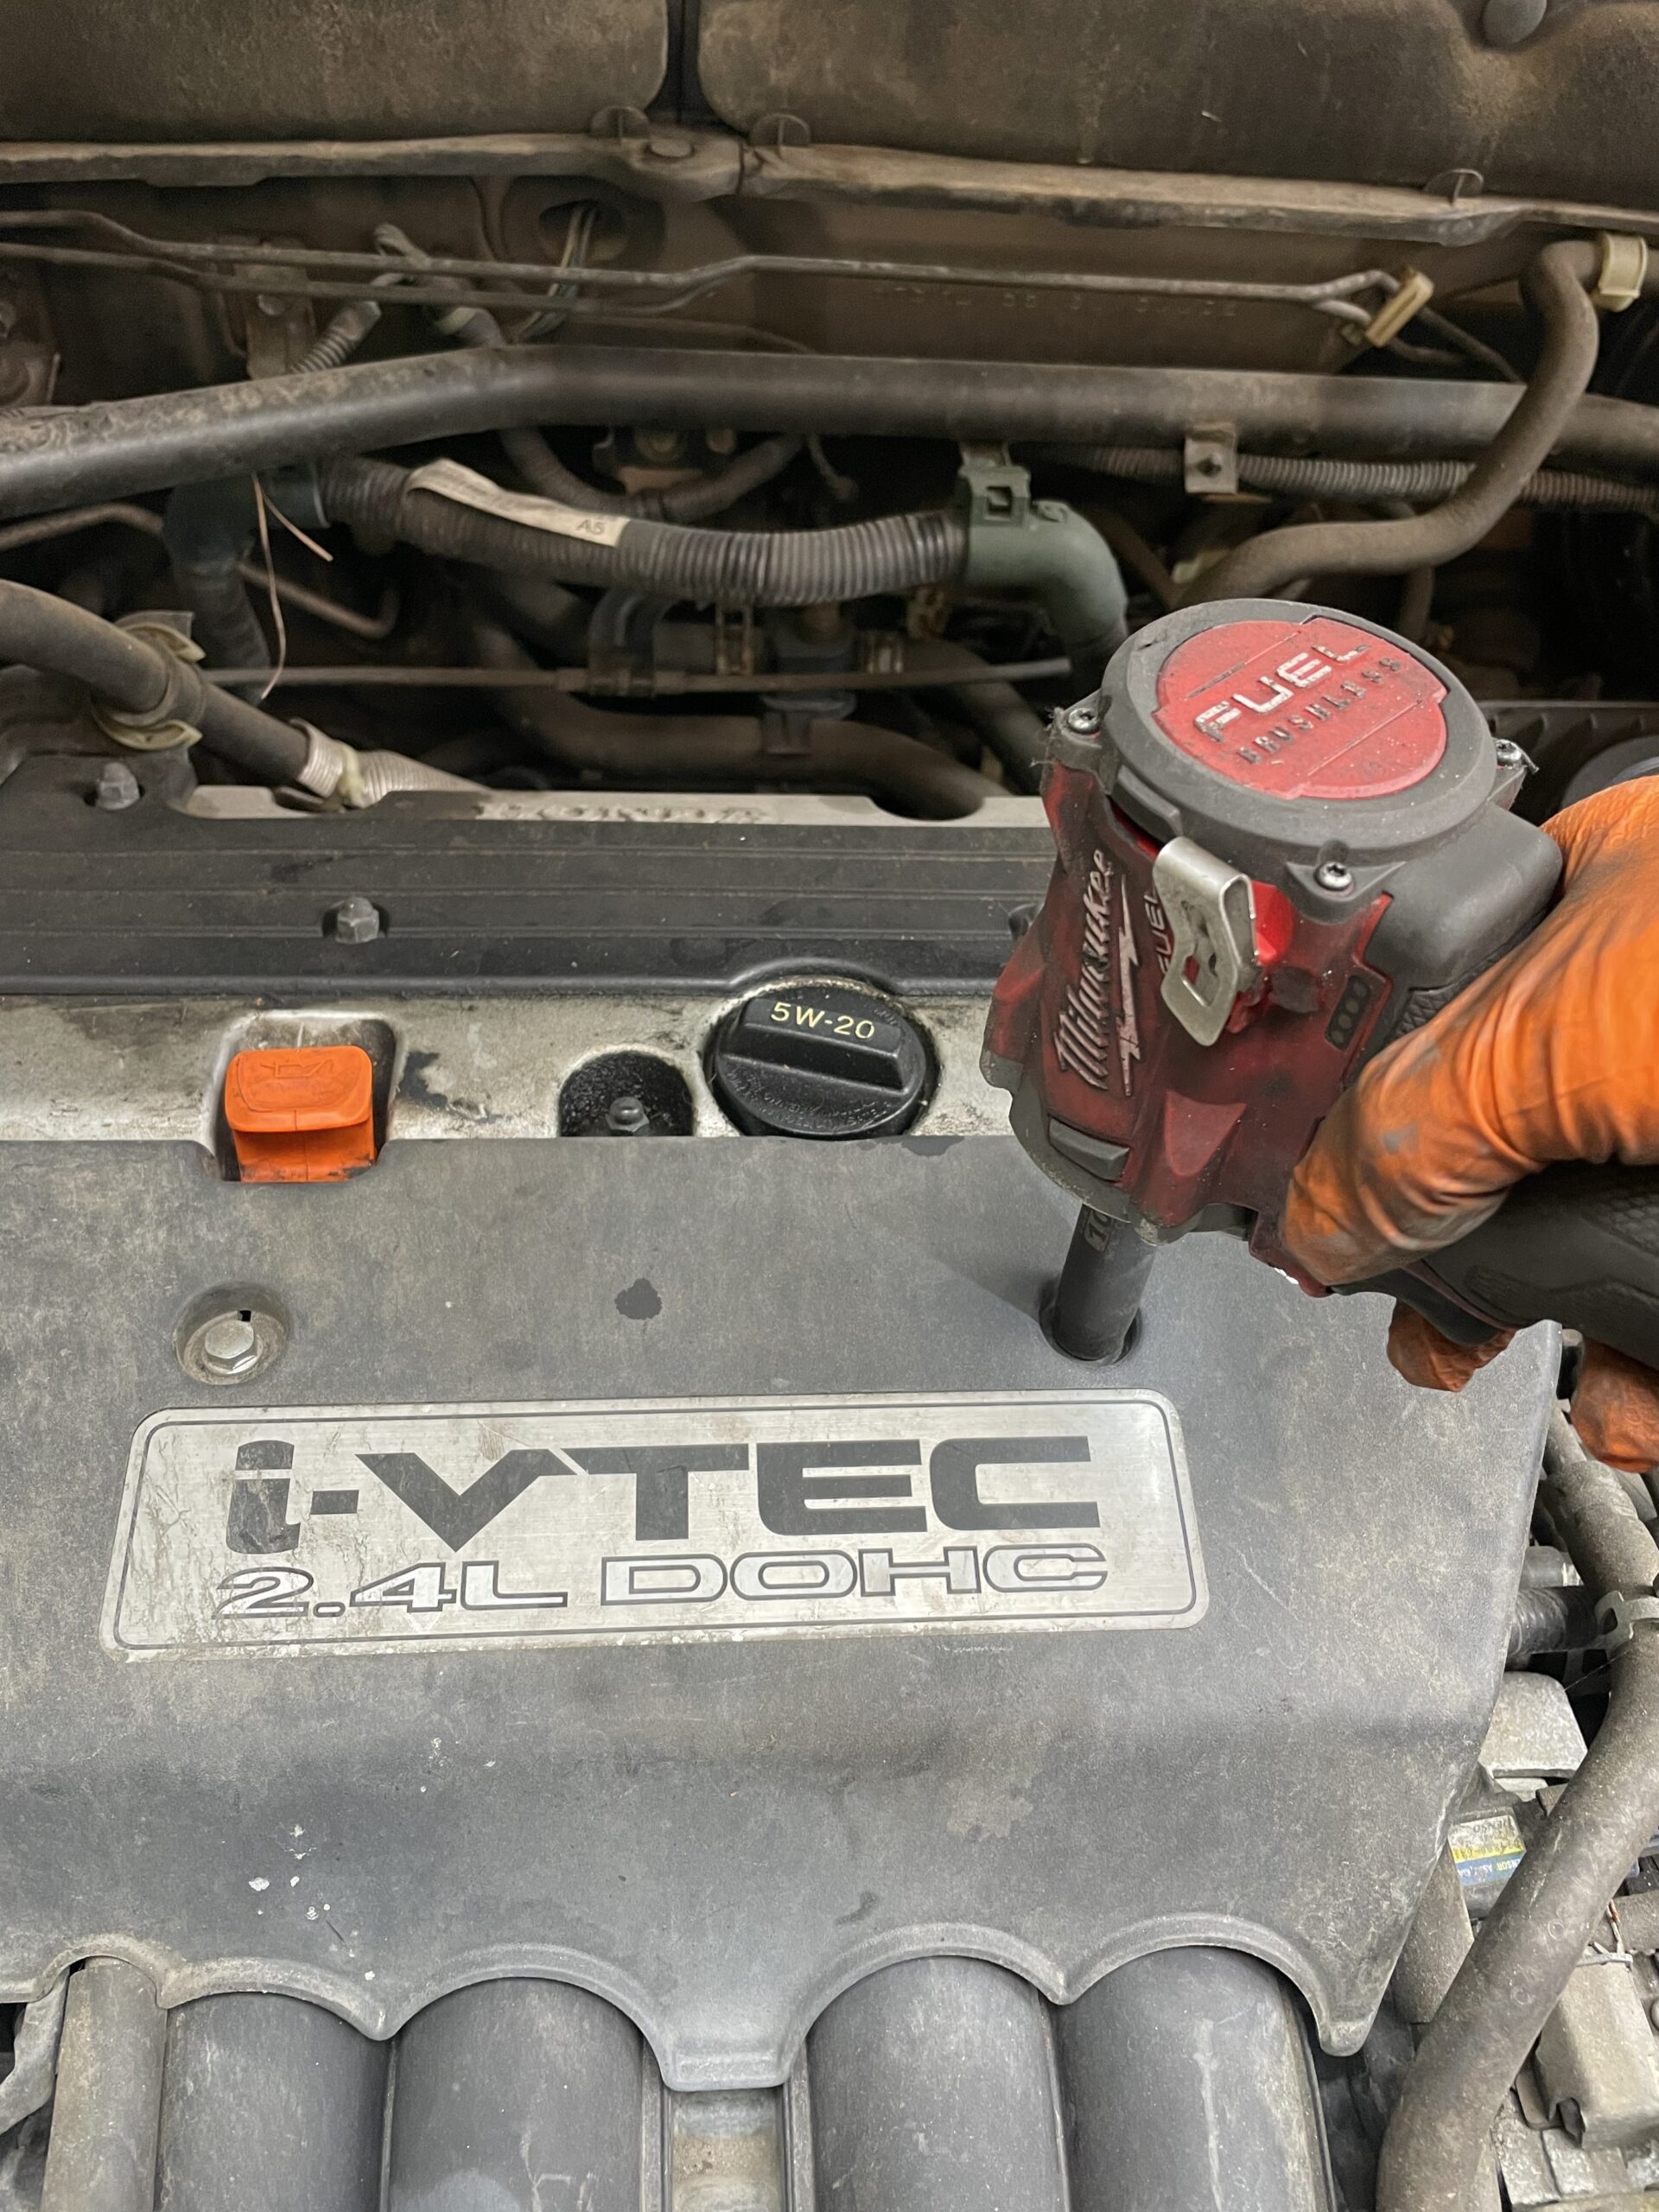
9. Start unplugging everything on the throttle body. Keep track of everything.
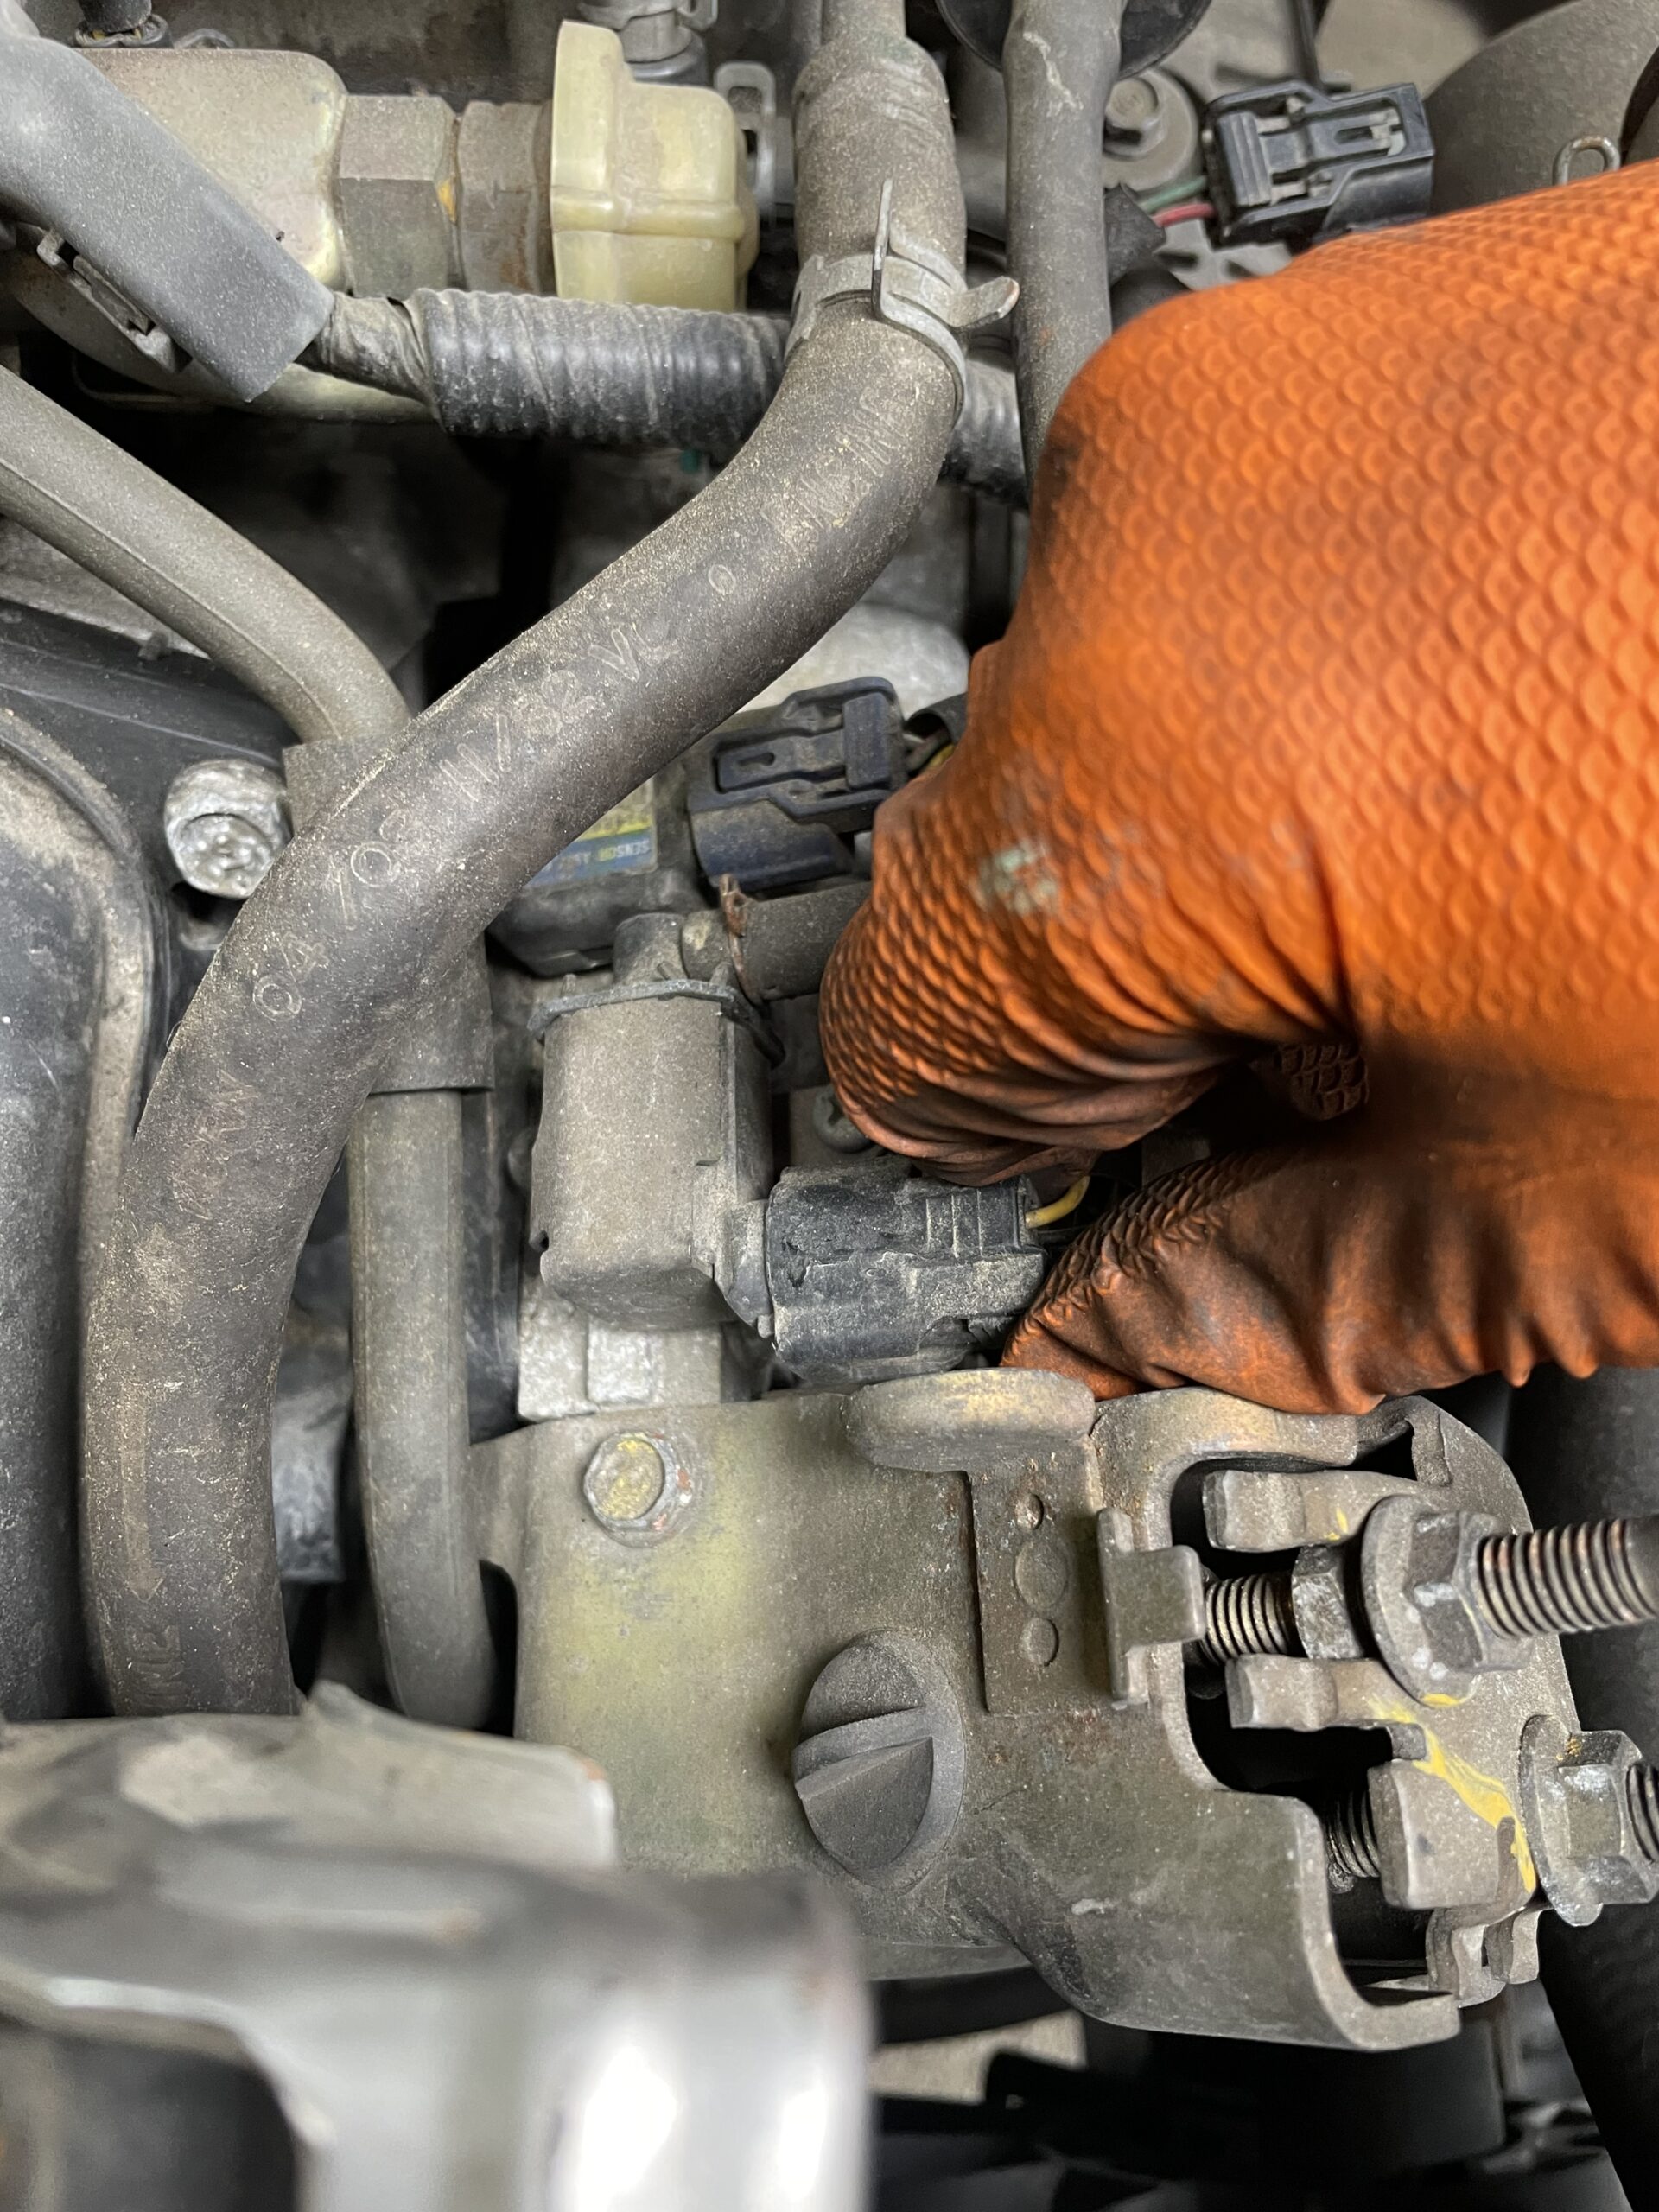
10. Unplug this vacuum line.
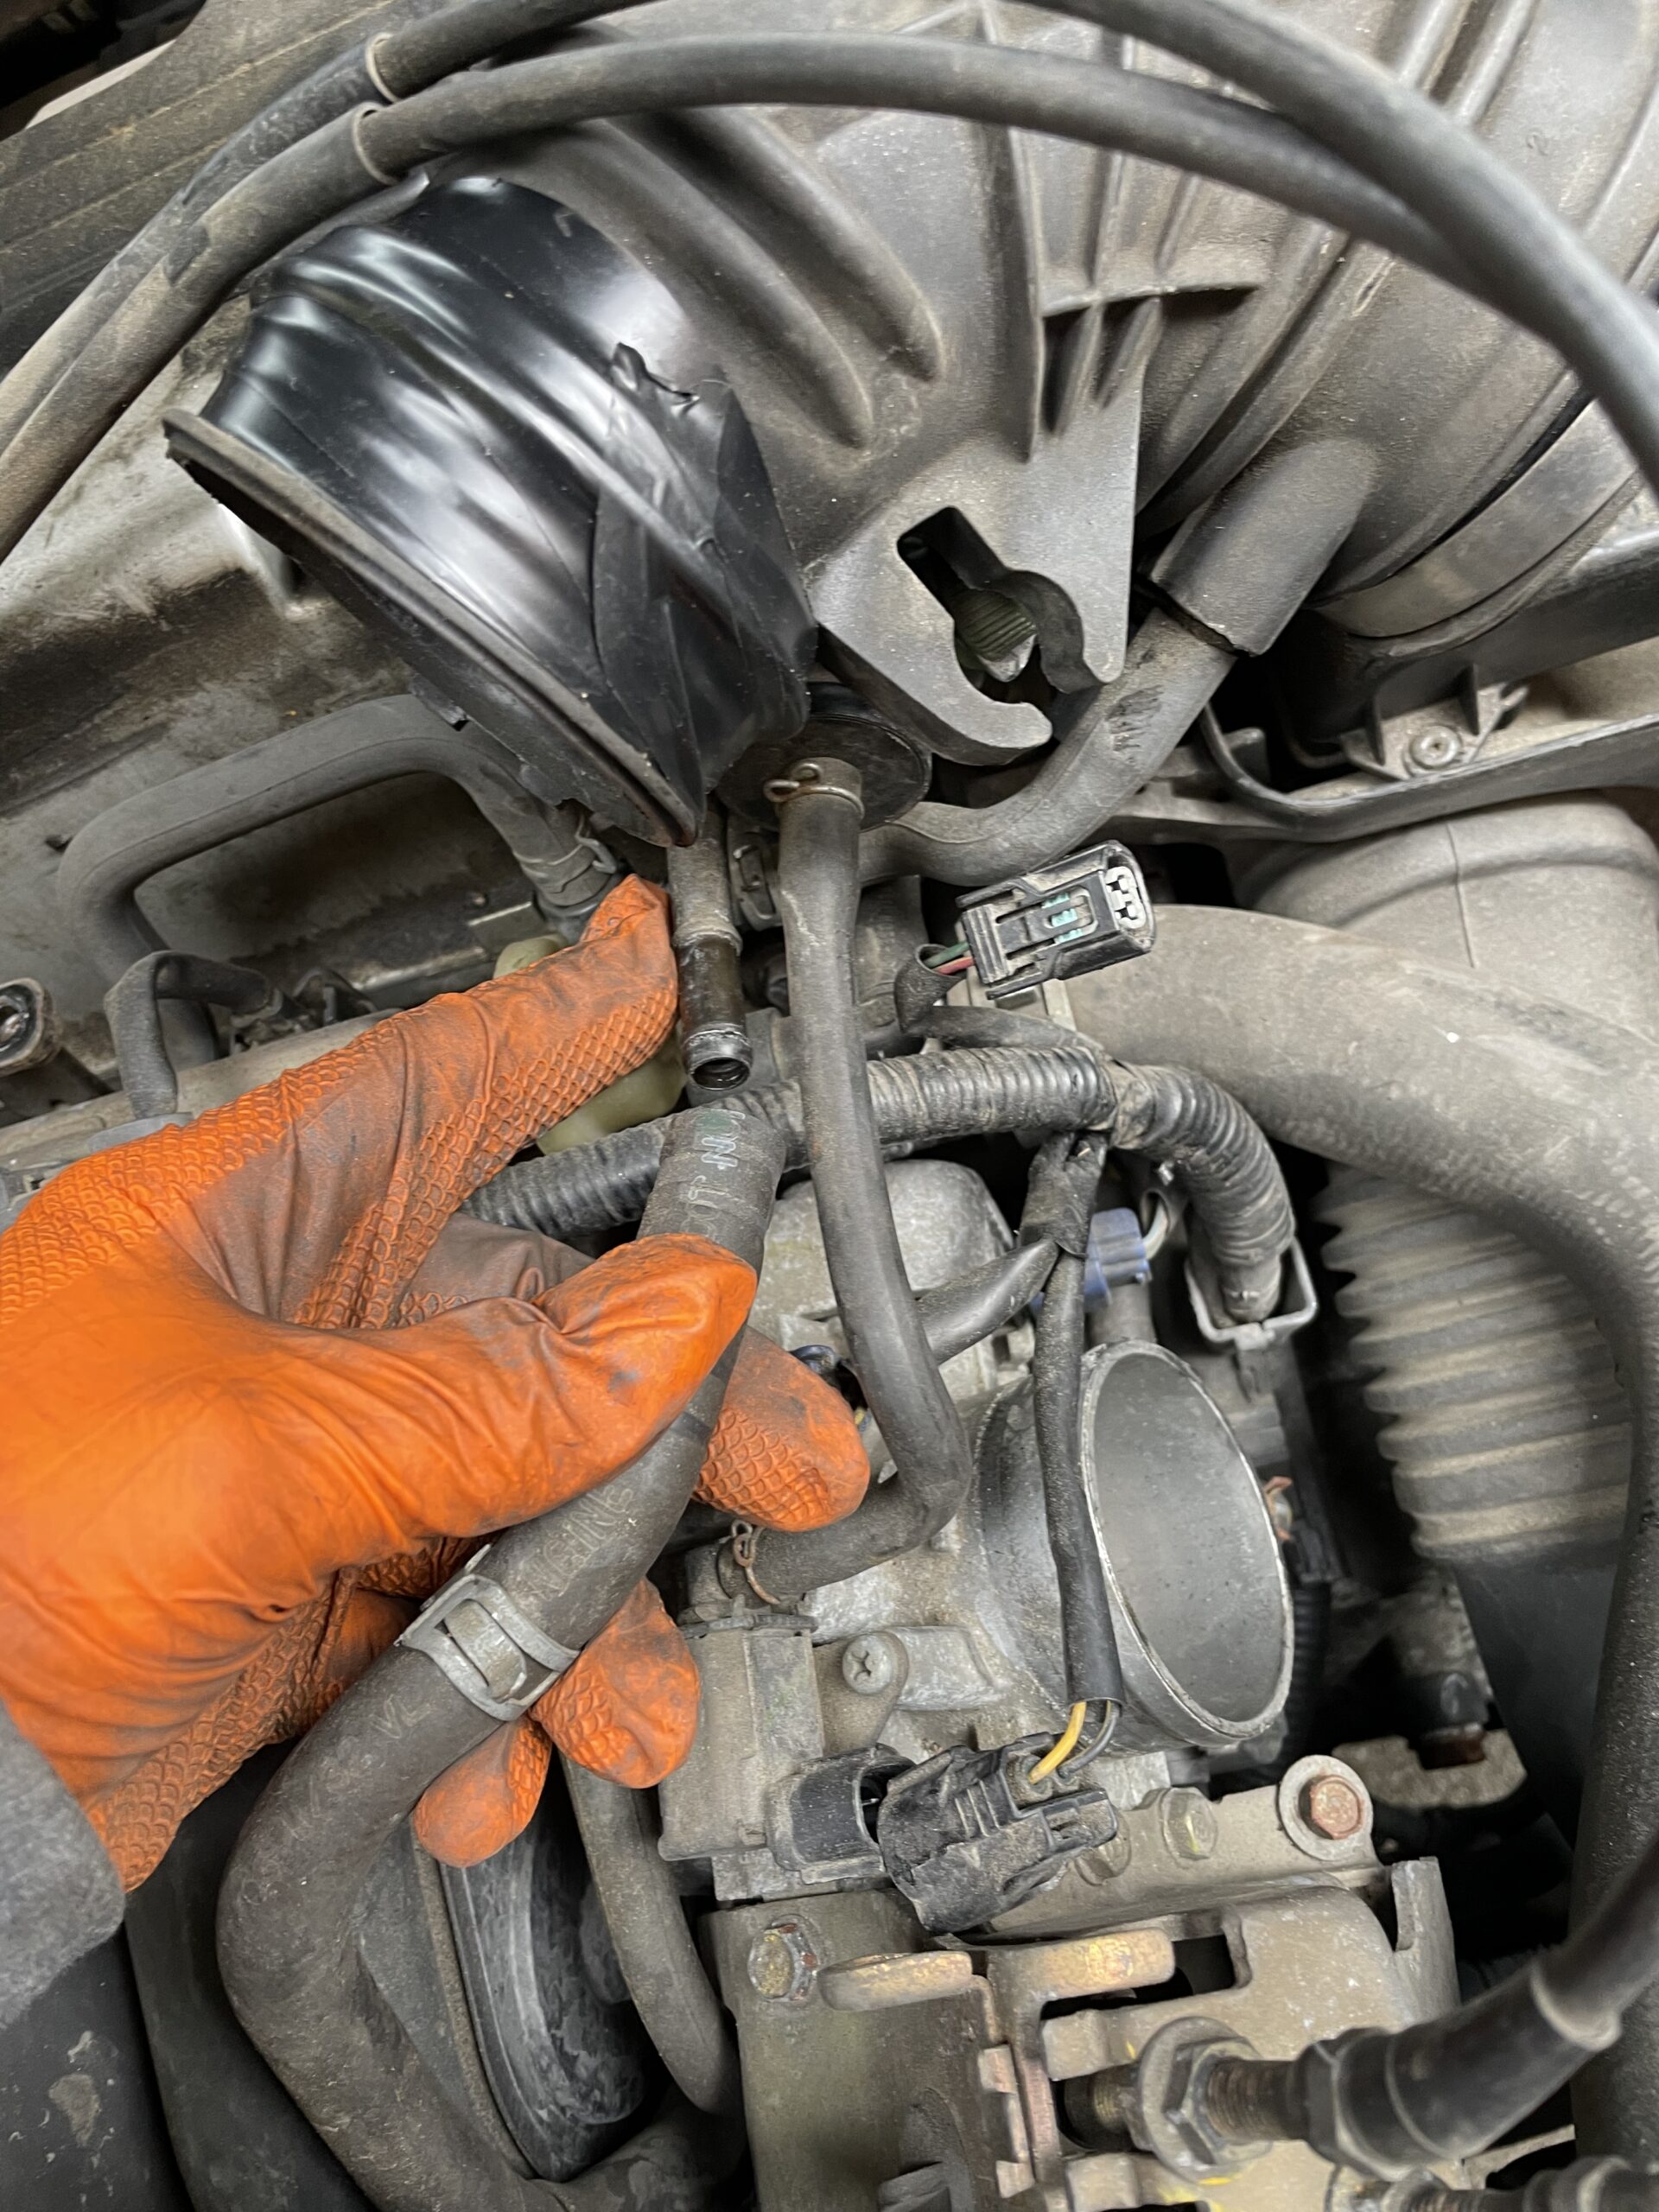
11. Use a 10mm socket unbolt the 10mm bolts on the cable latch and move it to the side.


12. Unbolt the 10mm bolts on the air duct bolted to the sub frame.
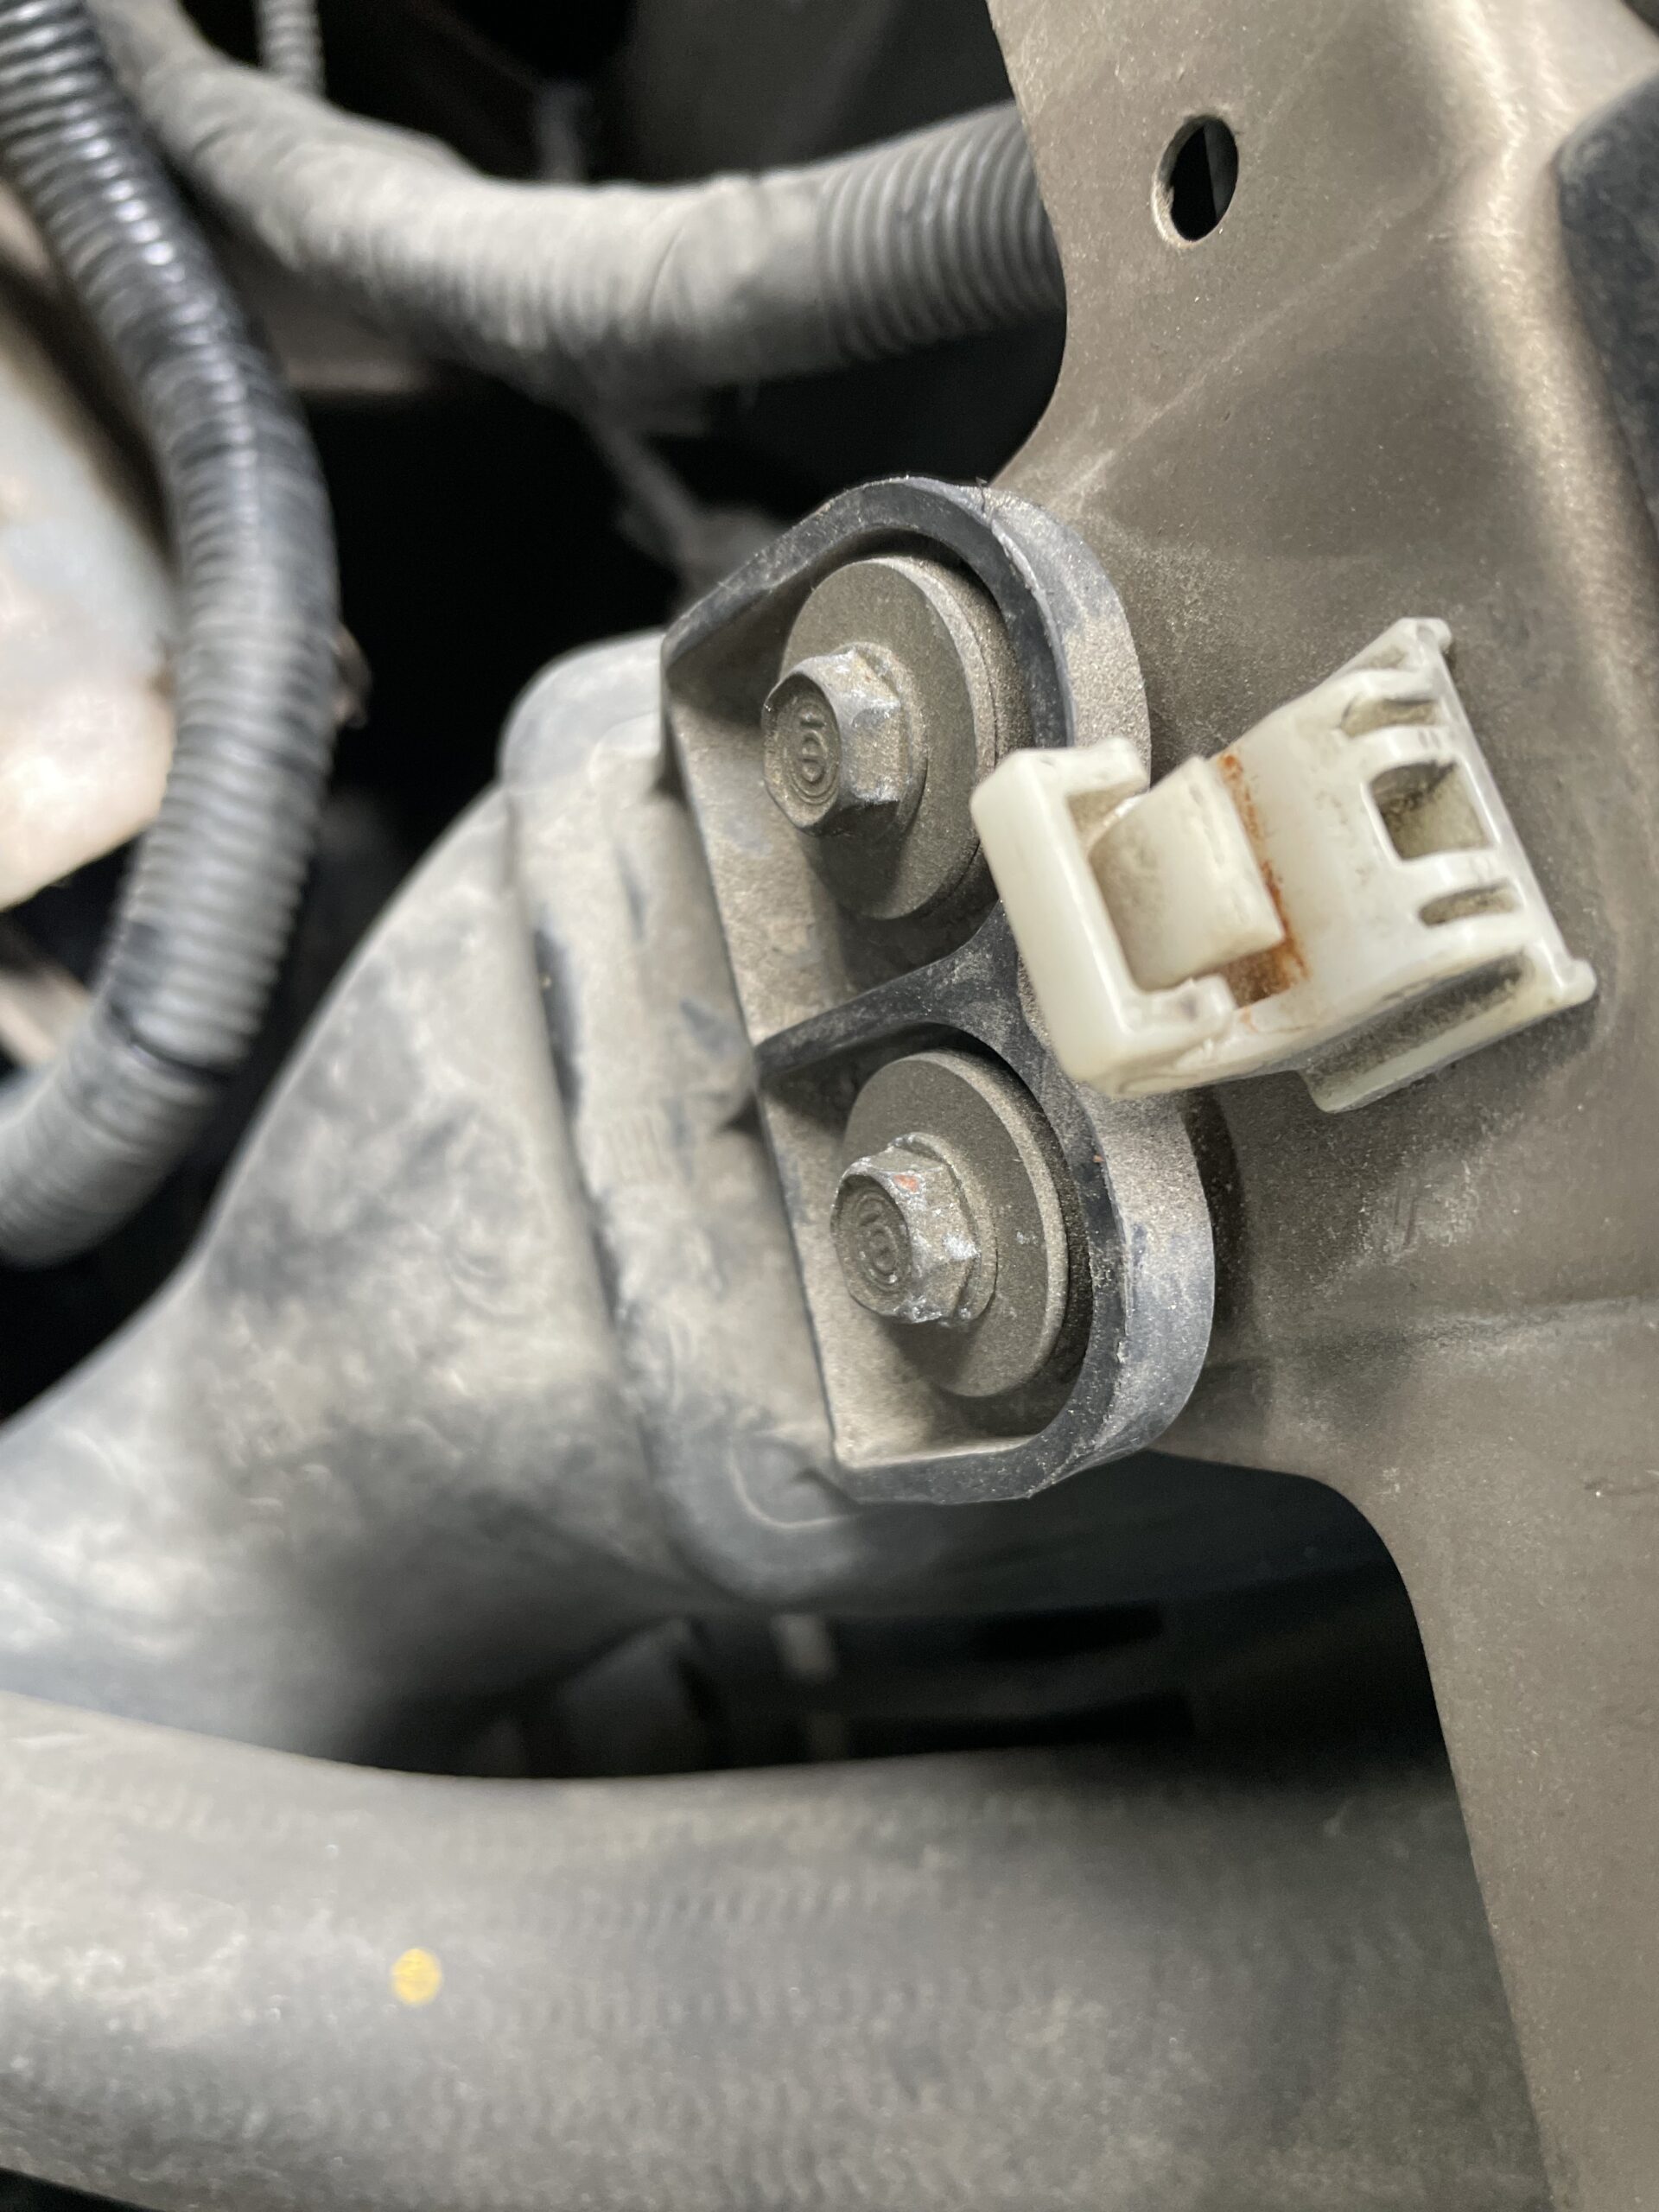
13. Using a 10mm with a long extension, unbolt the bolts that are holding on the bottom portion of the air box. Then pull the whole lower portion of the air box out of the engine bay.
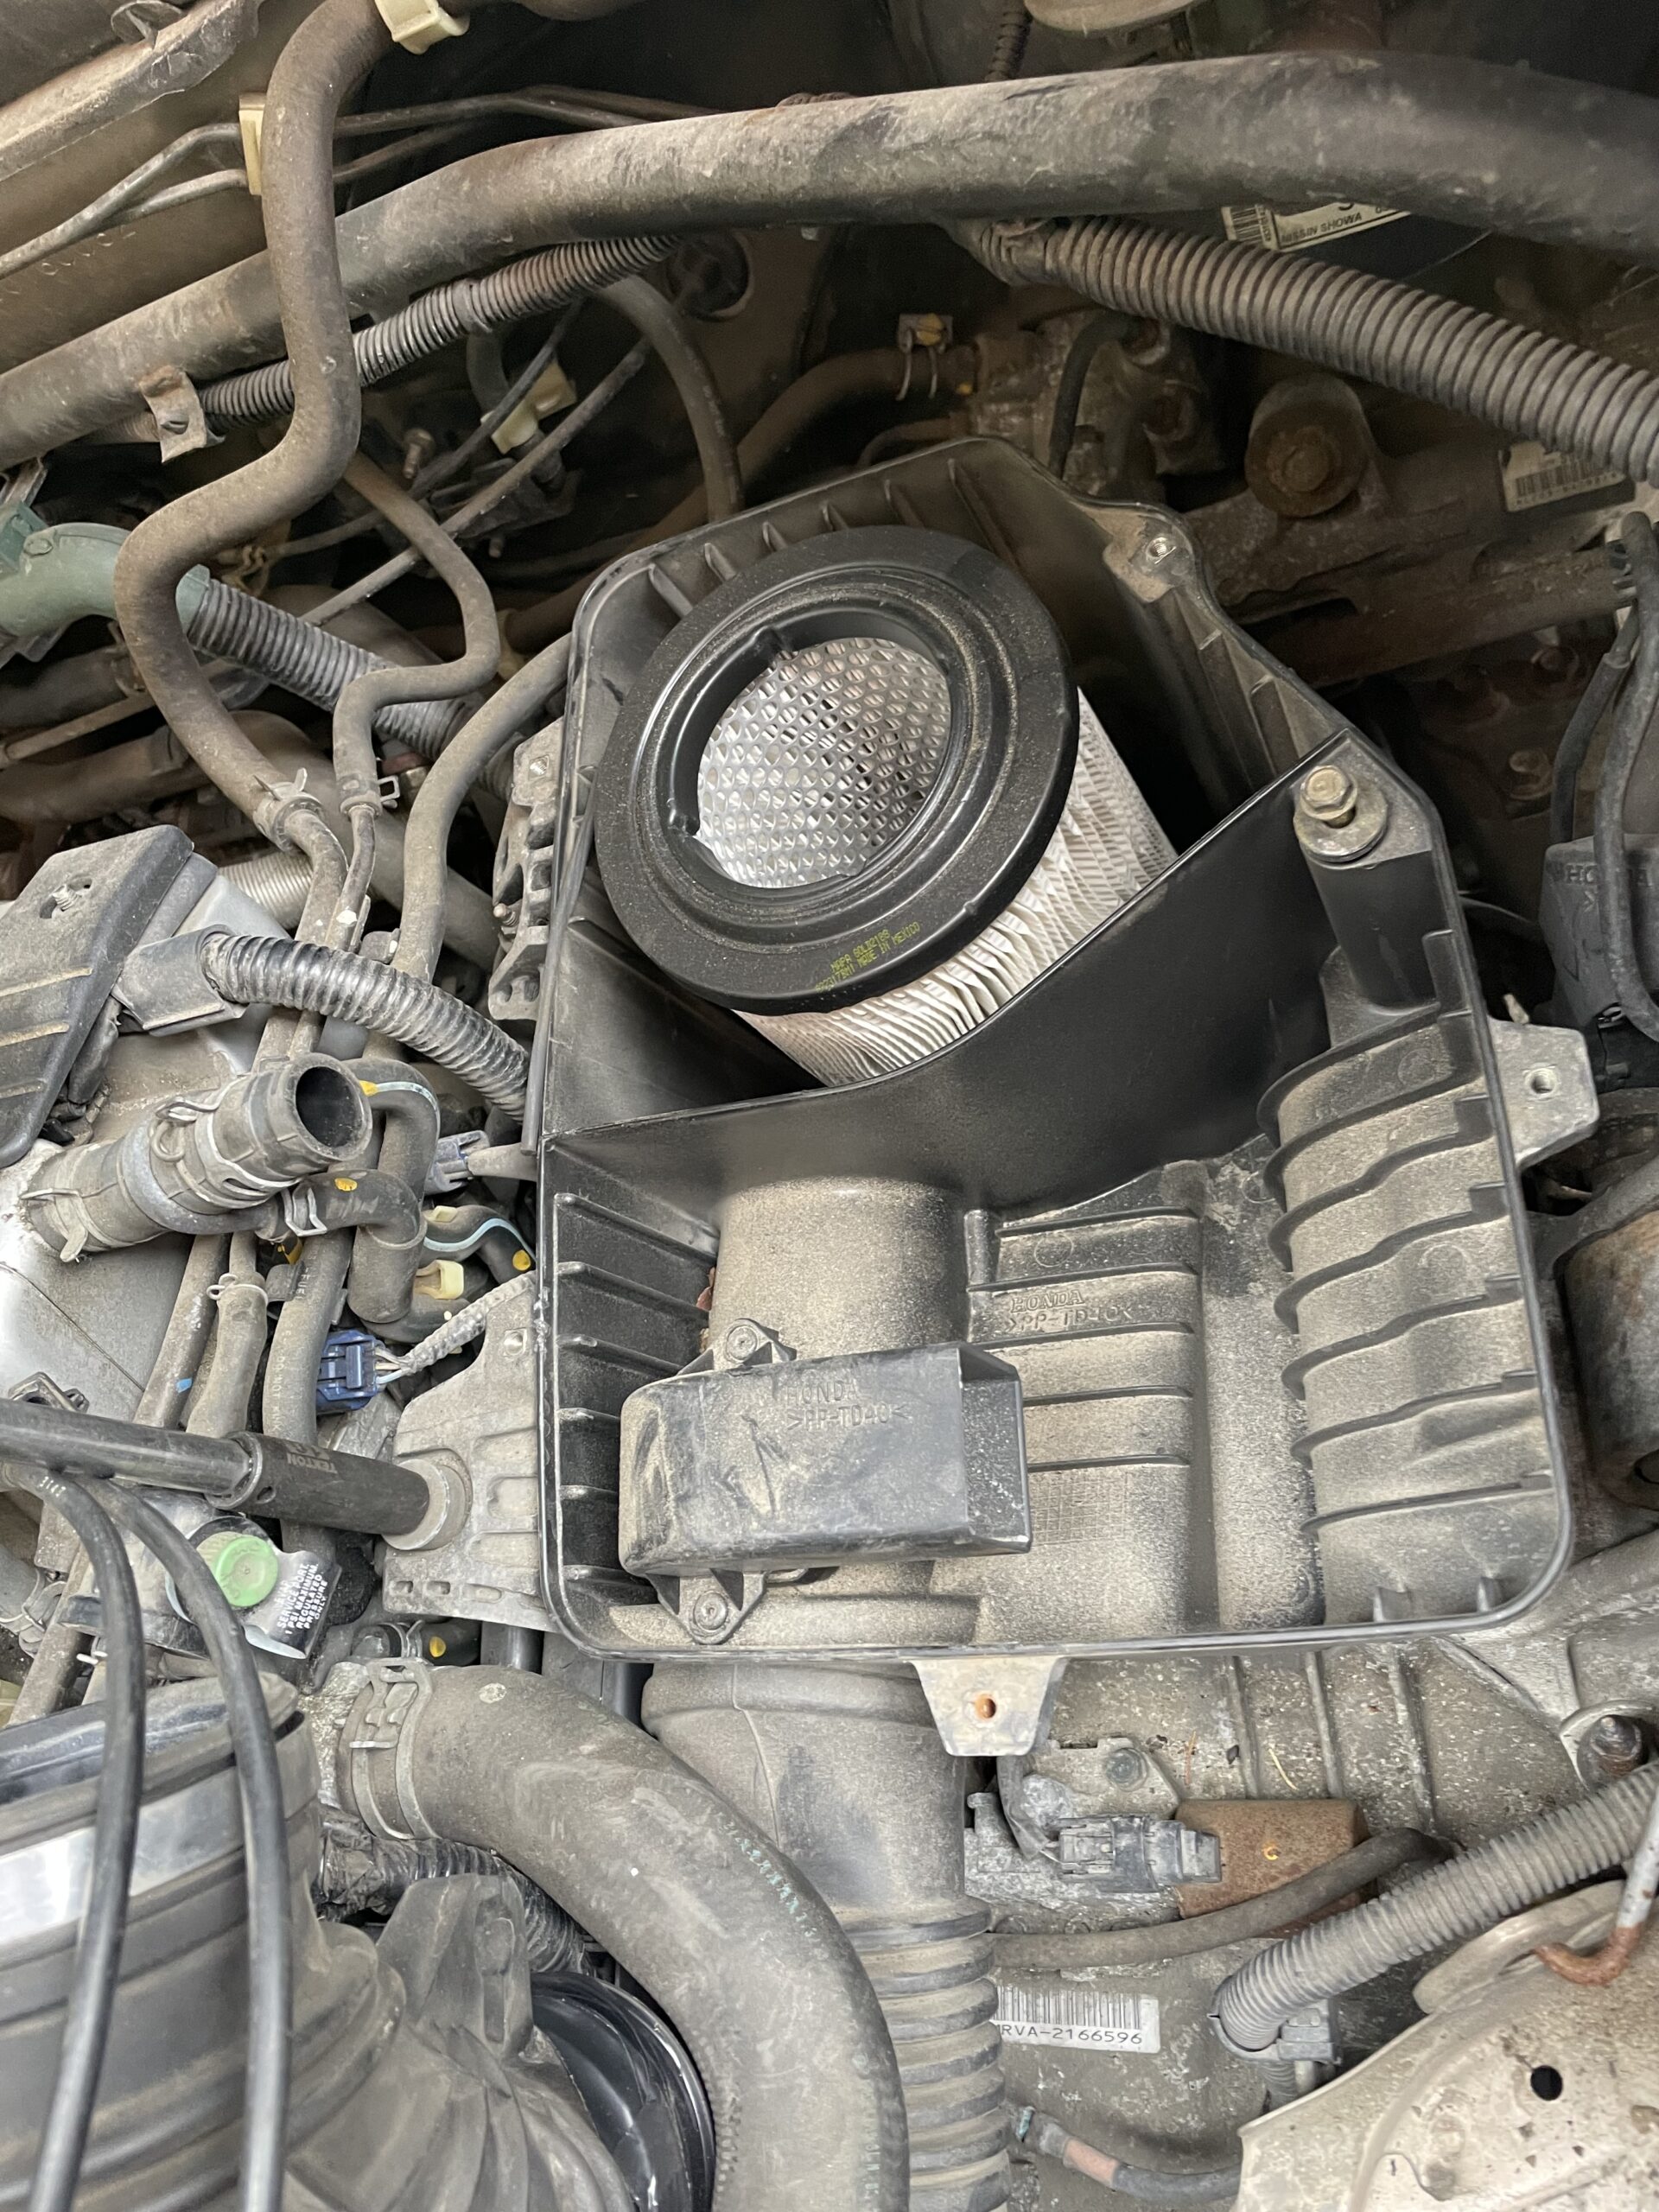
14. Unbolt all 4 bolts on the throttle body.

15. Put a drain bucket under the car. Then pull the radiator hose off and put it to the side.


16. Unbolt this lower connection on the throttle body.

17. There are 2 coolant hoses on the bottom of the throttle body. Take them off and put to the side.

18. Unbolt every last remaining electrical connection on the throttle body and move it to the side.
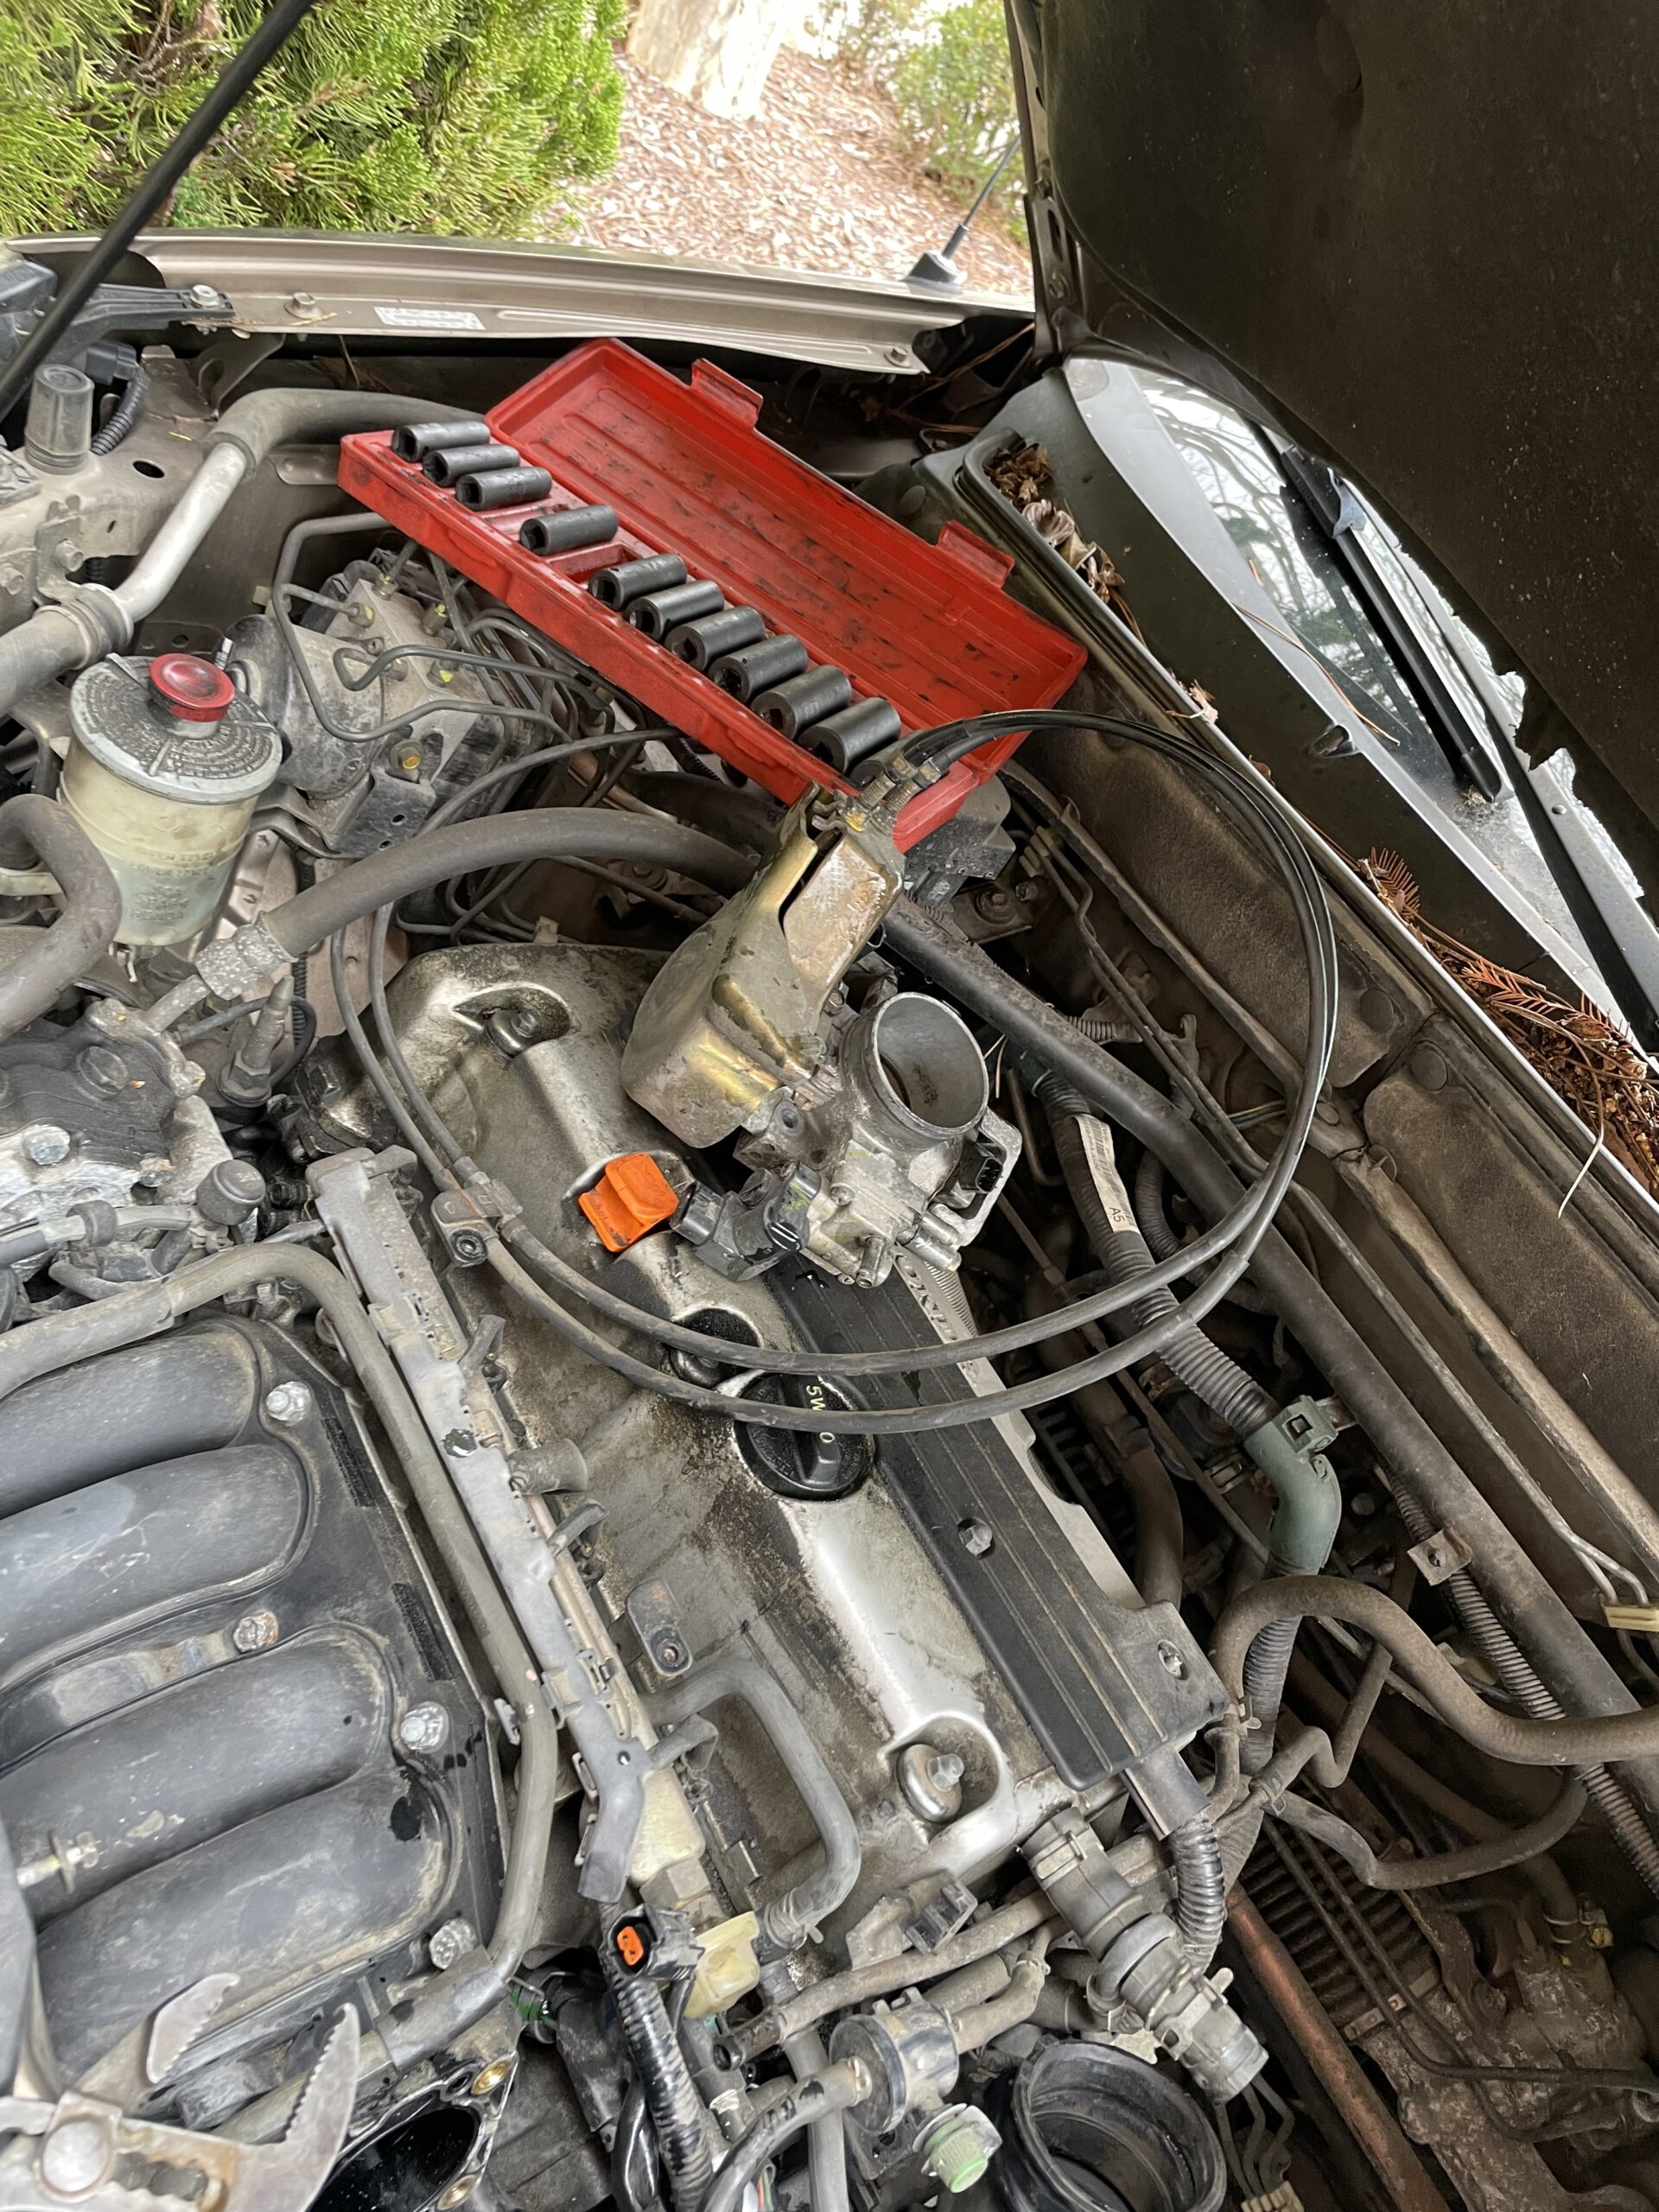
19. Take off this vacuum line.

20. Take off this vacuum line off the passenger side of the air intake.

21. Unclip this electrical connection.

22. Unbolt this 10mm bolt holding on bracket.

23. Use a 12mm to unbolt the intake manifold.
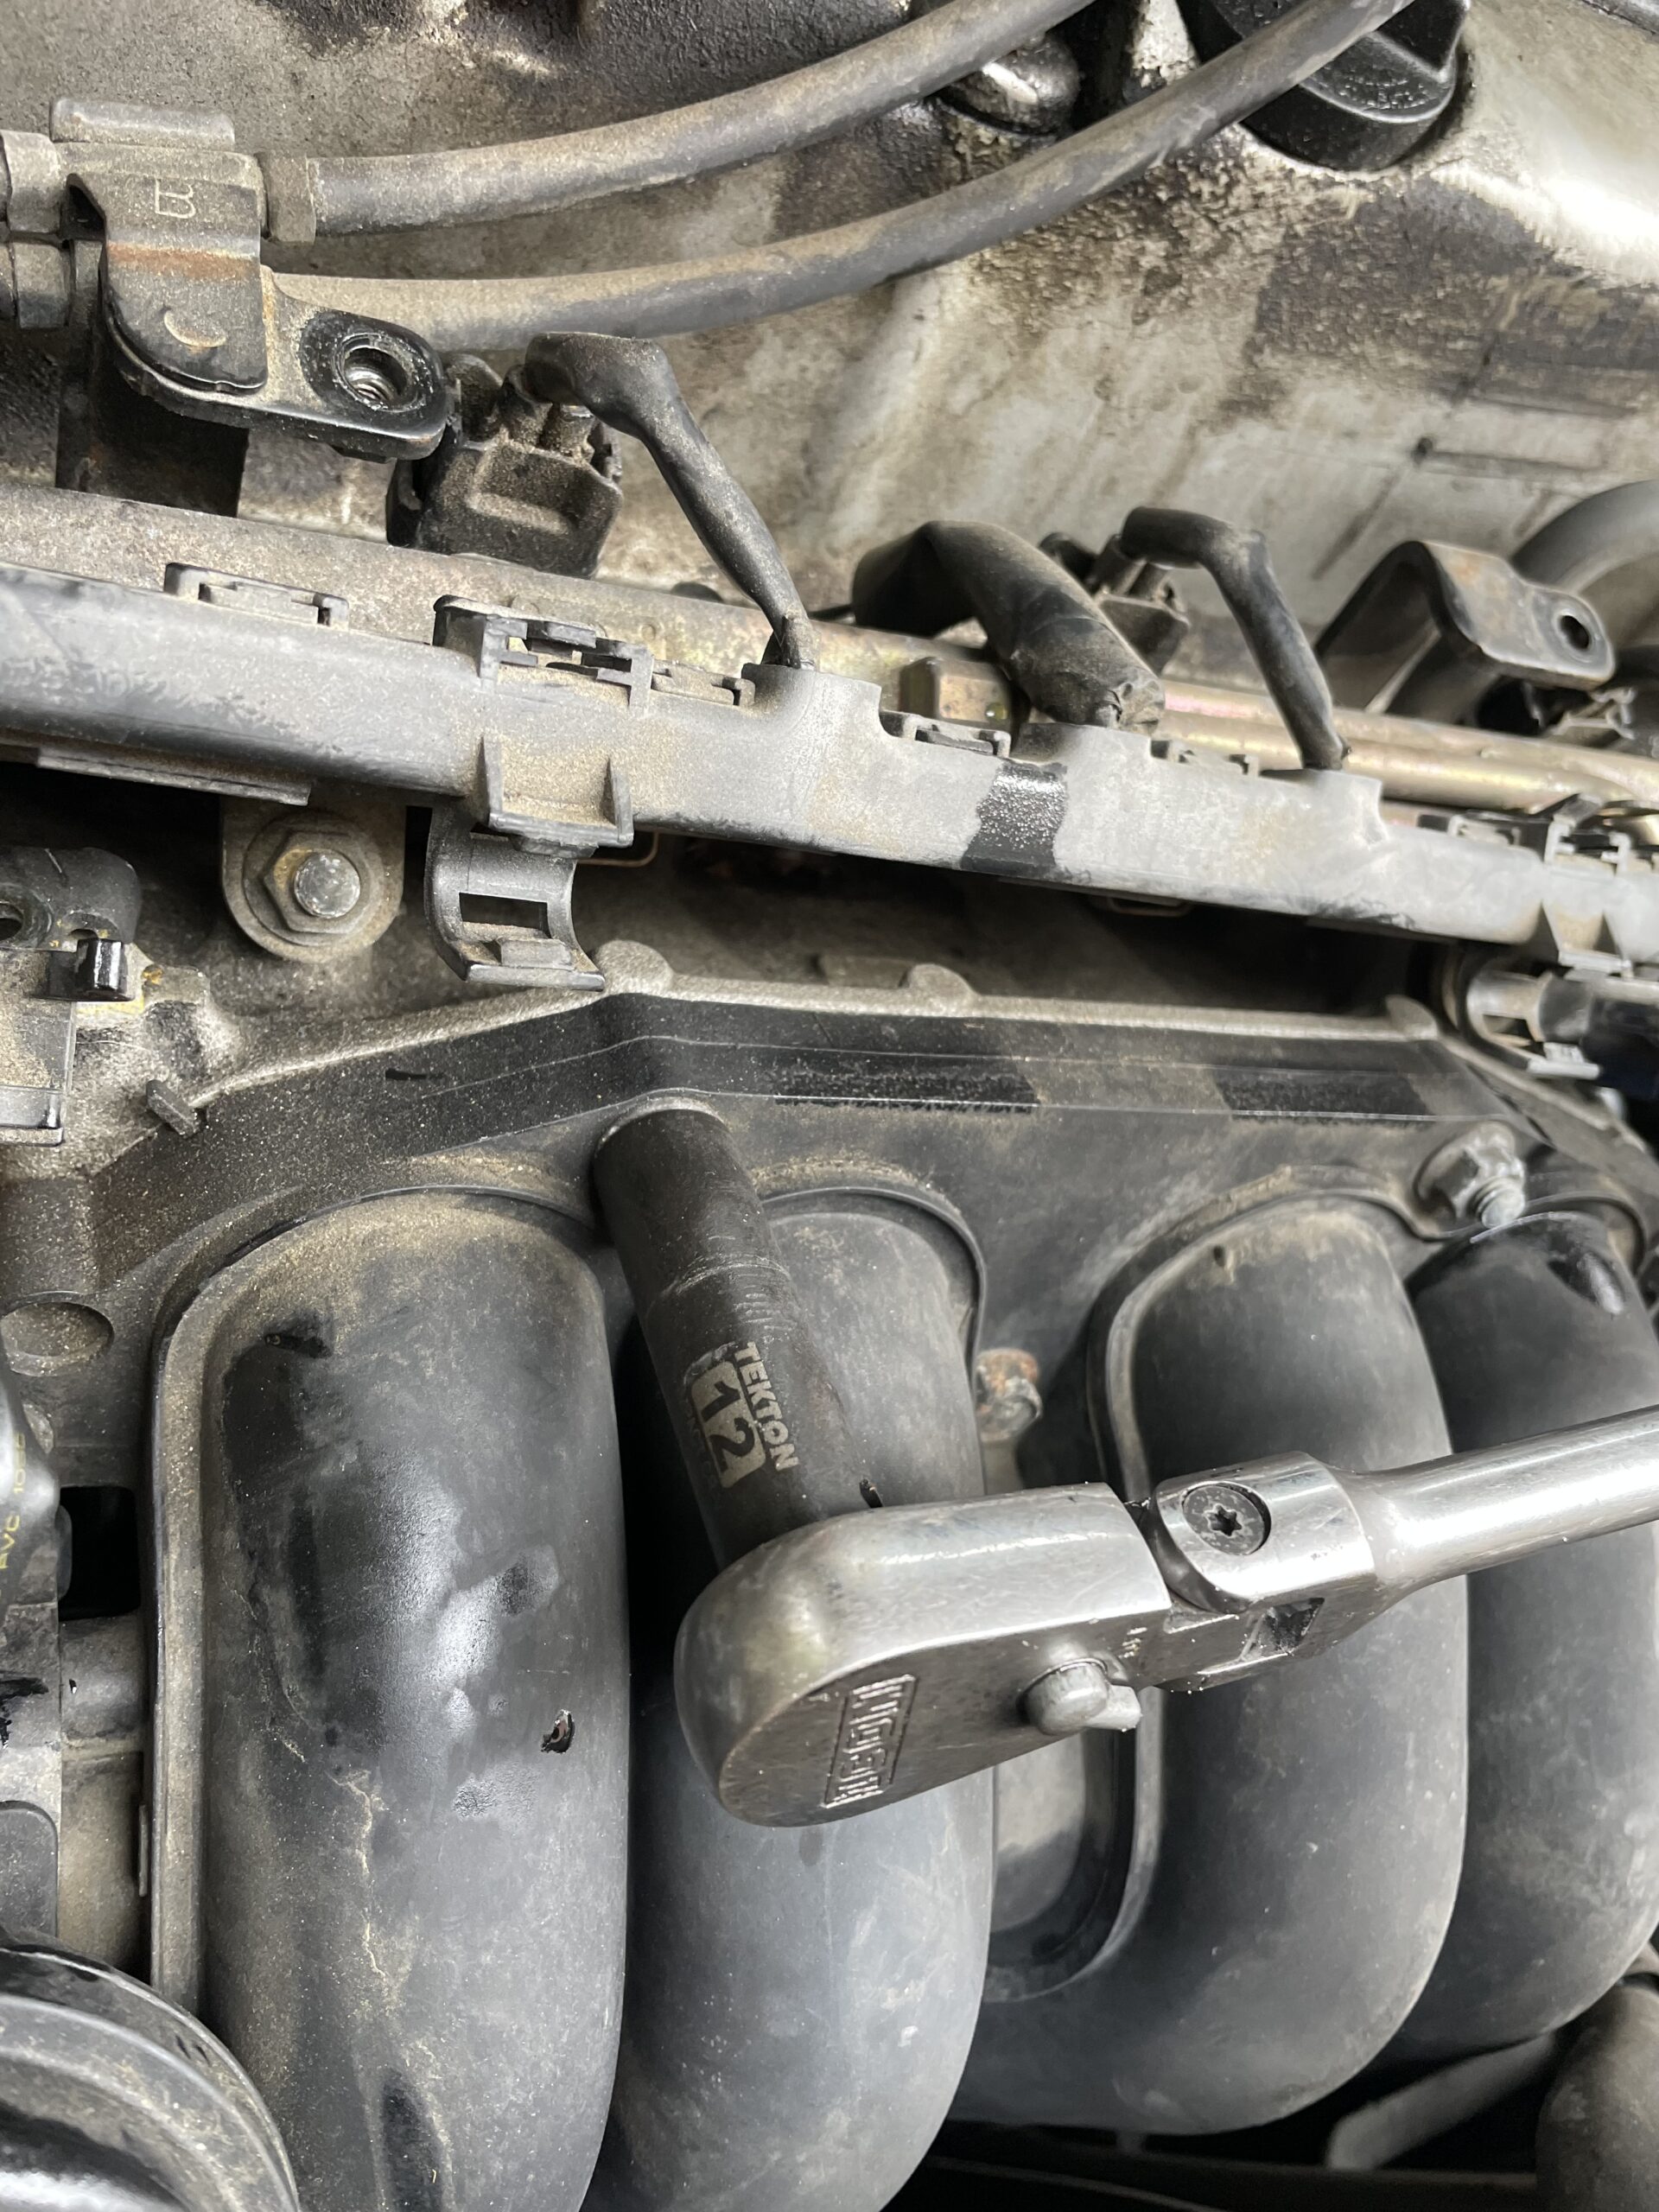
24. There a vacuum lines on the back left side of the air intake, make sure you pull these out before you take the intake out. You do not want to rip or break these.
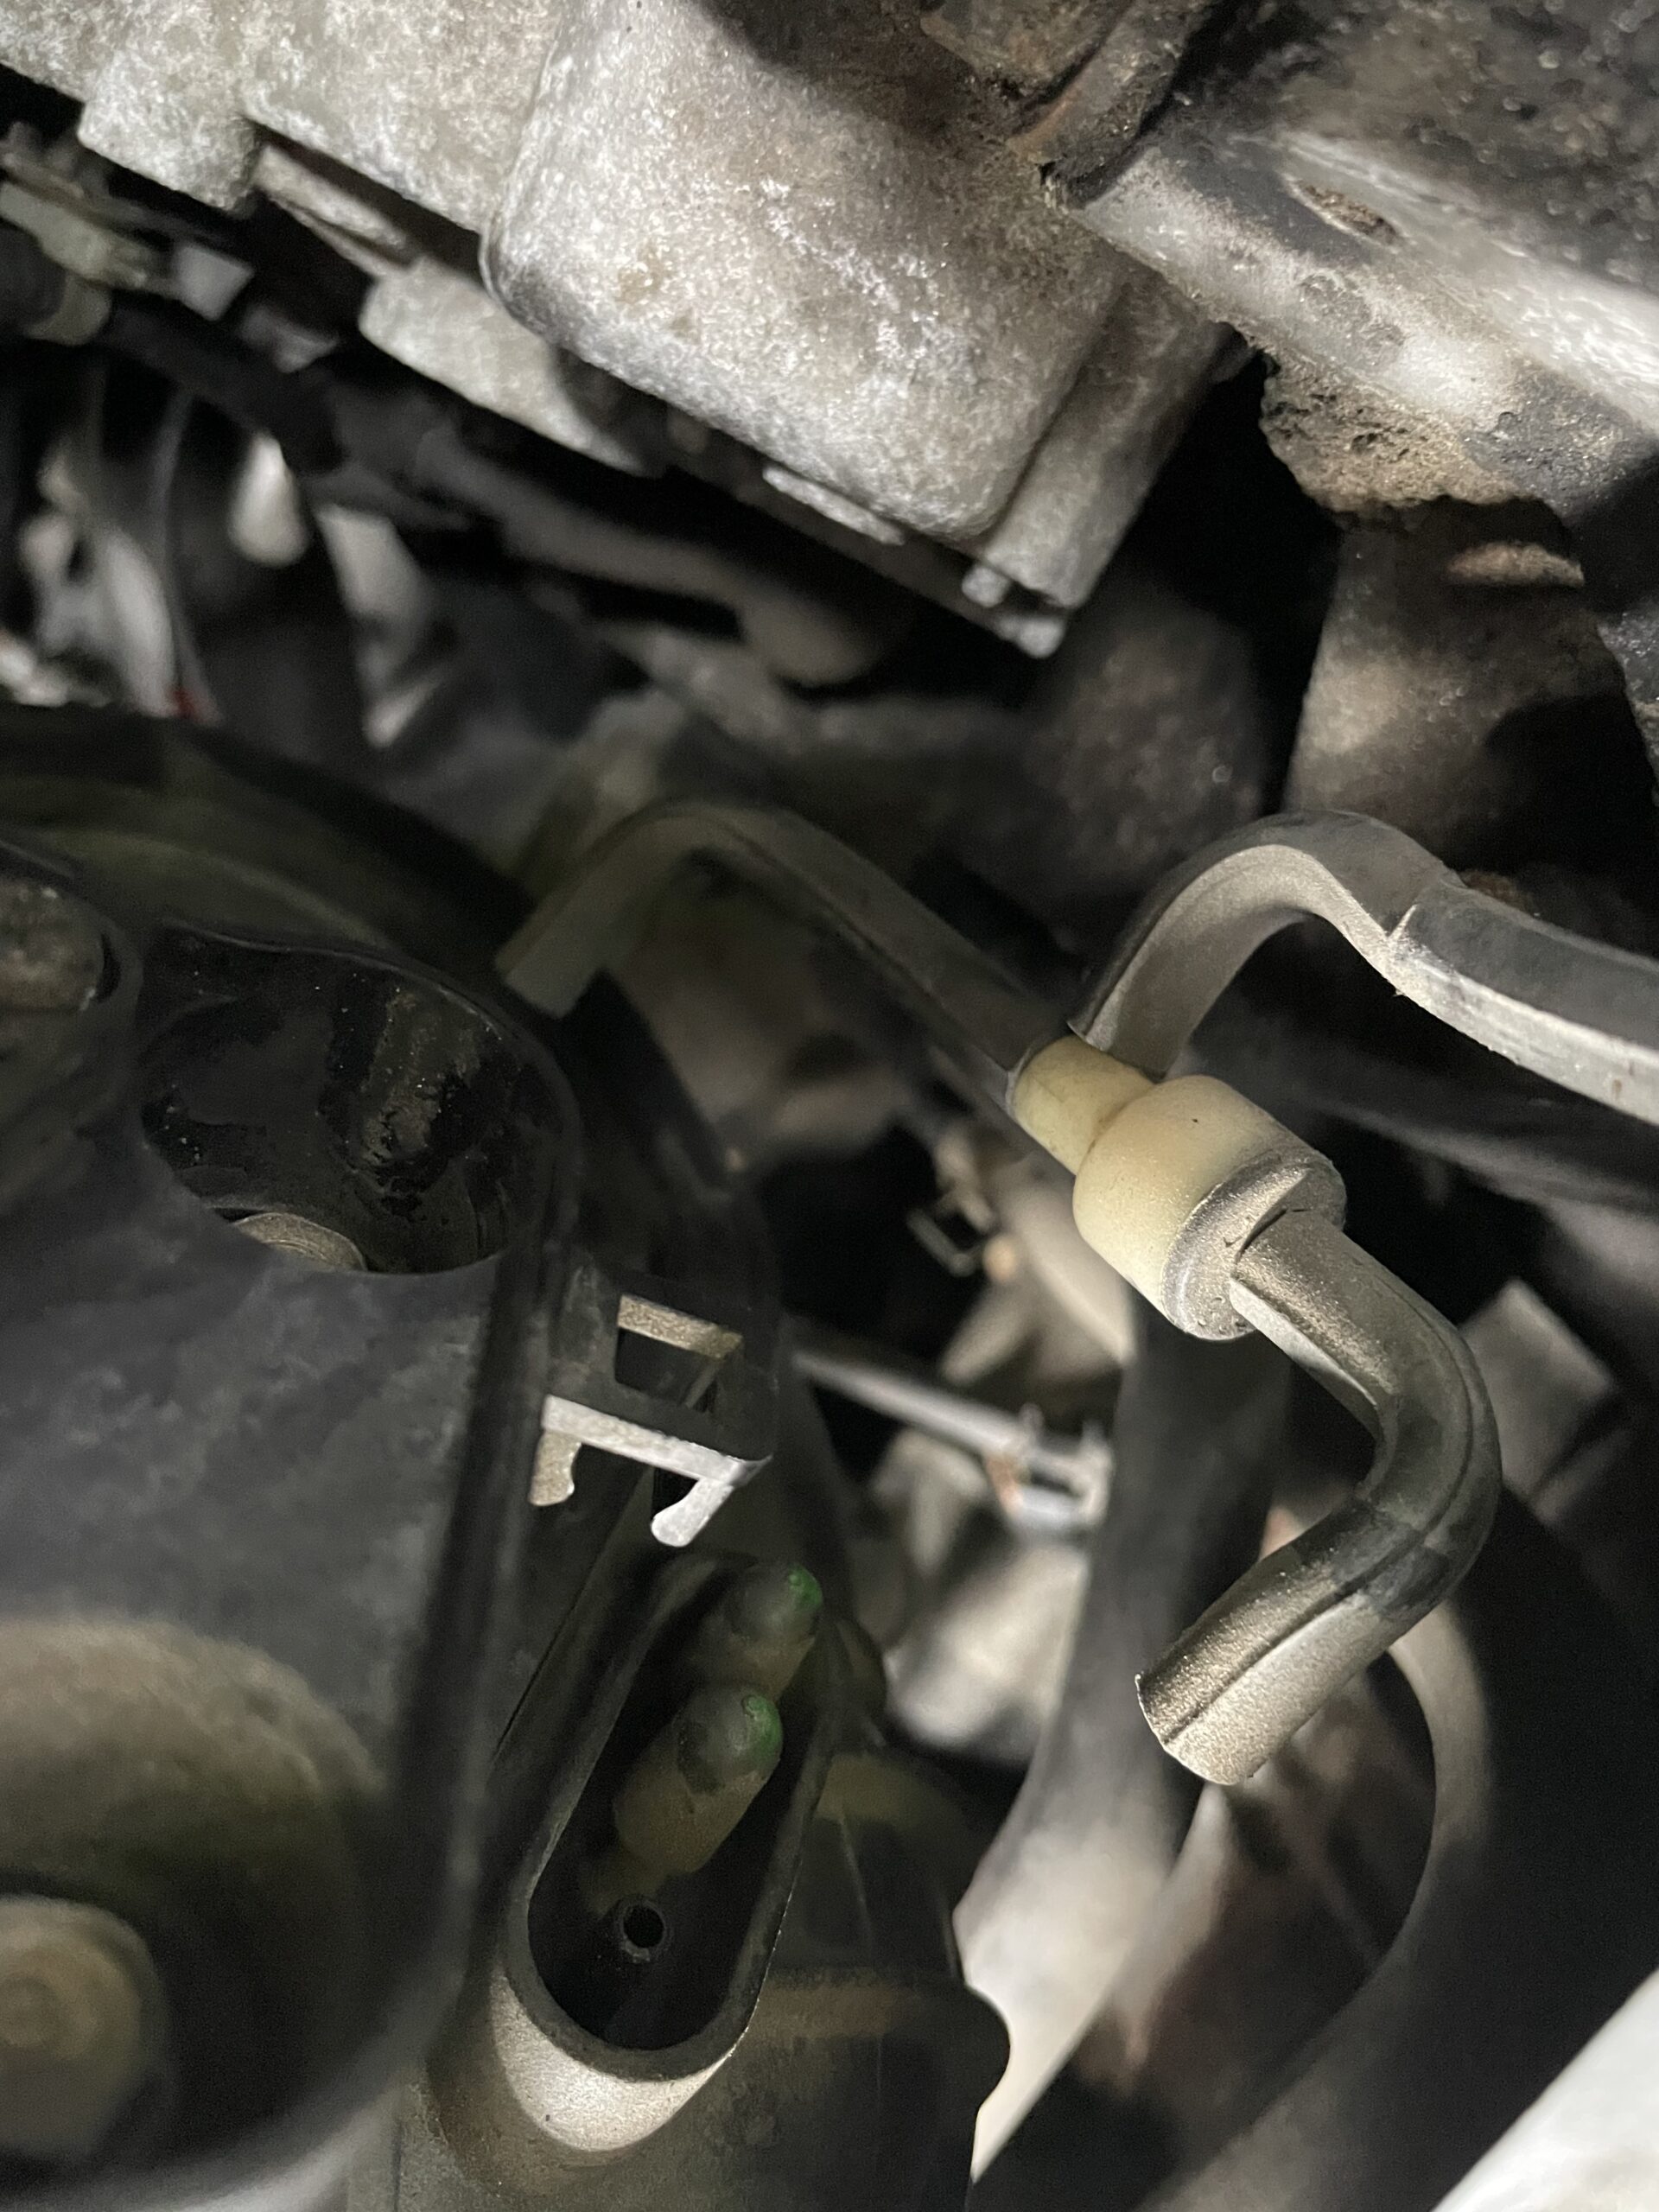
25.There is also a bottom connection on the left hand side, make sure you unplug this as well, it will hold you up from getting the intake out.
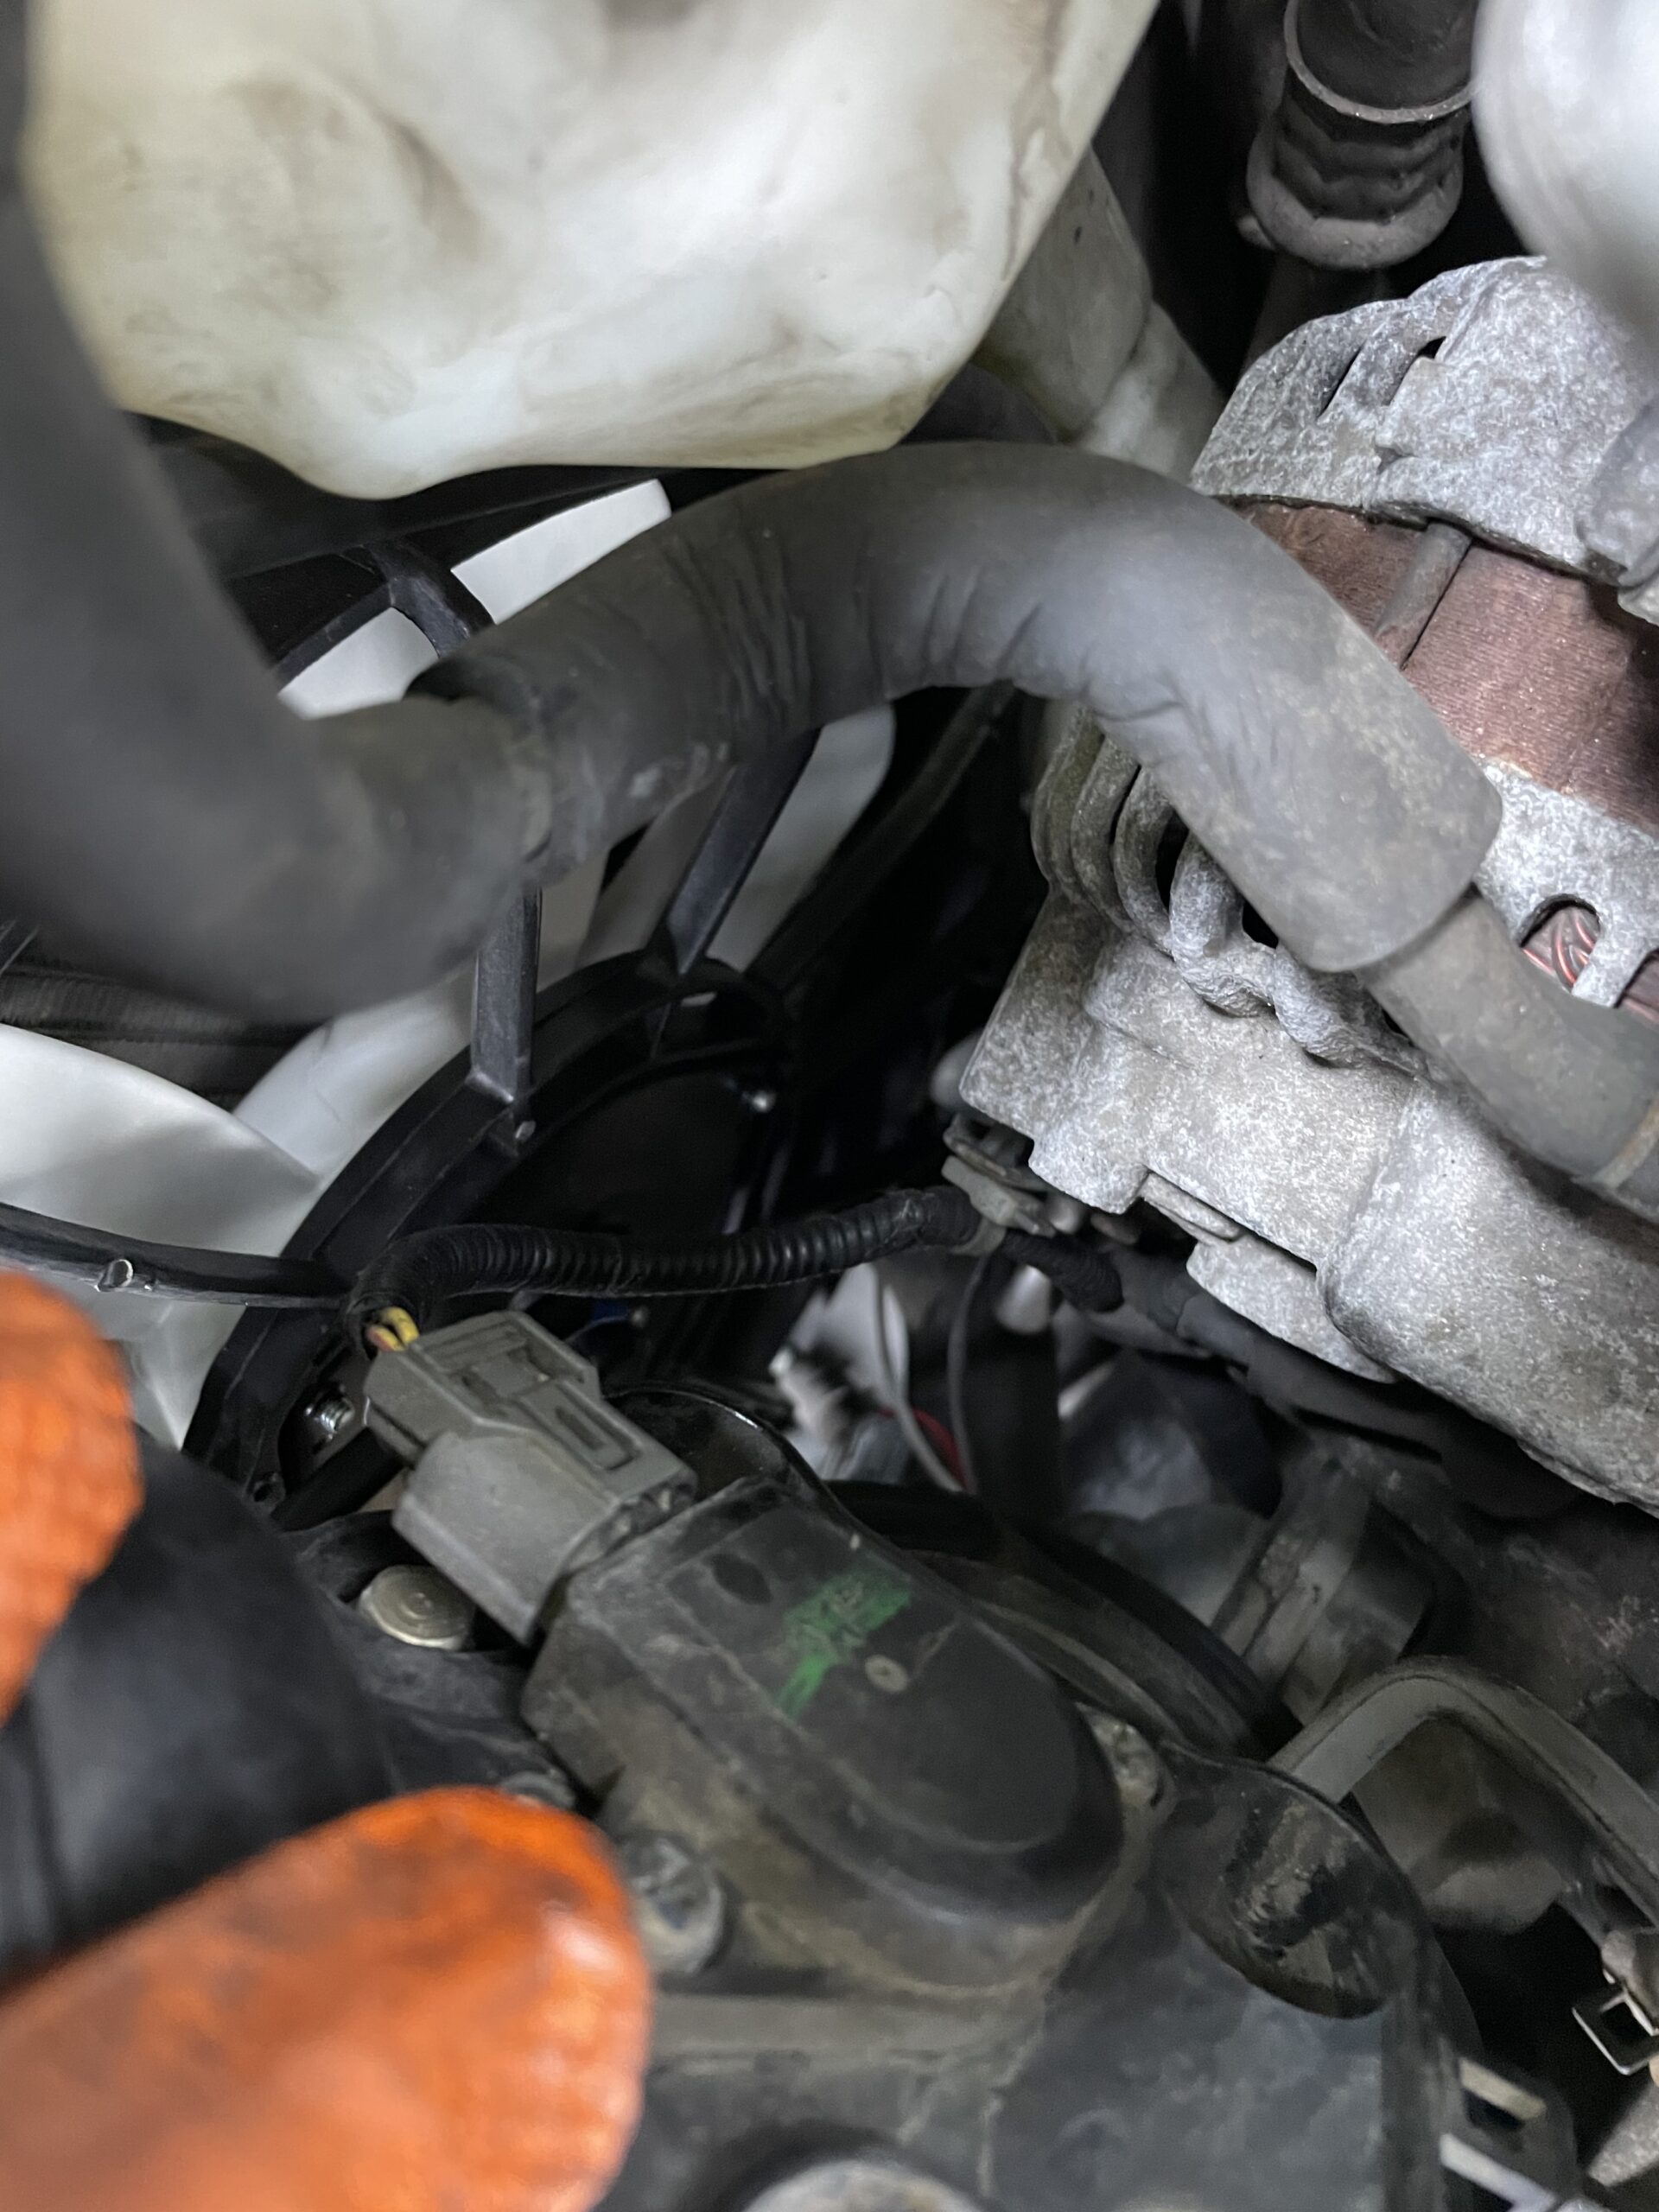
26. After this carefully move the manifold to the driver side of the engine towards the battery location and then pull the unit out of the engine and put it to the side.


27. Now finally you have a clear view of the starter and you can easily get to the 2 bolts holding it in.
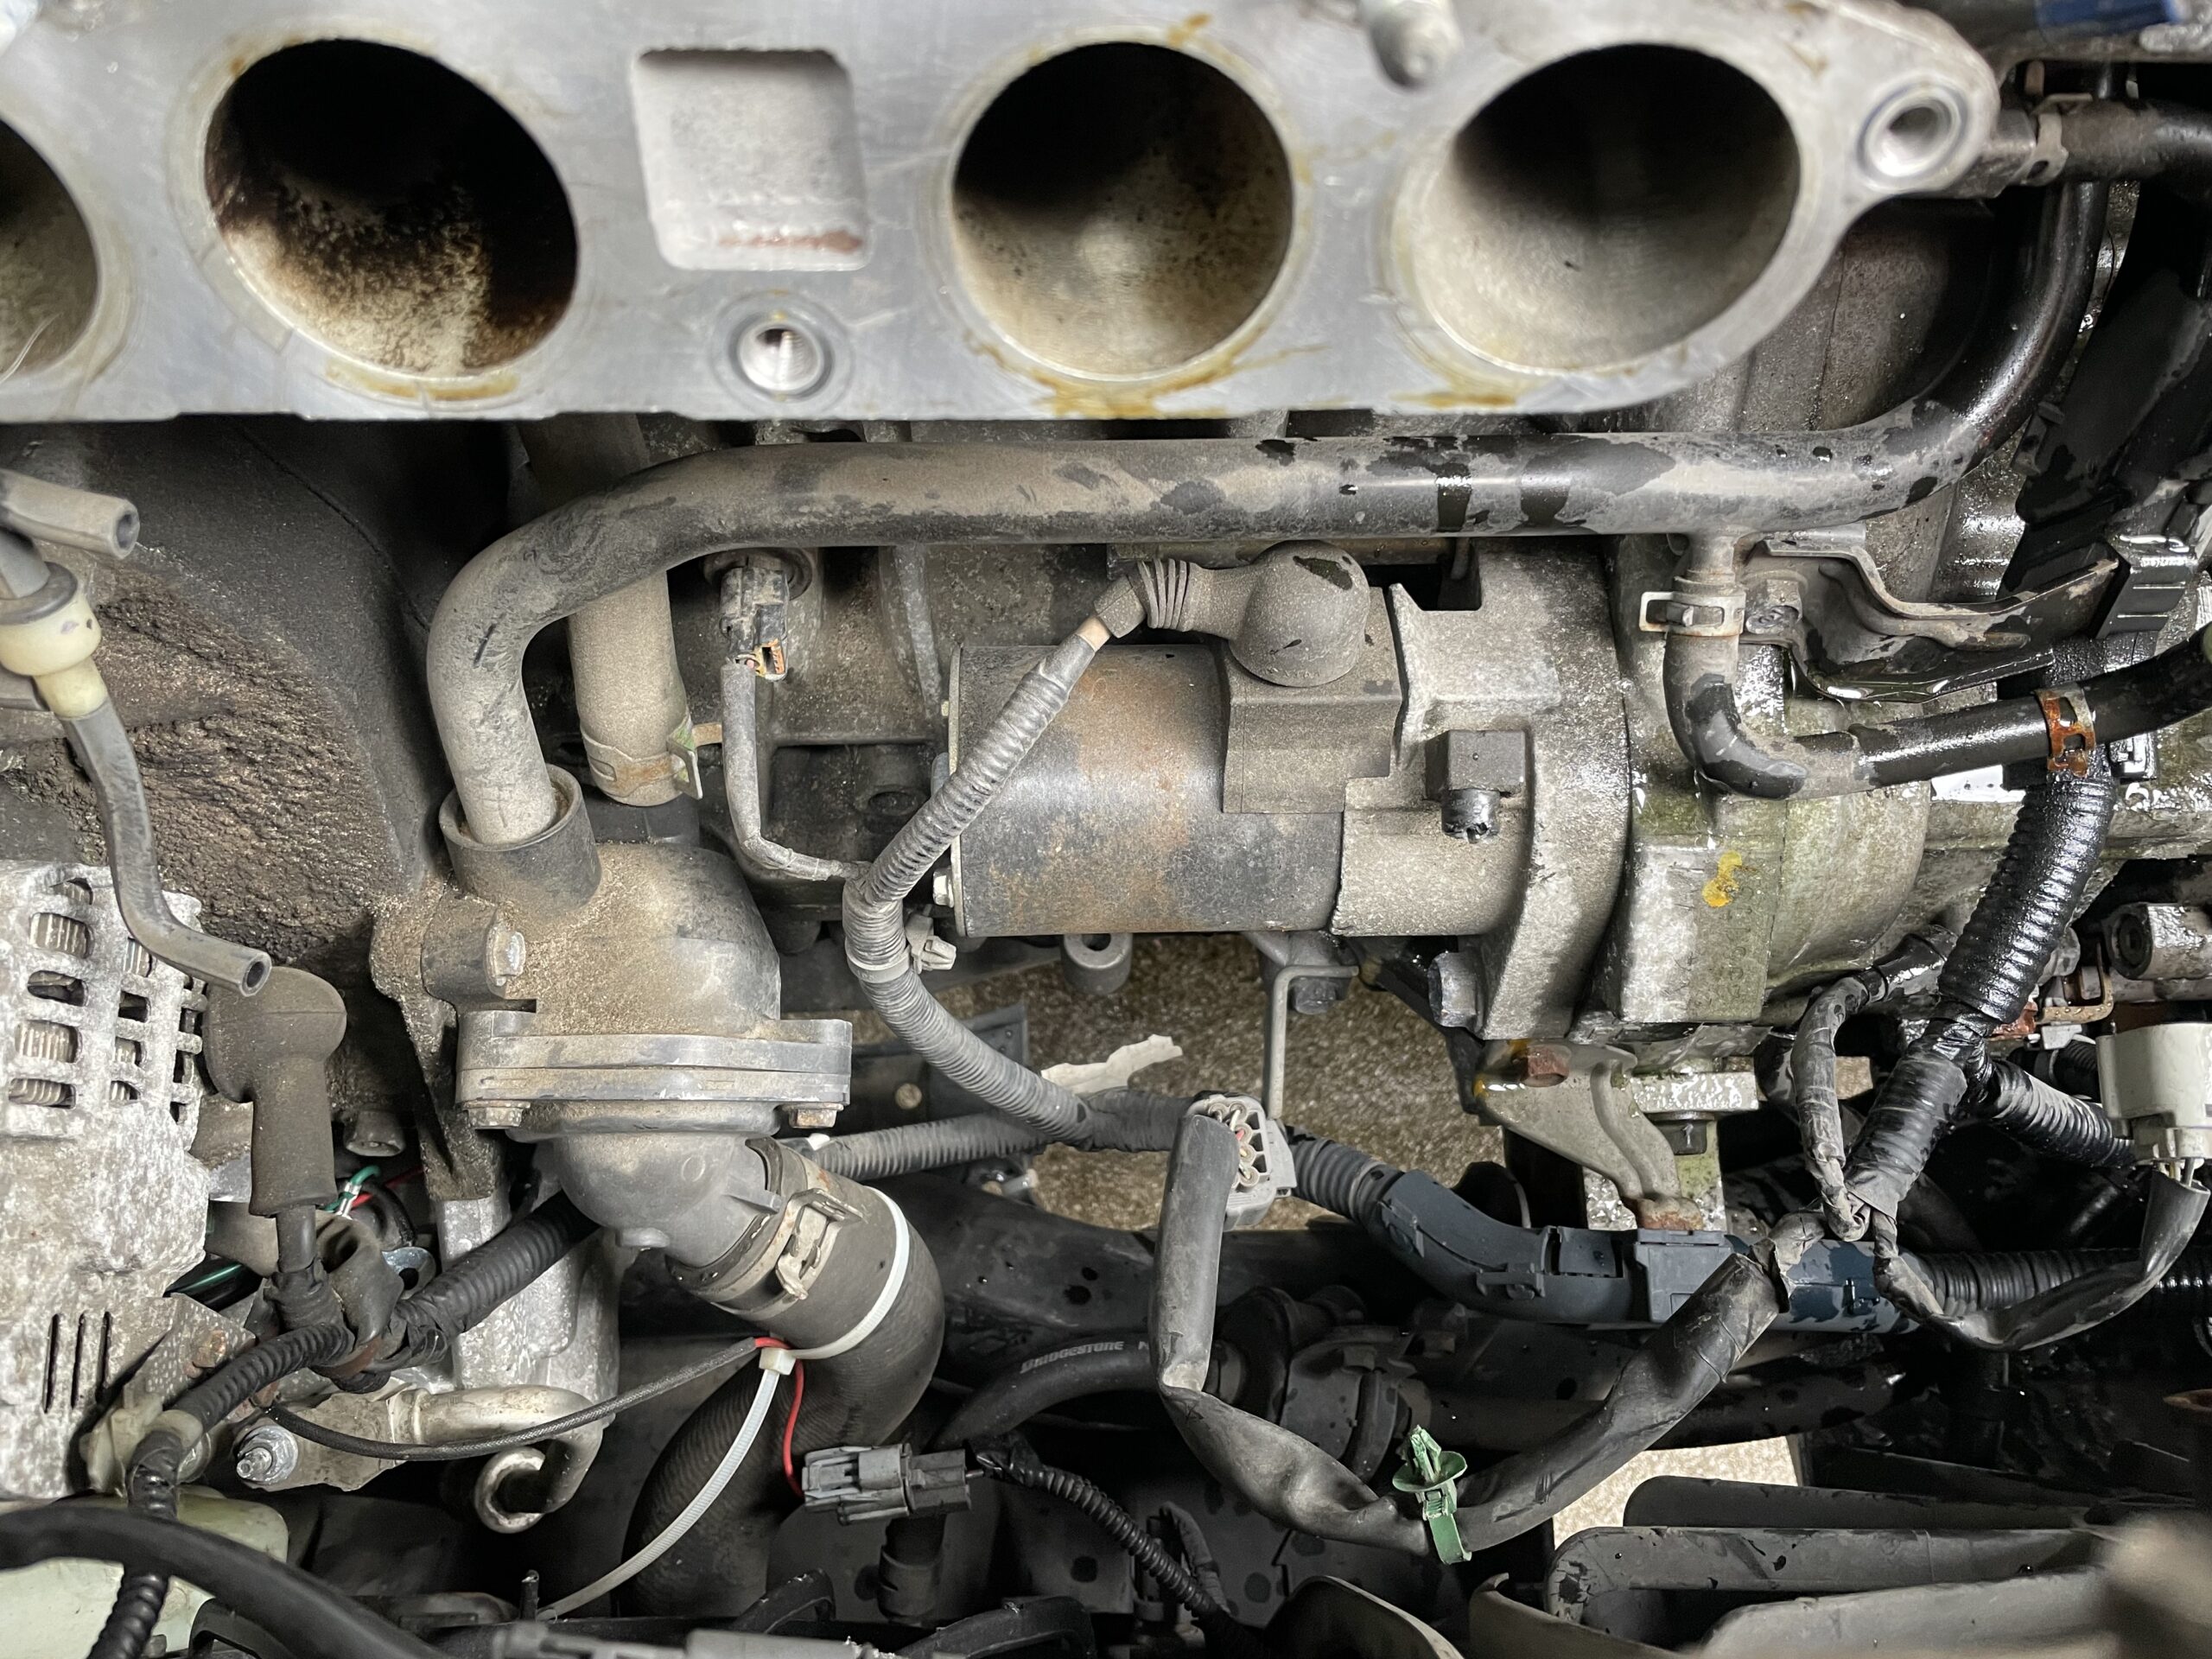
28. Unbolt the upper and lower bolts with a 14mm.
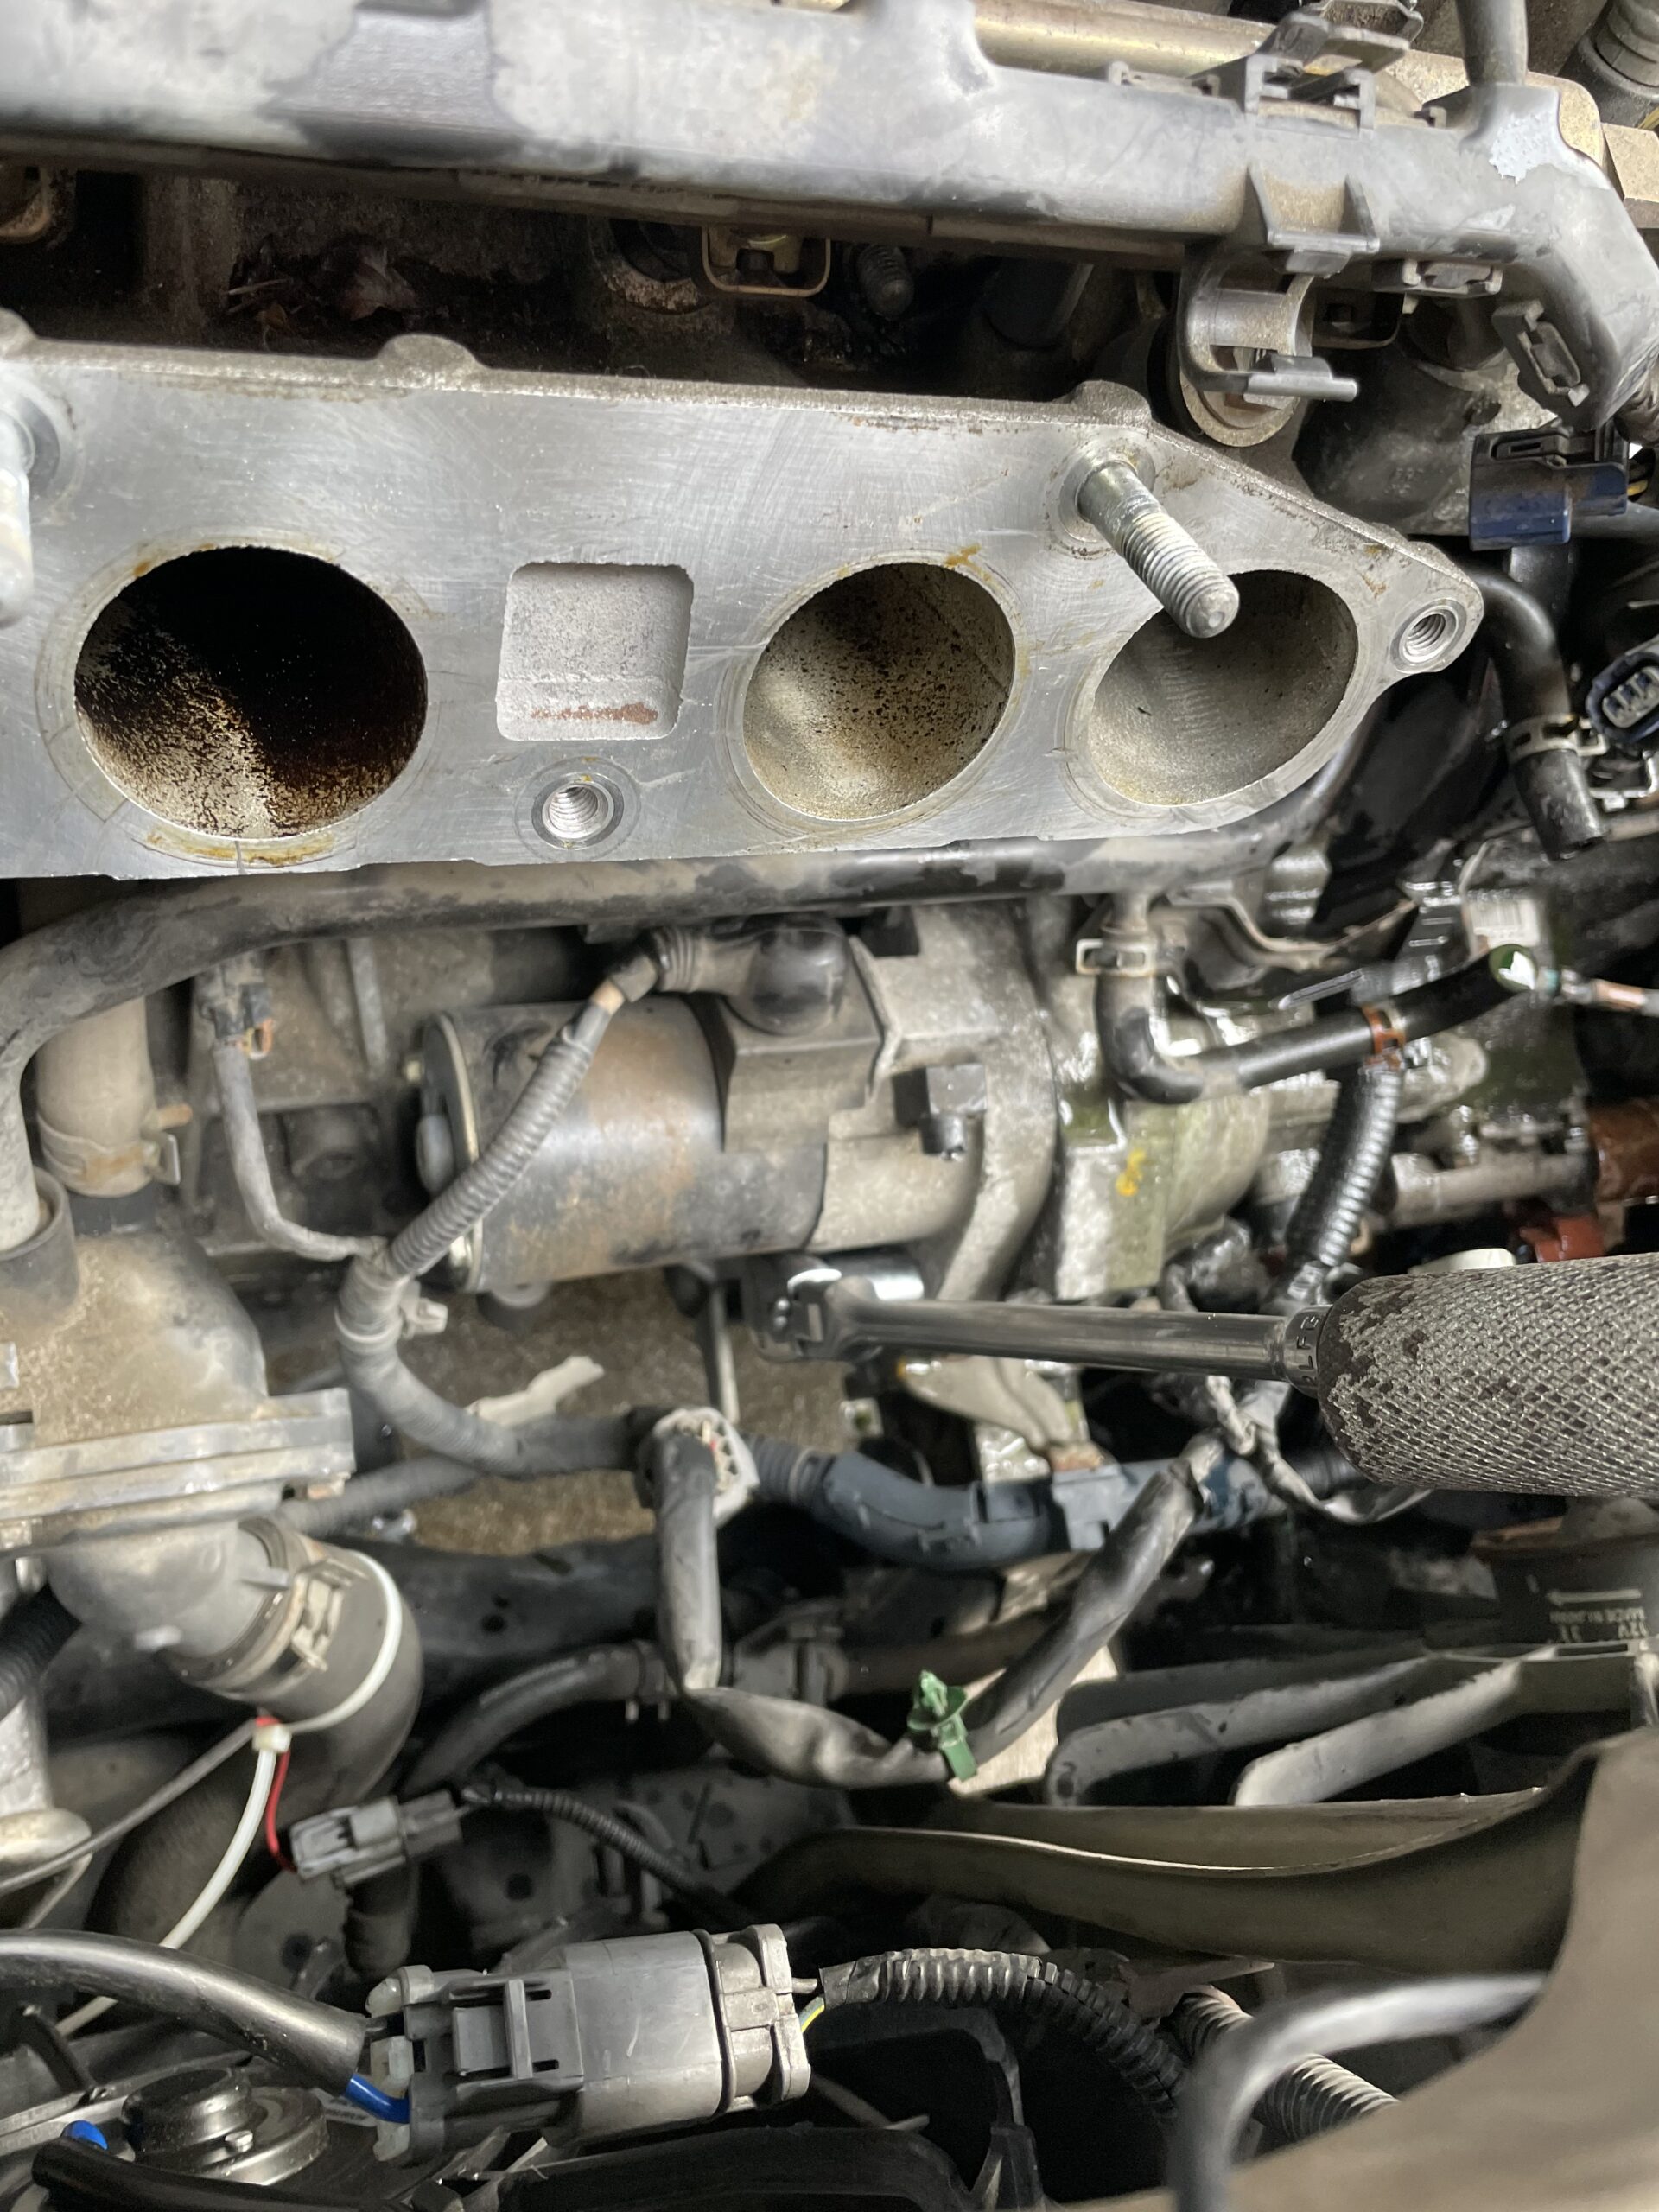
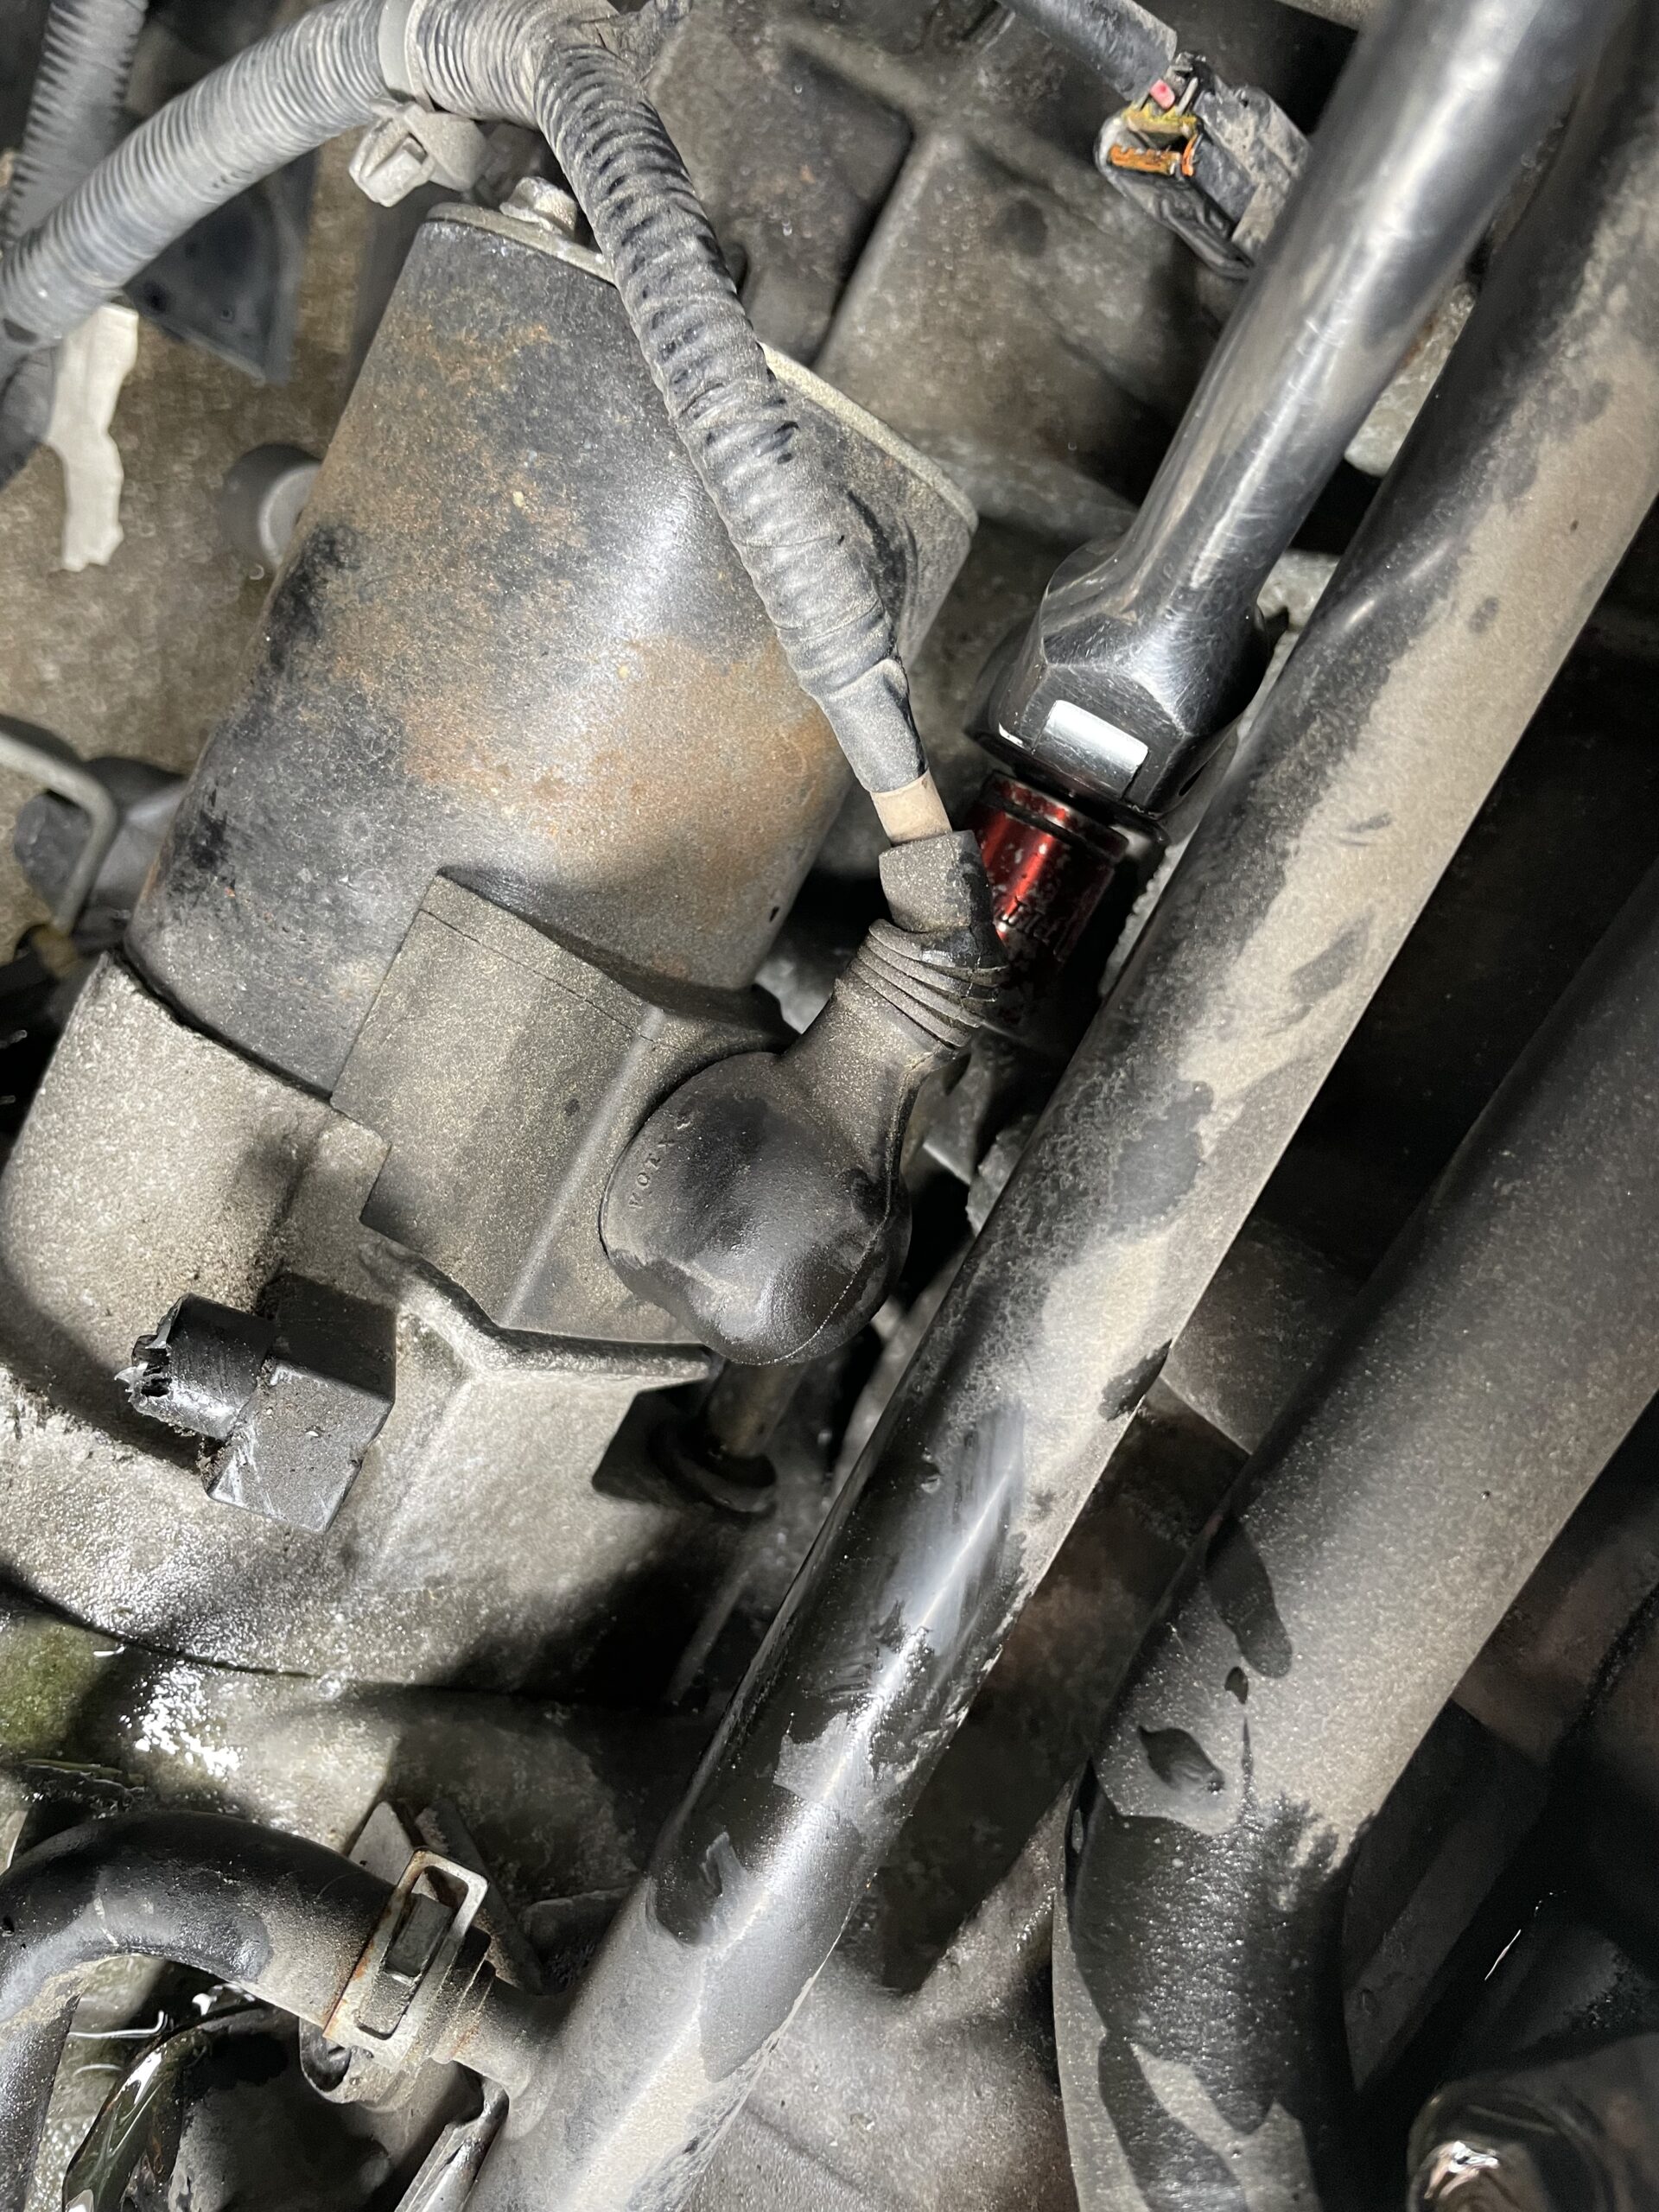
29. Slide out the electrical connection on the starter.
30. Use a wrench and take off the nut on top of the starter.
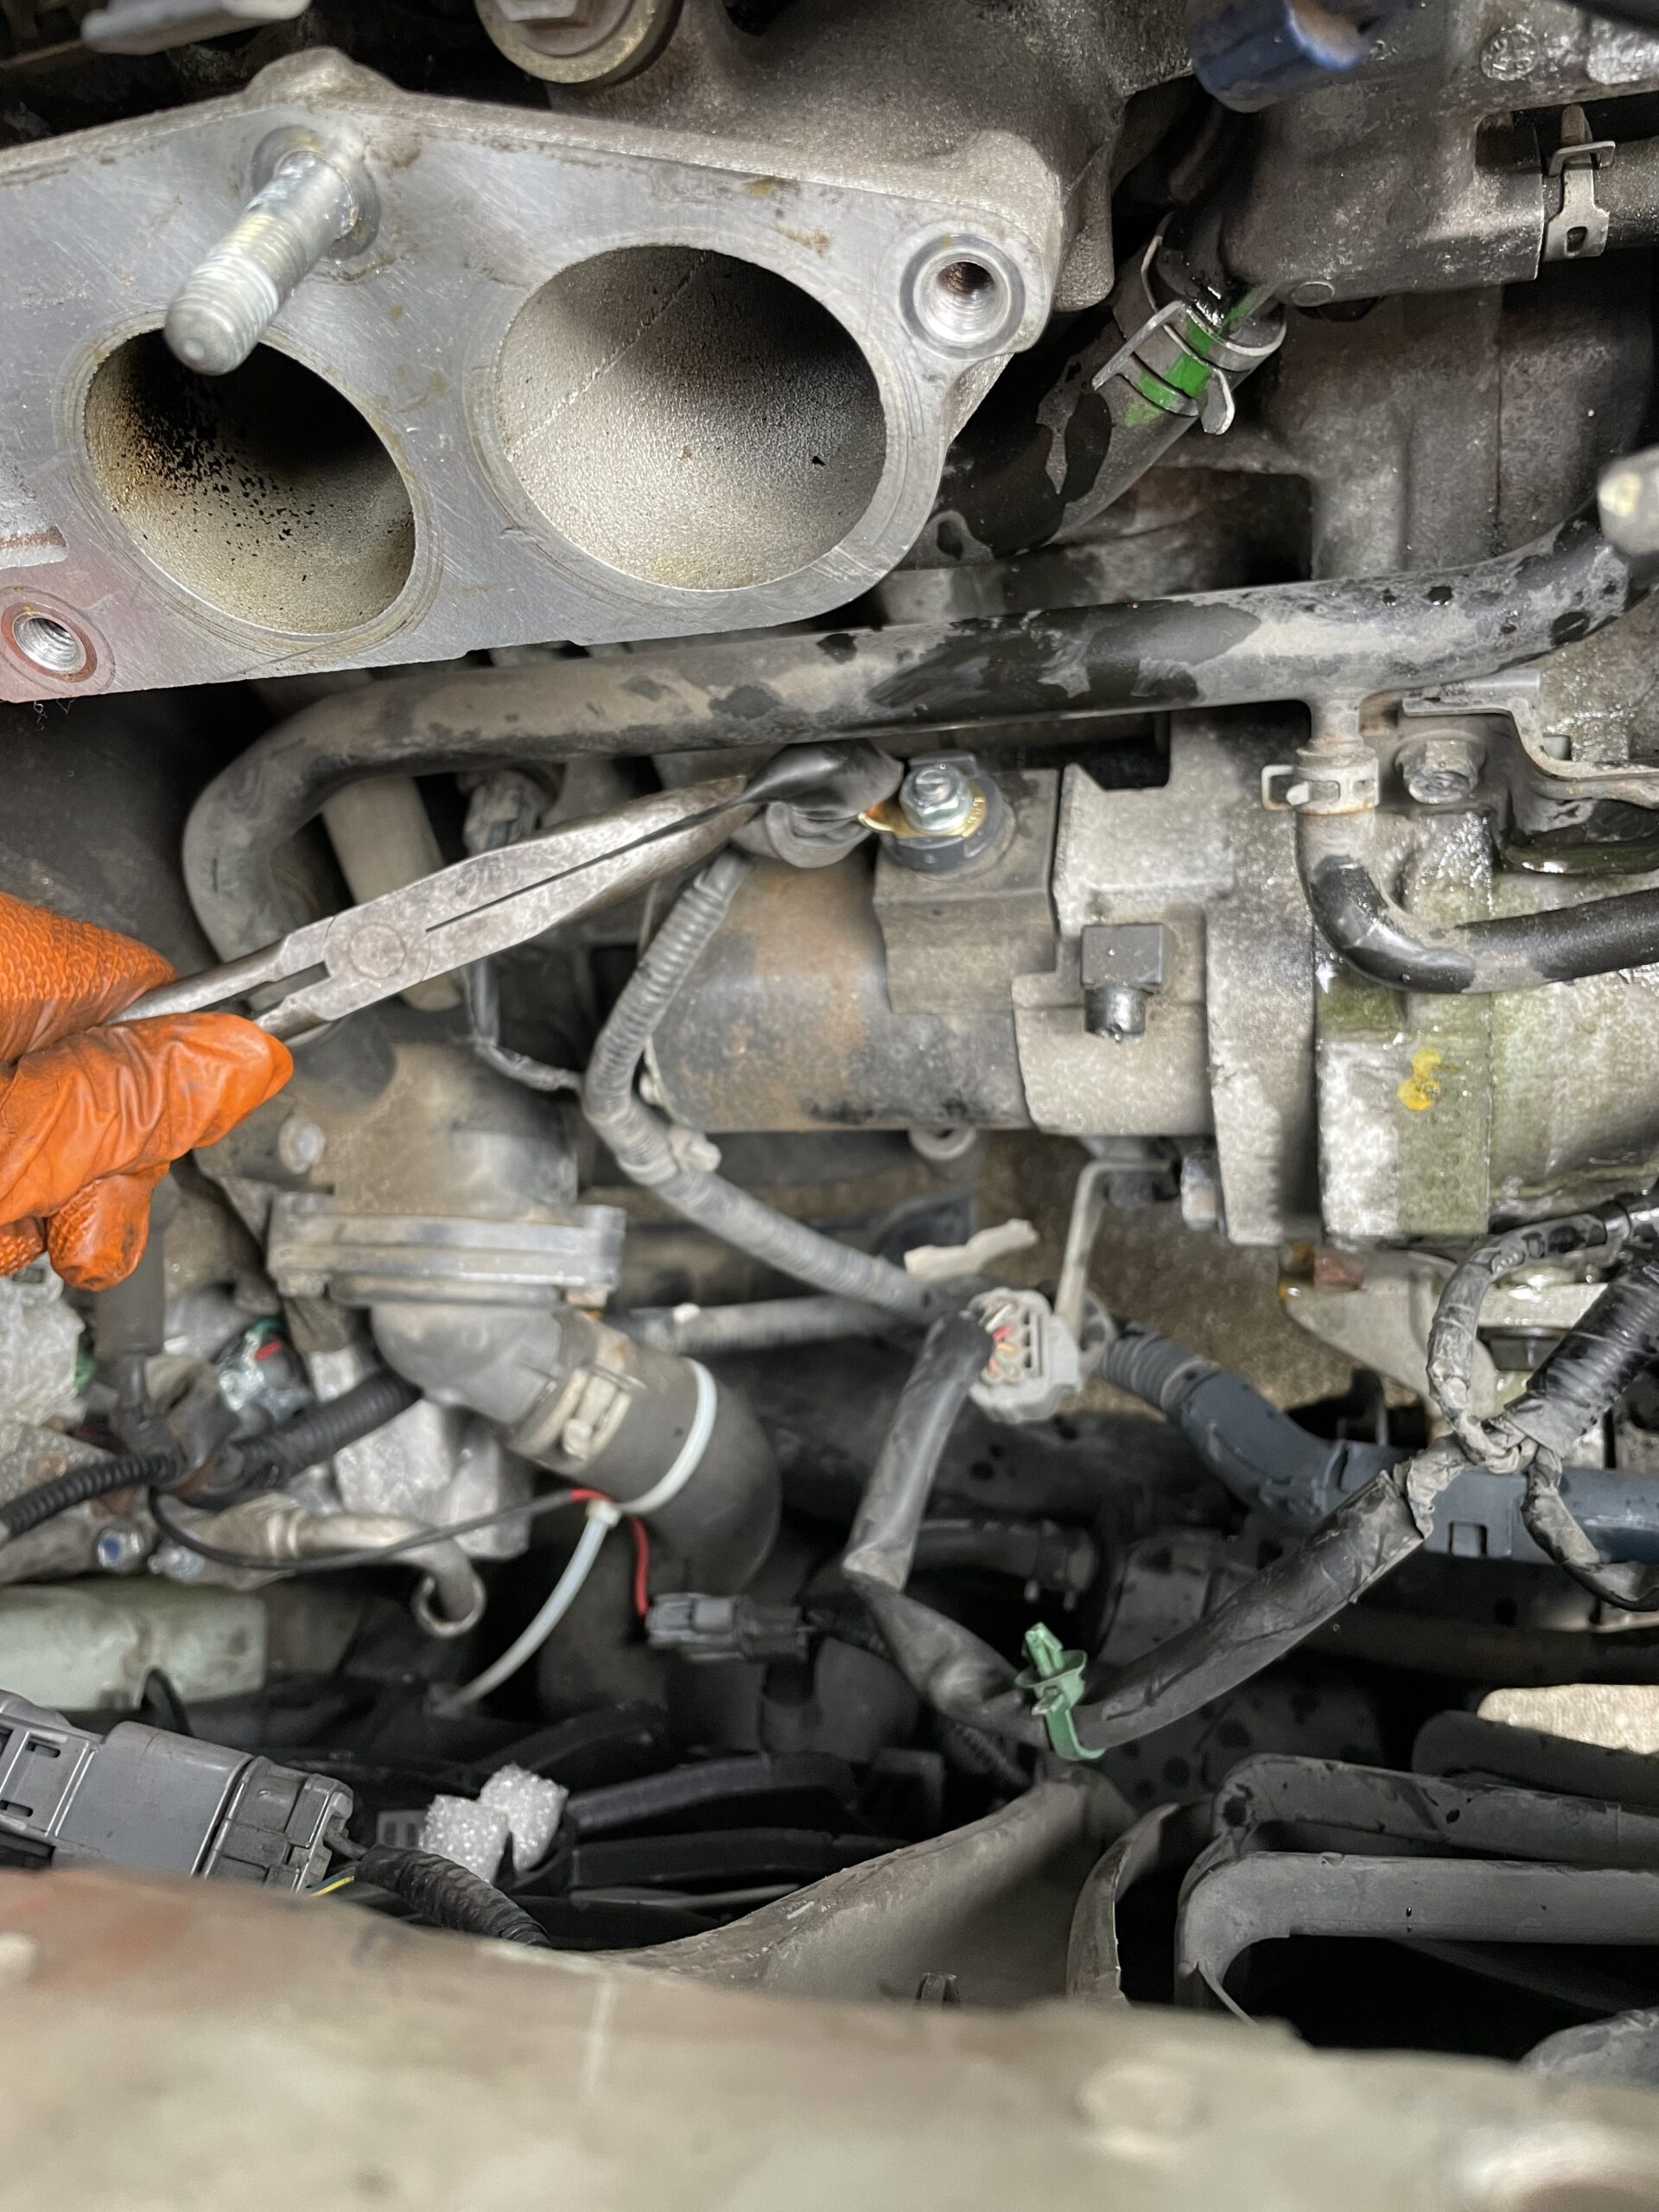

31. After this remove the starter.
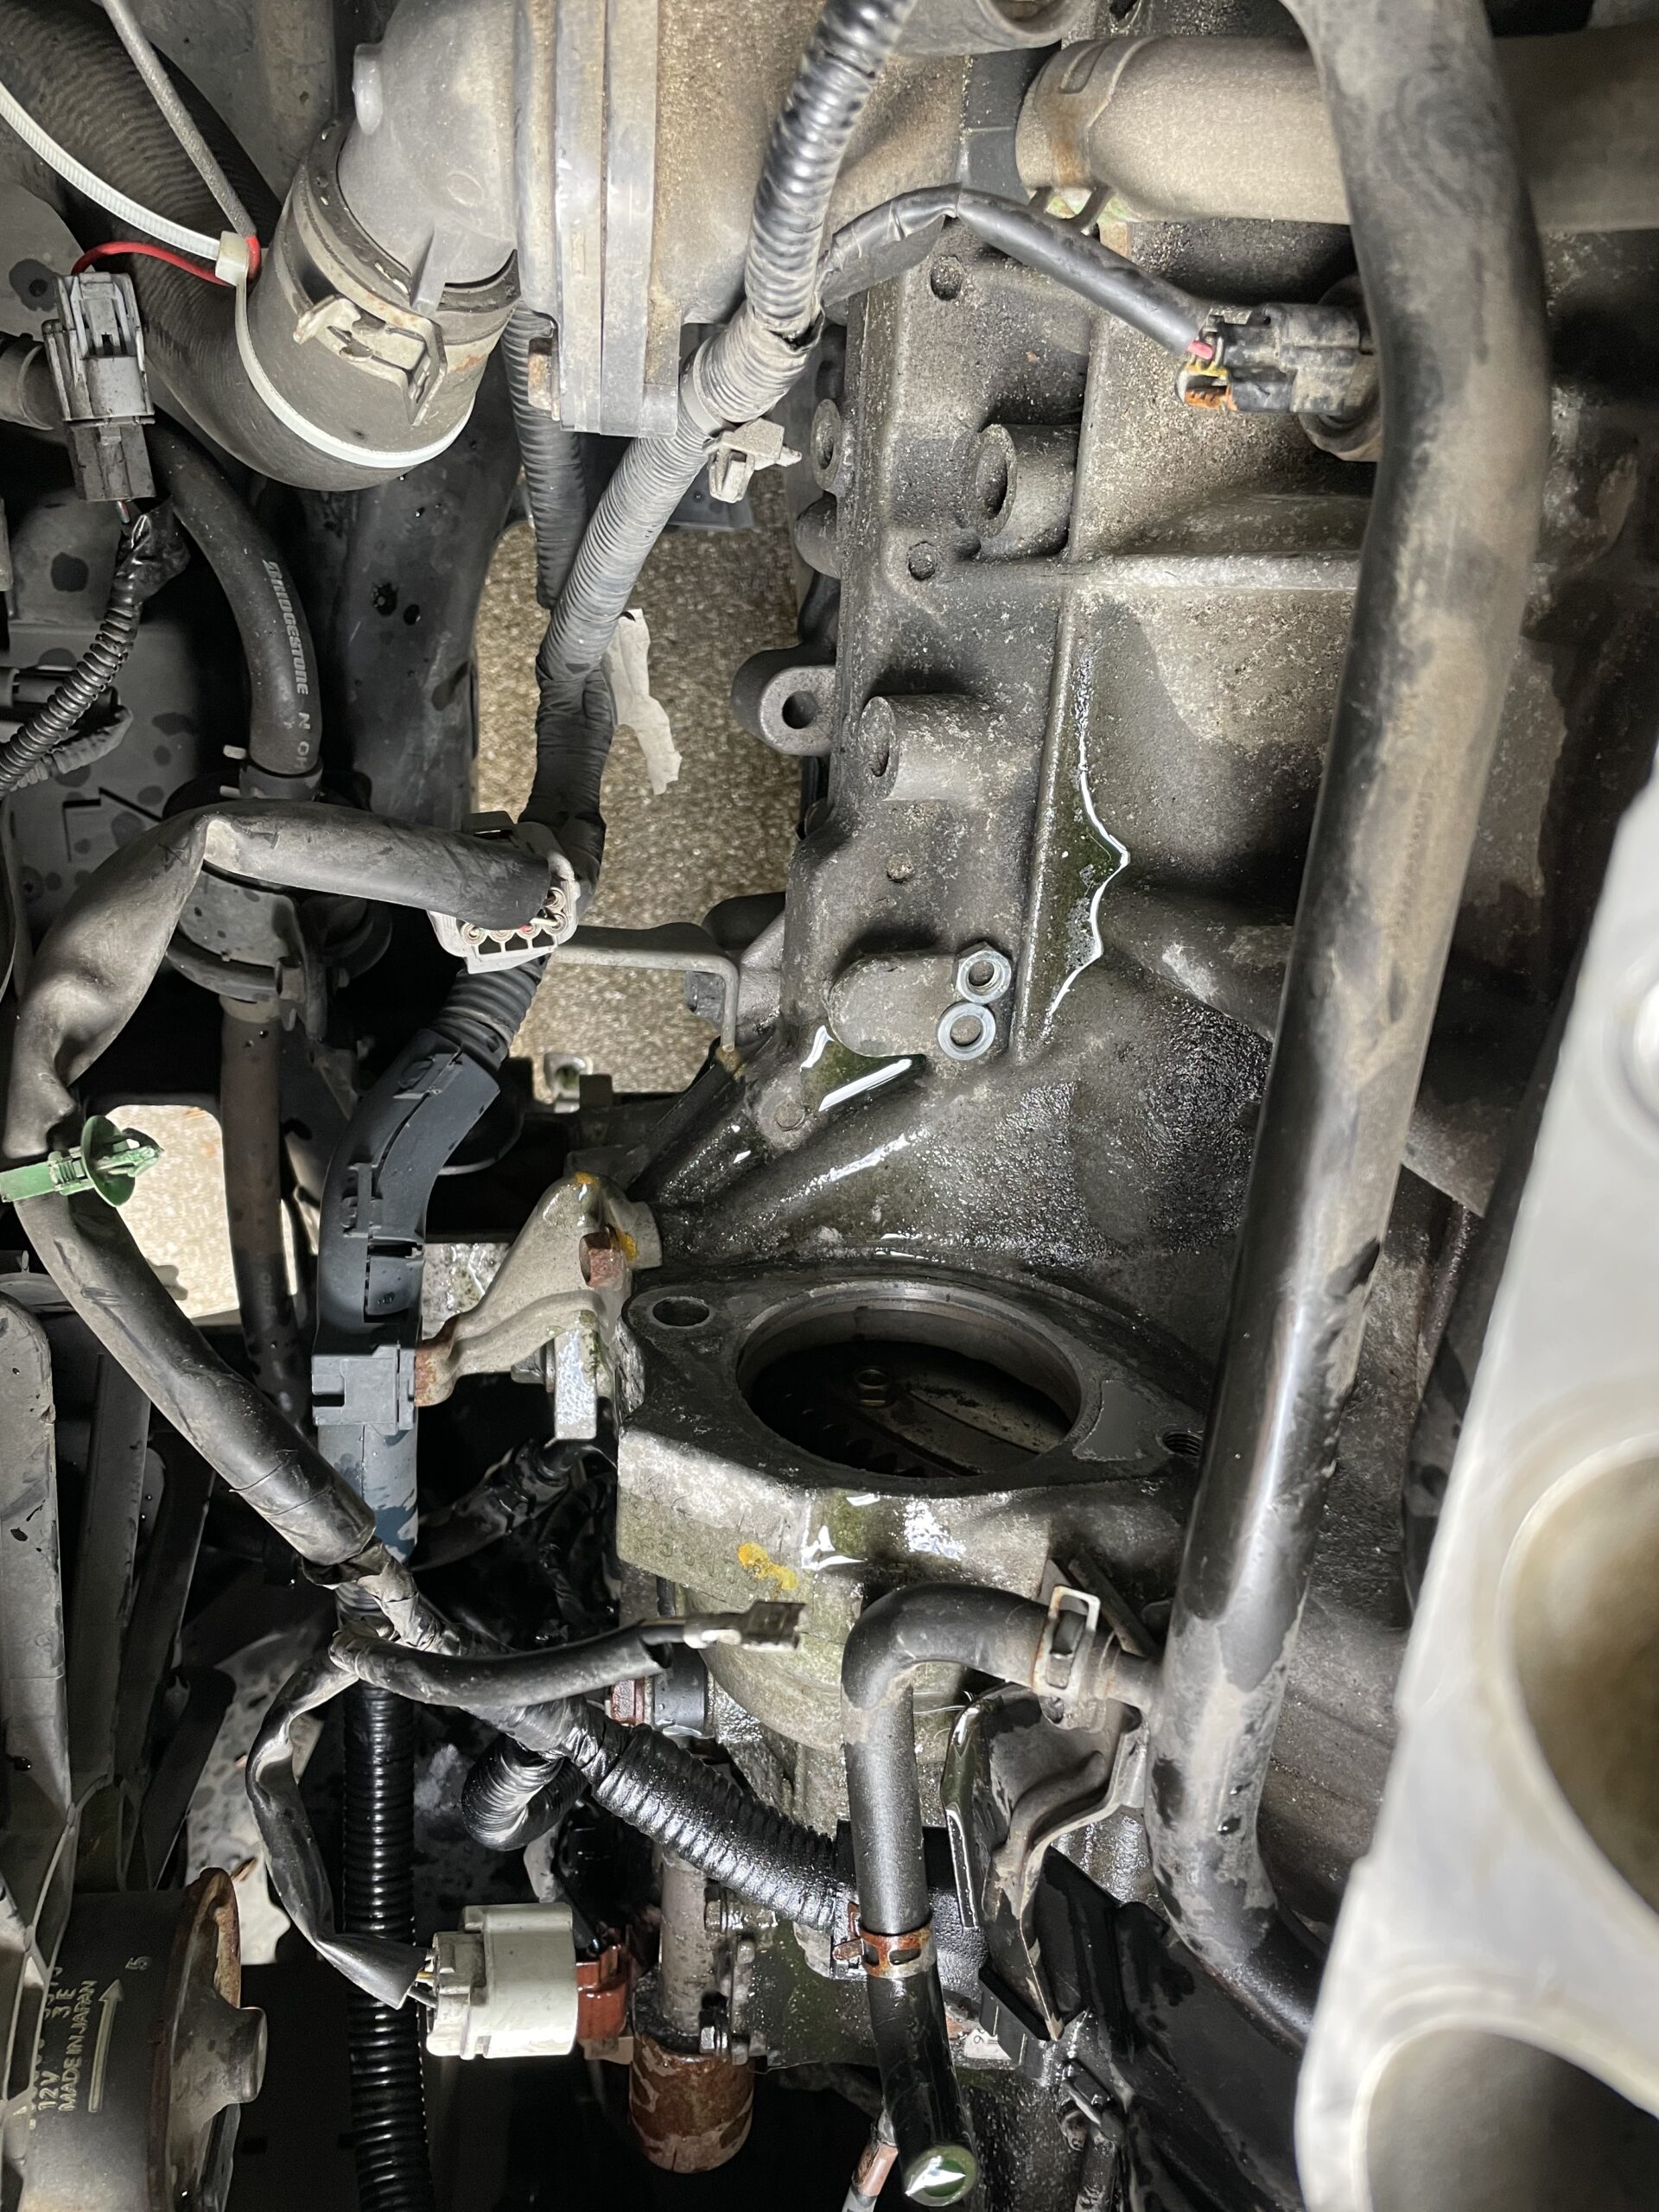
After the starter is out you can take it to a auto parts store and get them to do a full test on it or you can test it on the bench. To install just follow the steps in reverse. Thank you for viewing!
