 The vehicle being repaired in this was 1999 Chevy tracker with a 2.0 engine and 2 wheel drive.
Customer had called in and said that his vehicle will not turn over and his timing chain broke.
This is a detailed account of how the issue was solved.
1: disconnect battery negative terminal
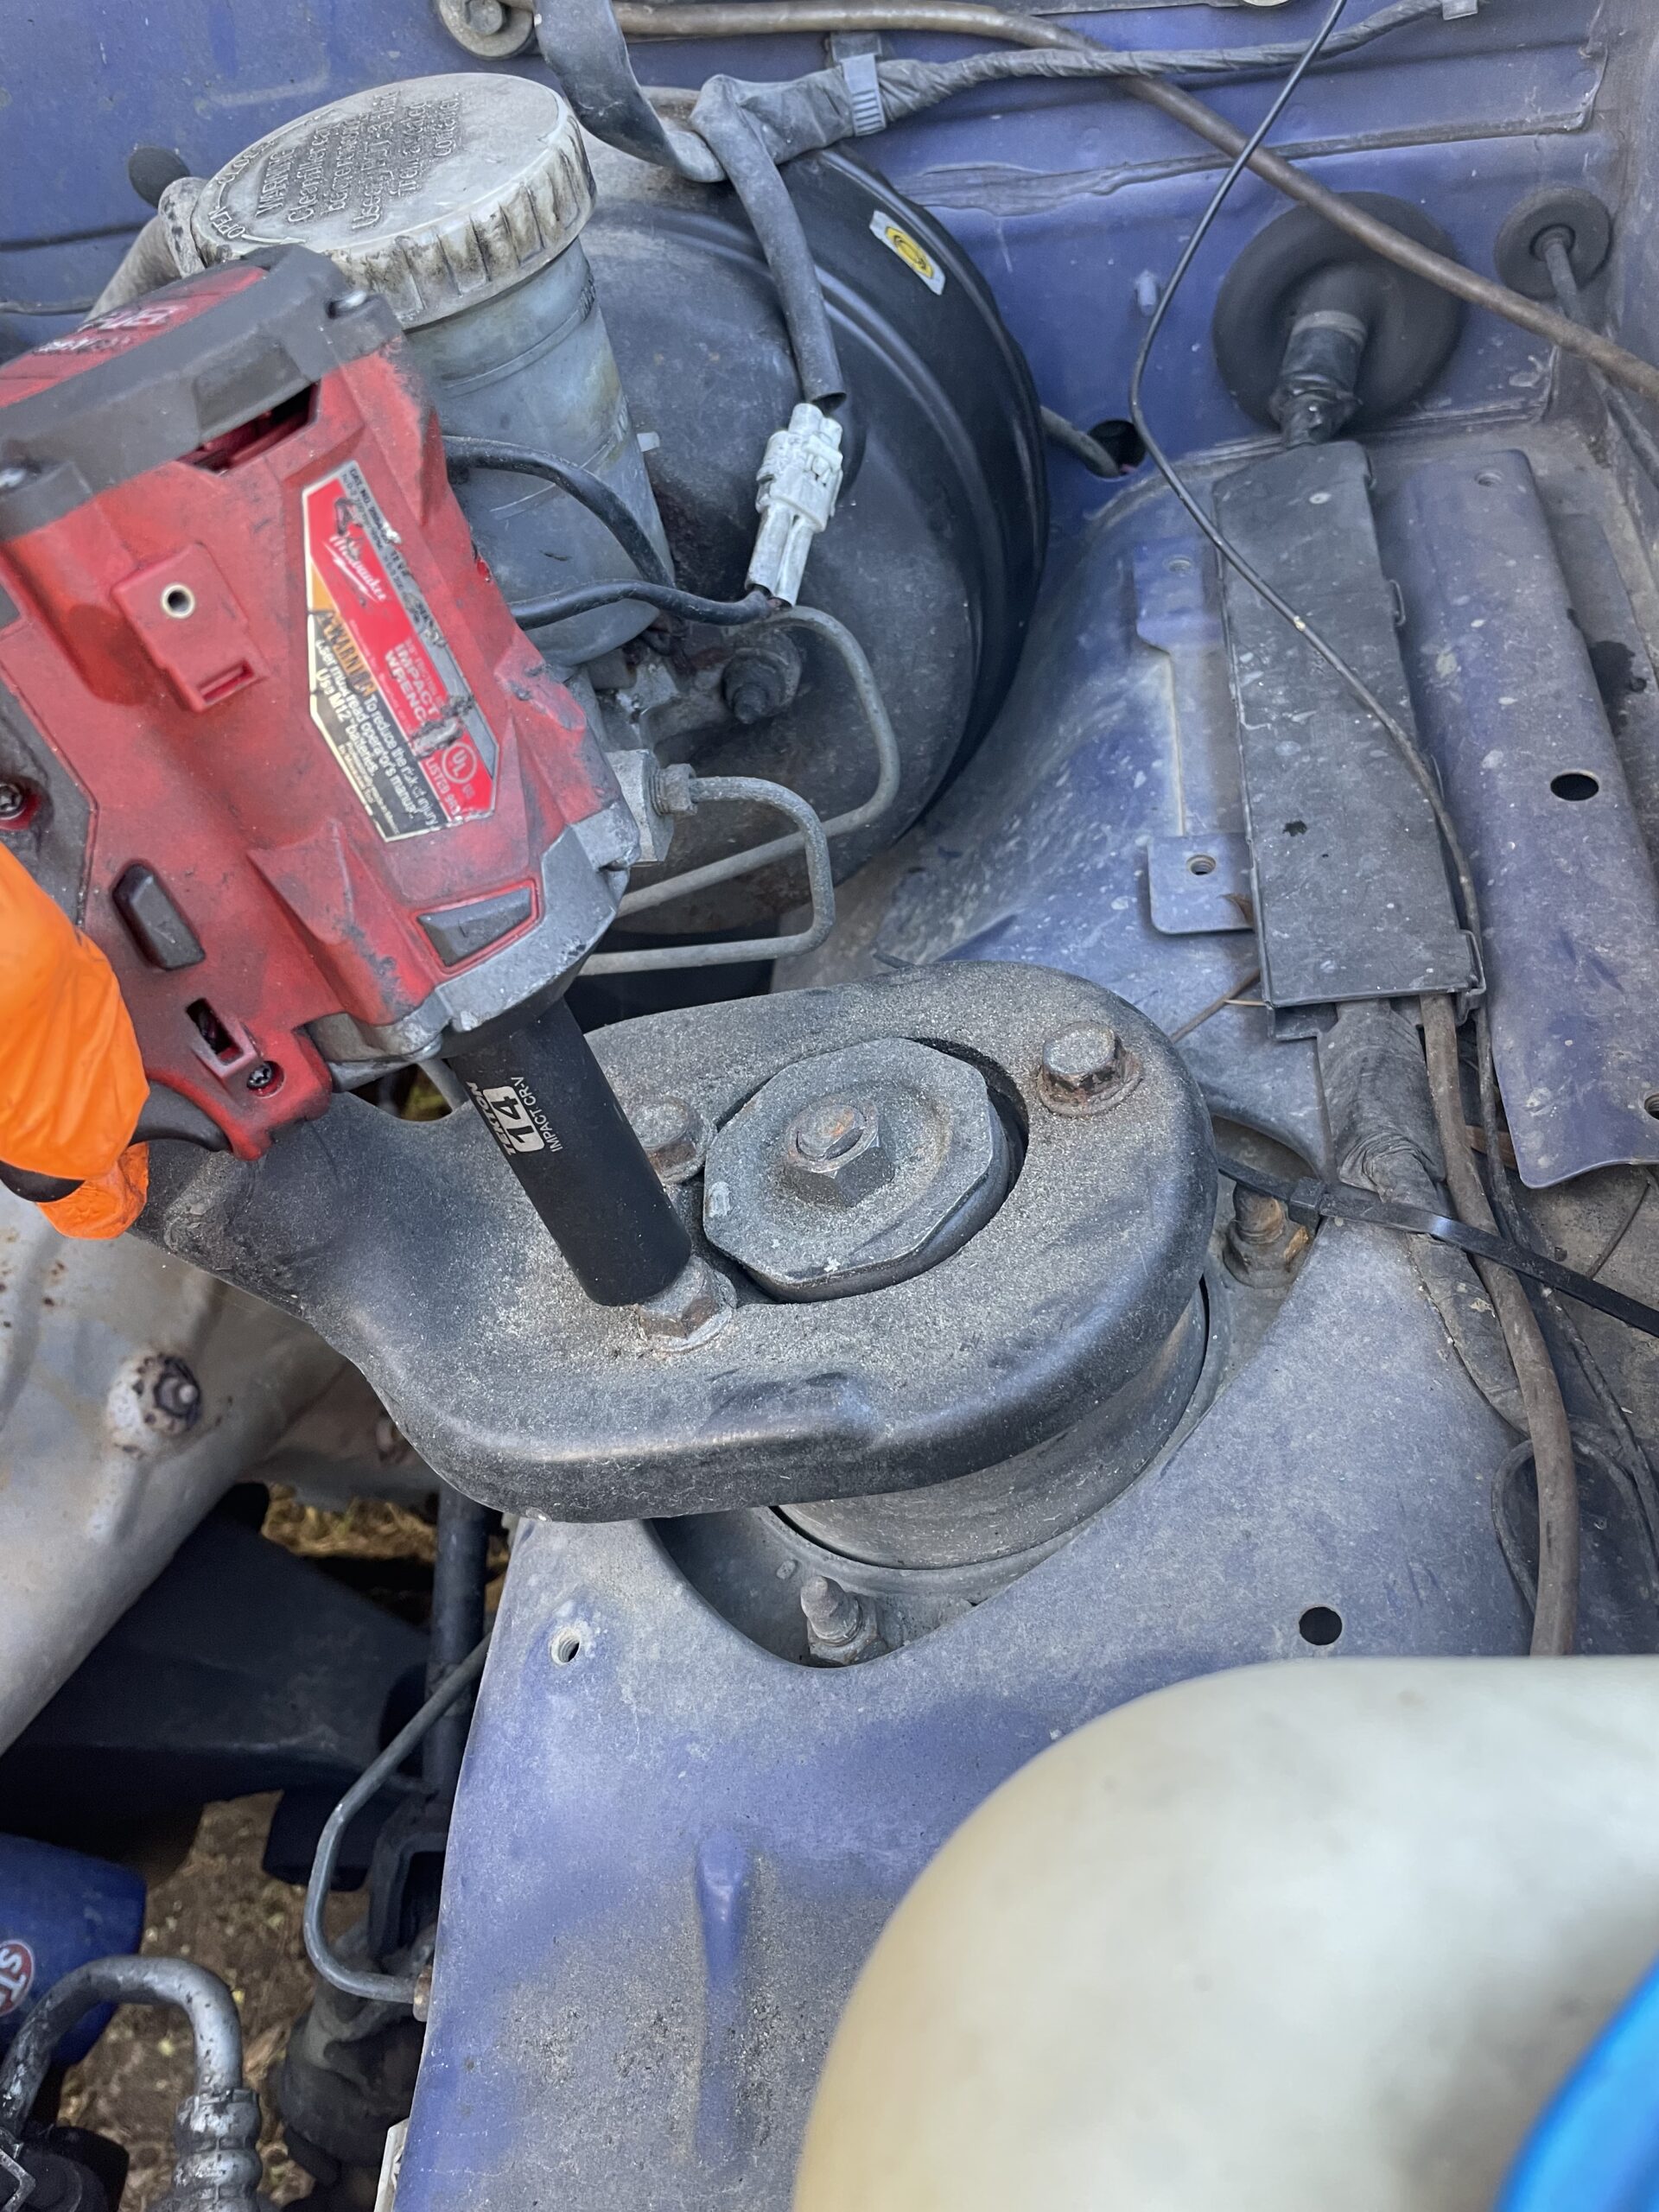
2: Remove the strut brace. It is 6 bolts, 3 bolts on each side. Located above the struts ( 14mm)
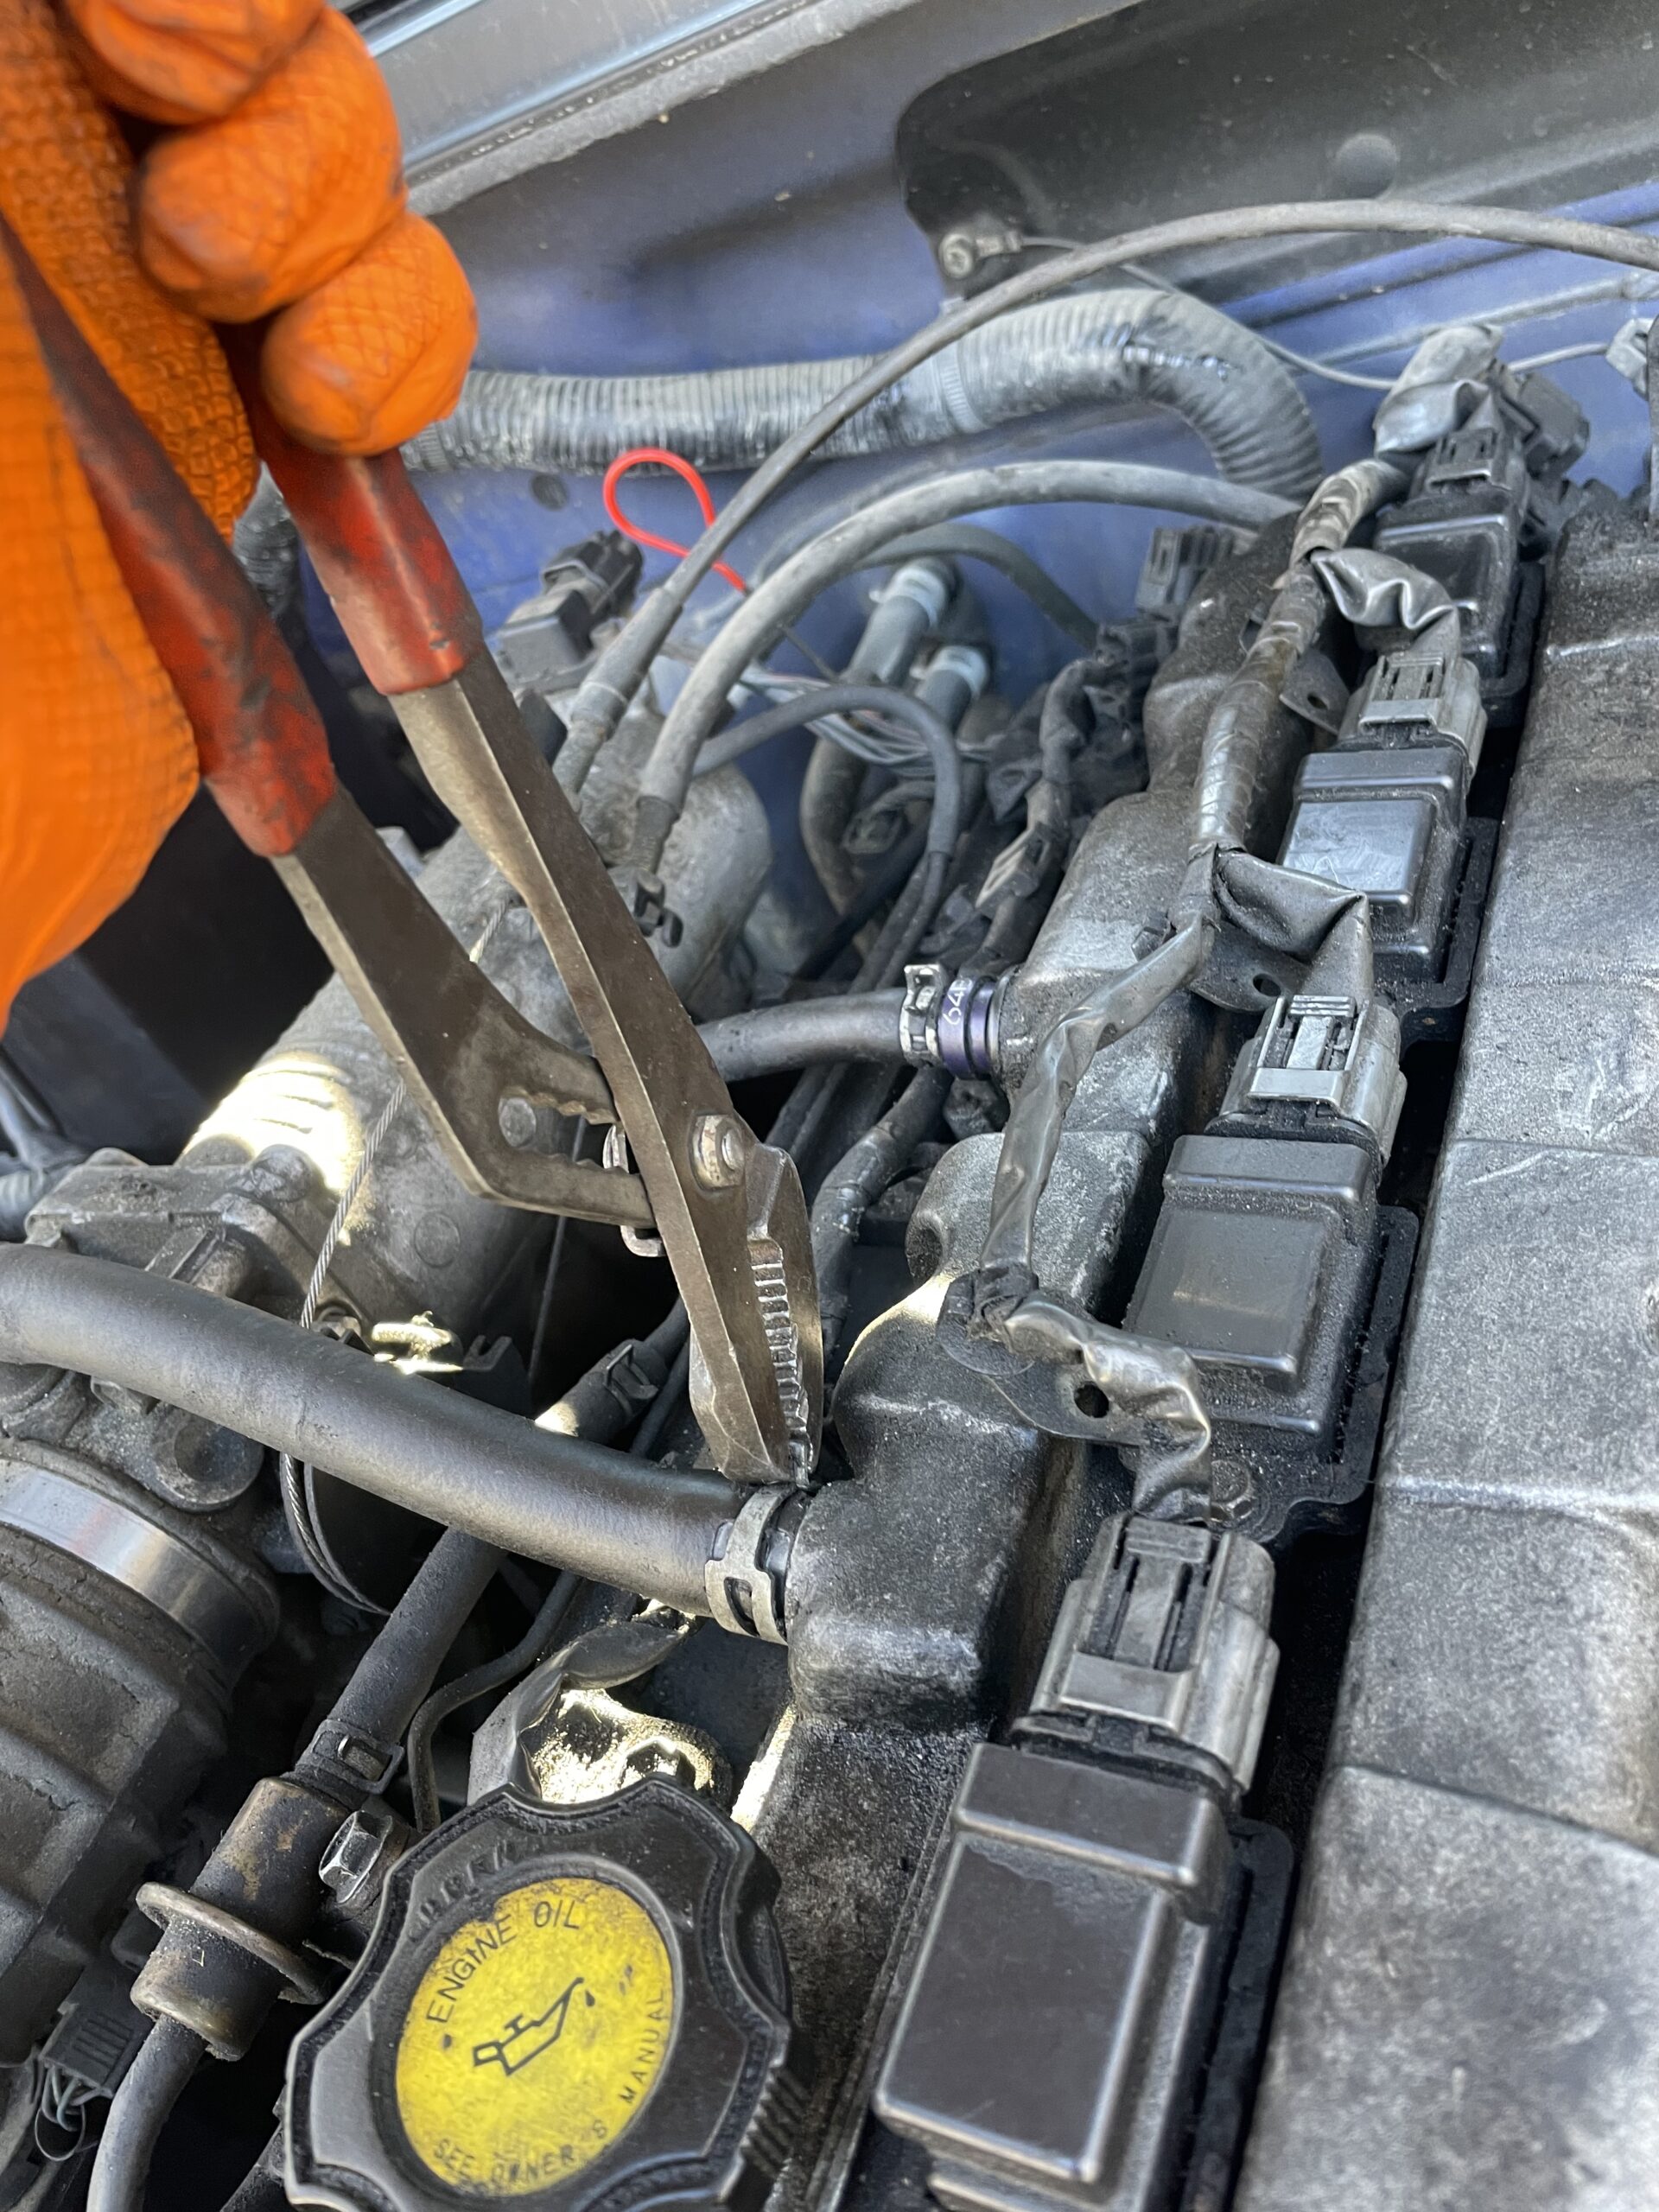
3: Remove vacuum lines going from intake to valve cover. We use pliers.
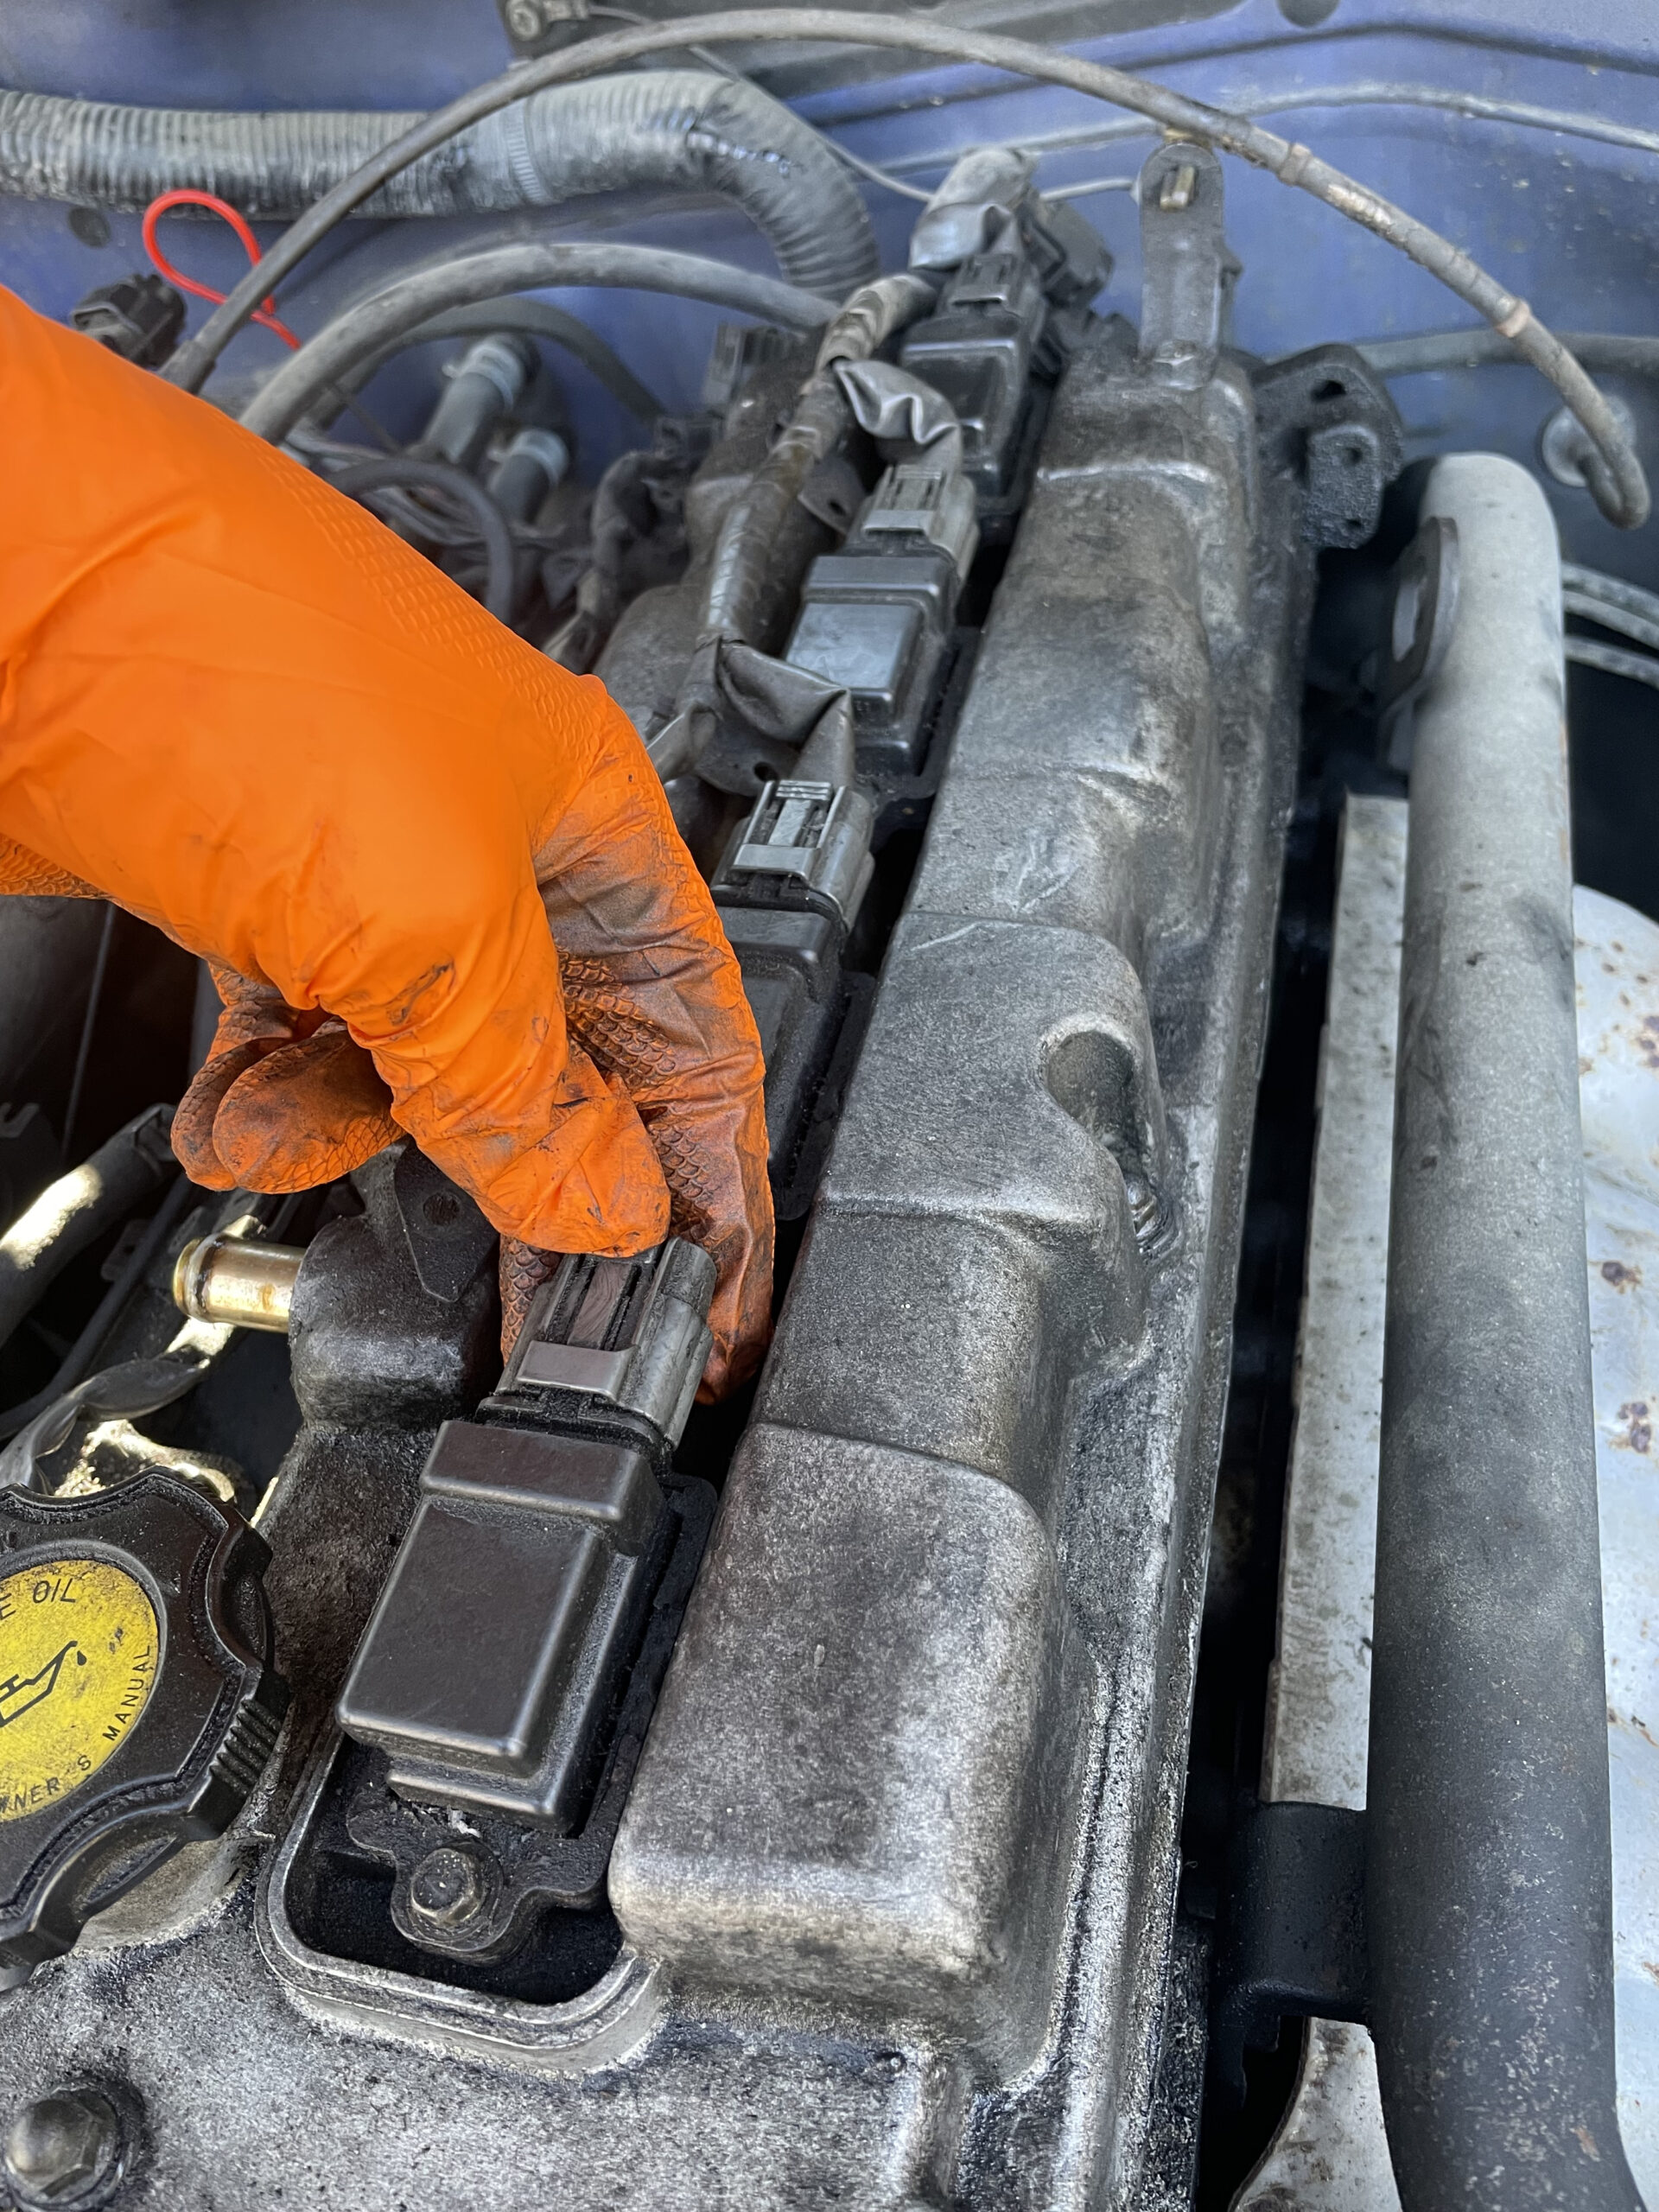
4: Unplug coil packs for each spark plug. Put the wire harness to the back of the engine bay.
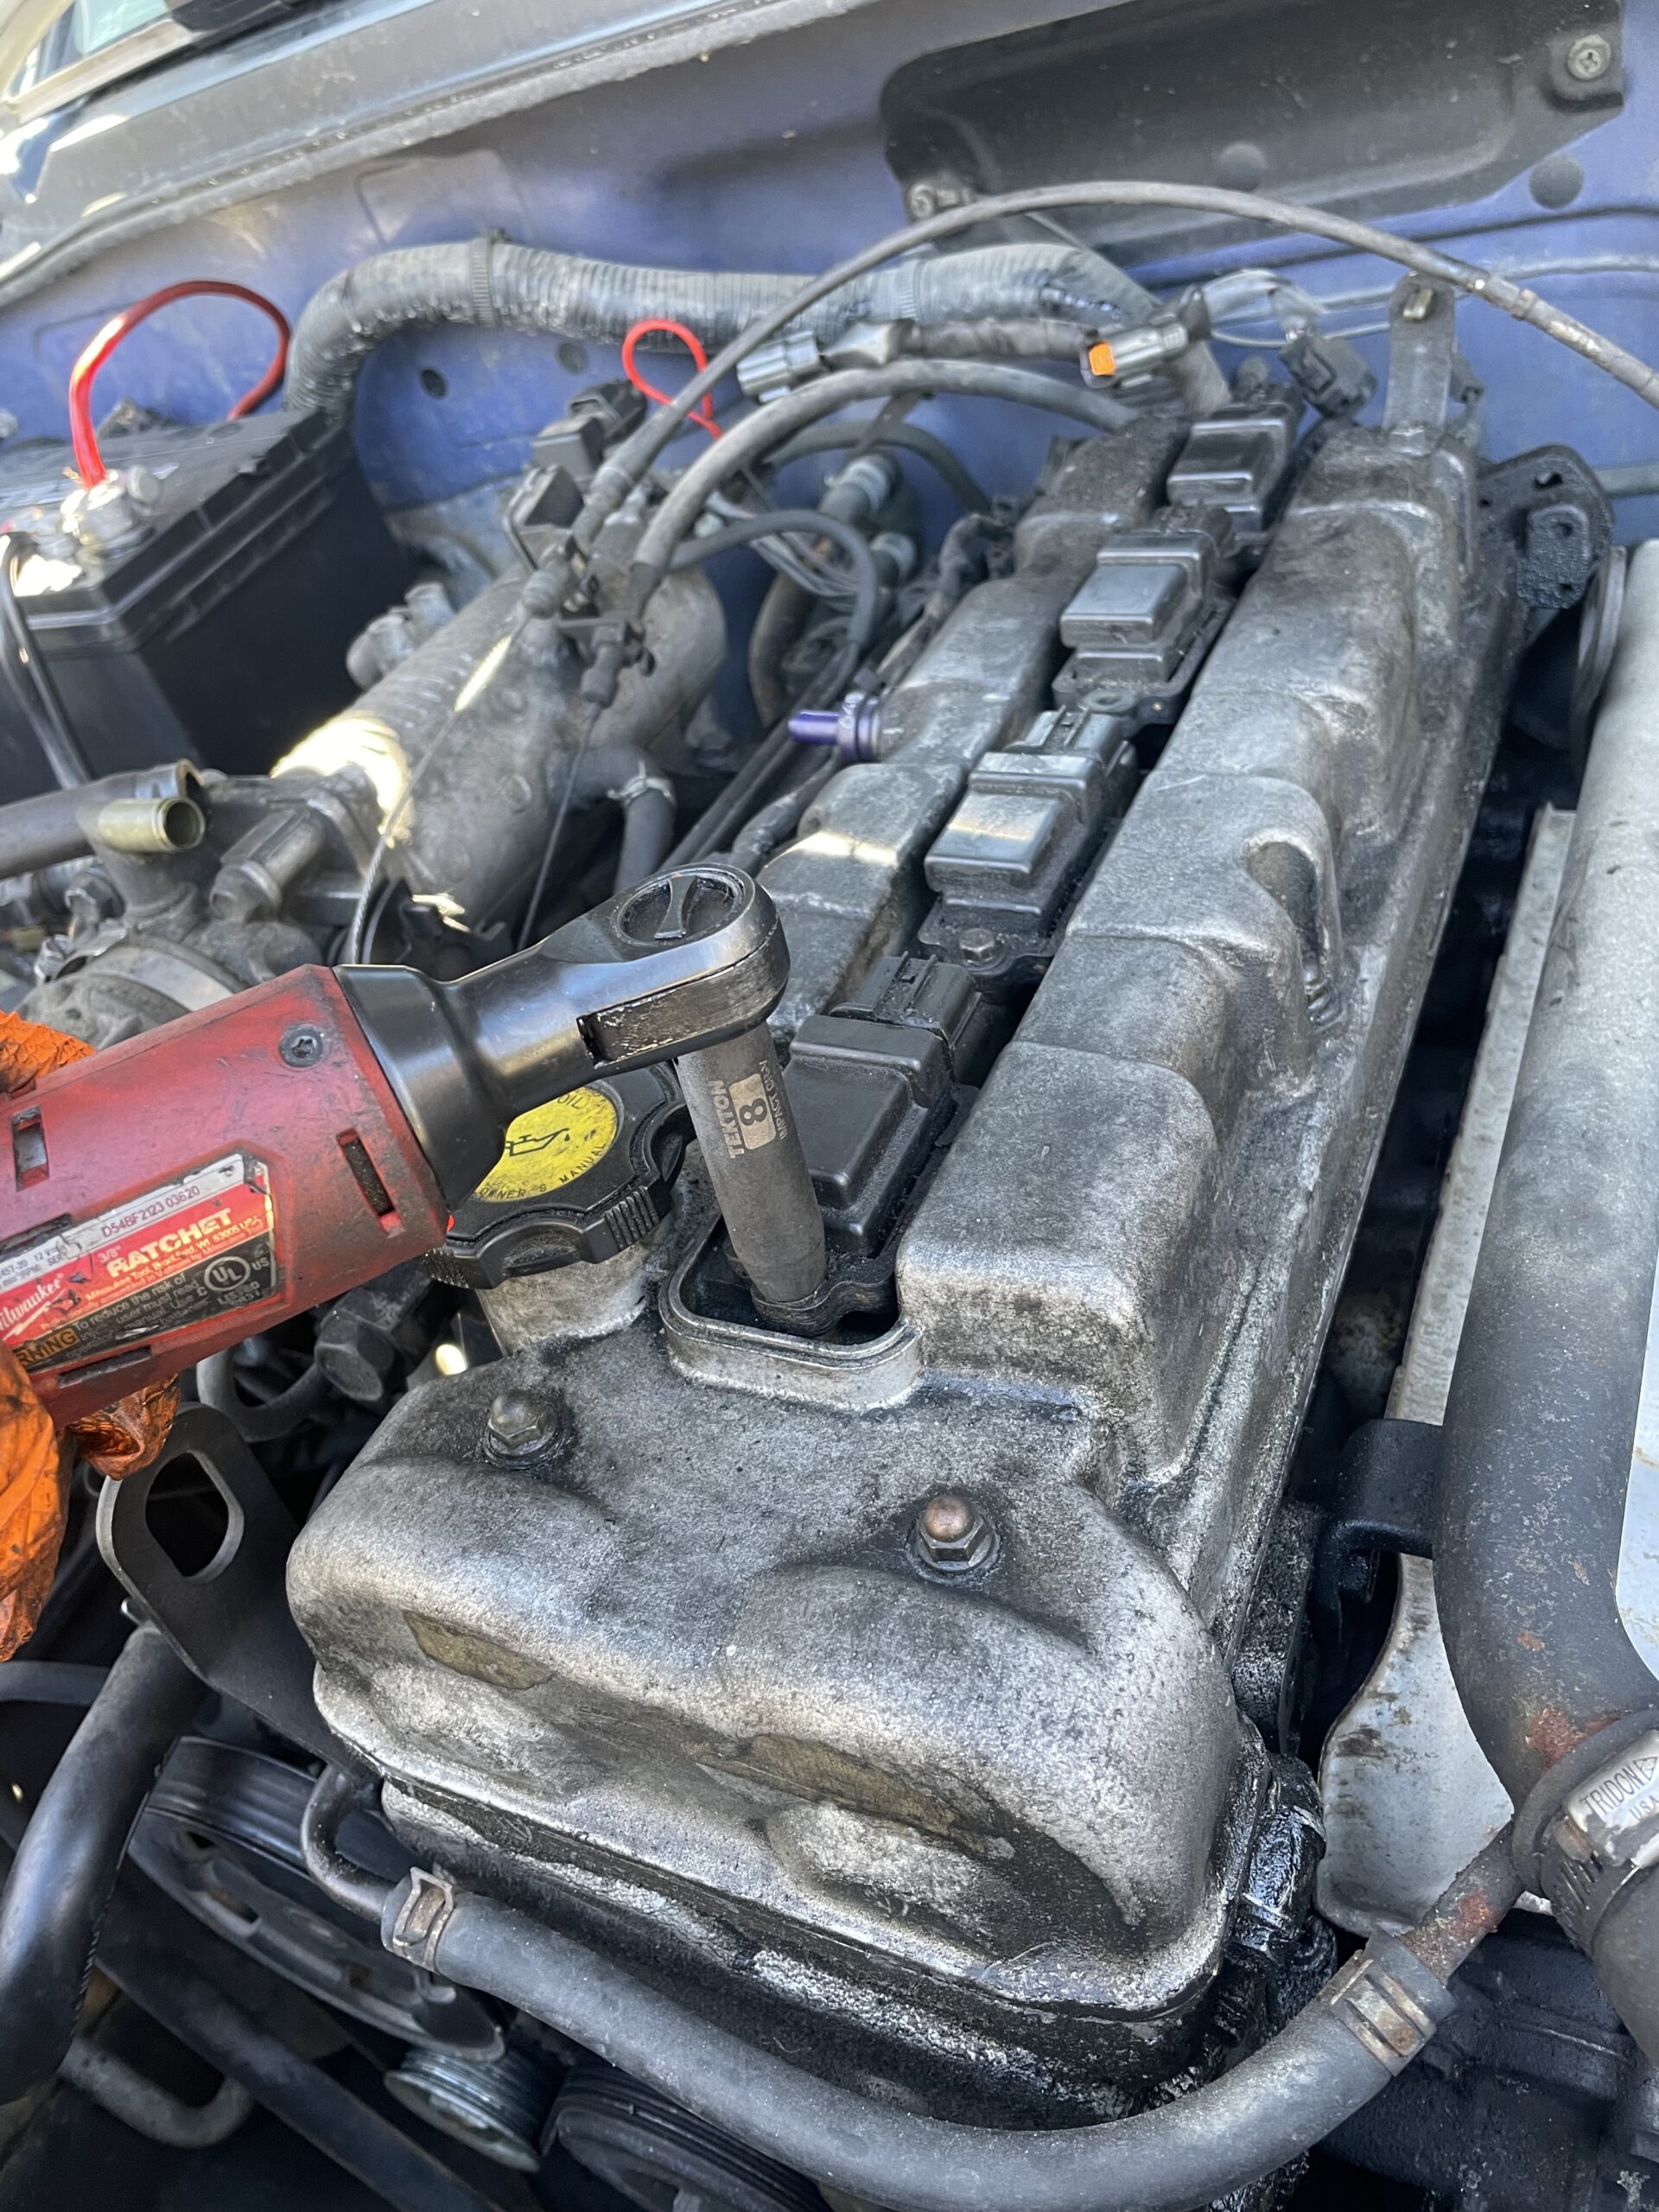
5: Remove the 8mm bolts holding in the coil packs. Then remove the coil packs.
6: Remove the 10mm bolts on the valve cover. They are tiny rounded bolts and easy to loose!

7: Use a tiny pry bar and create some space between the head and the valve cover. Be careful not to damage any gasket/ mating surfaces.

8: Using a 14mm short socket, remove the 3 bolts holding on the fan tensioner. This pulley has a skinny belt and be careful not to damage the radiator in the process of removing fan.

9: With valve cover off use a 19mm socket and ratchet to find top dead center using the crank shaft pulley. It will be a tiny notch on the top of the timing chain cover, right above the crank pulley.
10: using a 14mm, remove the tensioner and idler pulley.

11: Remove the upper coolant hose.
12: Remove the over flow line going to the radiator.

13: Remove the transmission cooler line going in the bottom of the radiator. They are both 17mm.
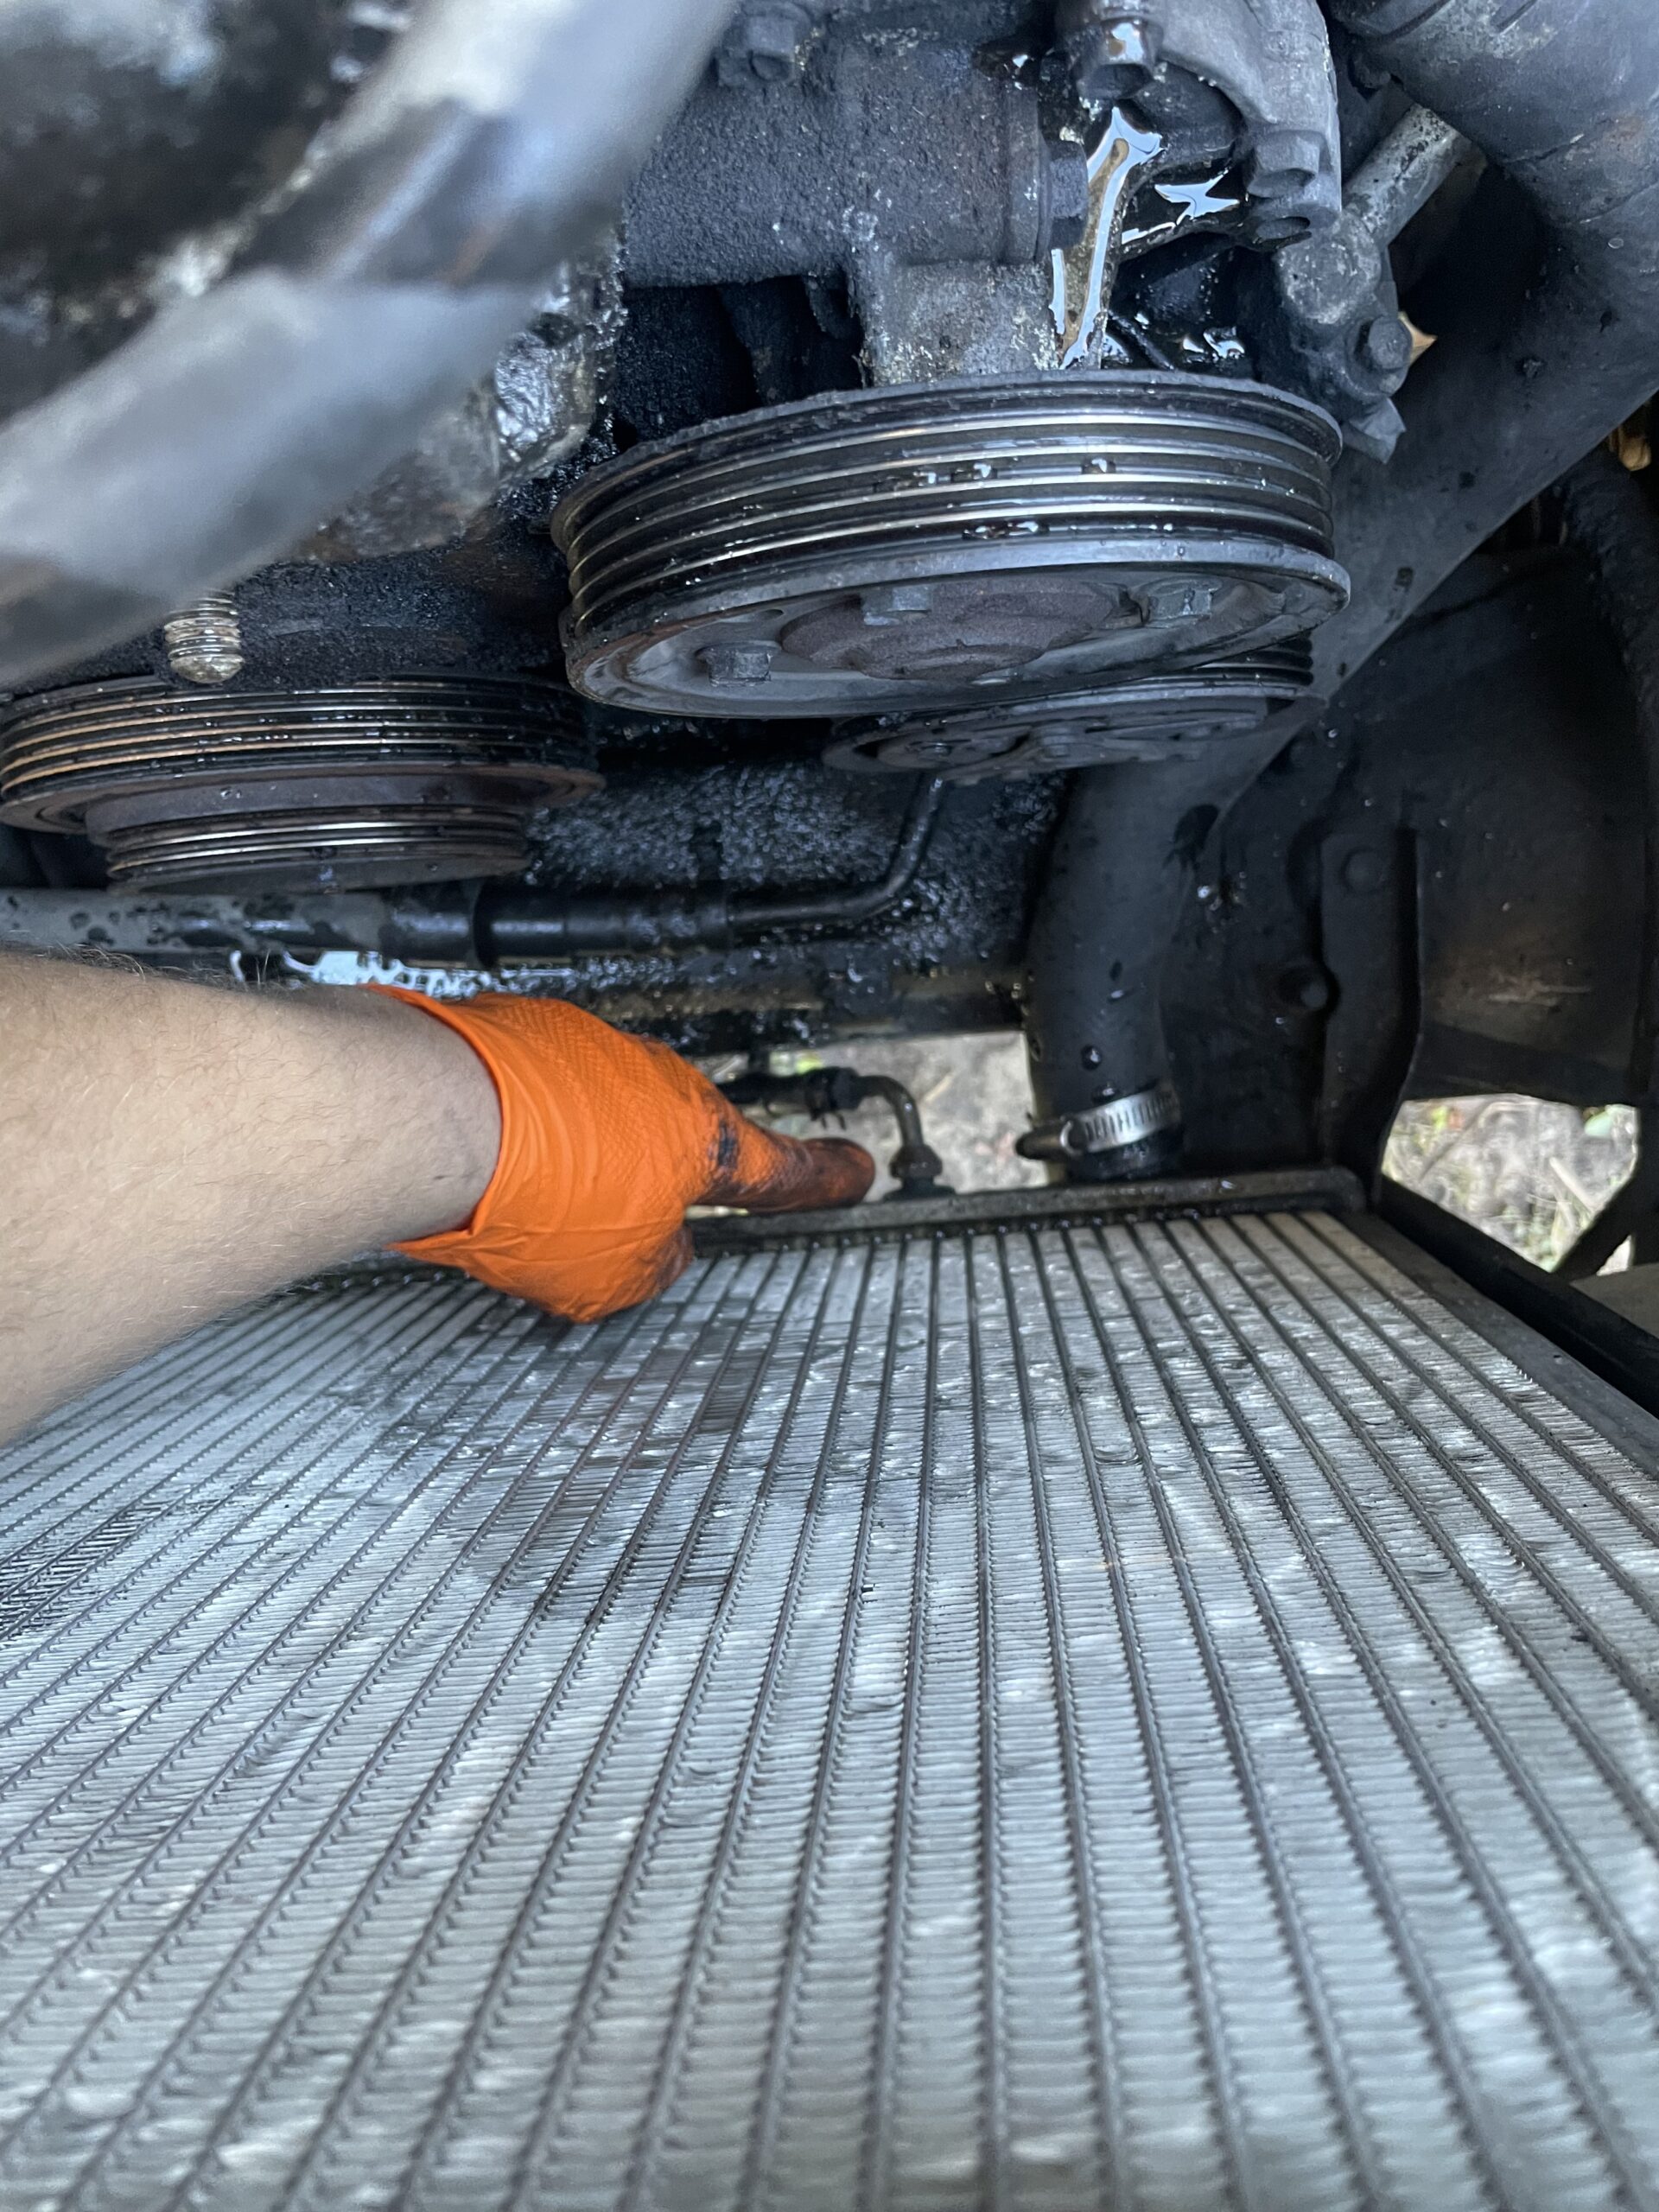
14: Remove the lower coolant hose.

15: With a 10mm and impact, remove the 4 water pump pullet bolts.

16: IMPORTANT!!! With a 19 mm socket and long breaker bar, rest the bar against the inner passenger side frame rail. Make sure the socket it on the crank pulley bolt all the way on the bolt. Go into the driver seat and turn the key to start the engine just one quick click and that will be enough to brake the bolt free. If you do not comfortable doing this you can rent a tool.

17: Remove serpentine belt tensioner.

18: Remove upper coolant line in front of the timing chain cover.

19: Remove three bolts retaining the AC compressor. Move the AC compressor out of the way.

20: Remove the 4 bolts for the AC bracket. They are bolted into the block and the top 2 bolts are recessed.

21: Find the power steering pump, then directly look to the right and remove the 2 bolts holding on the bracket going into the block that is covering the timing chain cover bolt. 12mm bolts. You do not have to take the bolt in the back all the way out.

22: Use some parts cleaner and clean up the timing chain cover. Trust me there is a lot of bolts that can hide behind sludge.
23: Using a 10mm socket,, remove the bolts holding on the timing chain cover.
24: There is a seal you will have to break to get the chain off. Use something that will not scuff or take away metal when you pry it off.
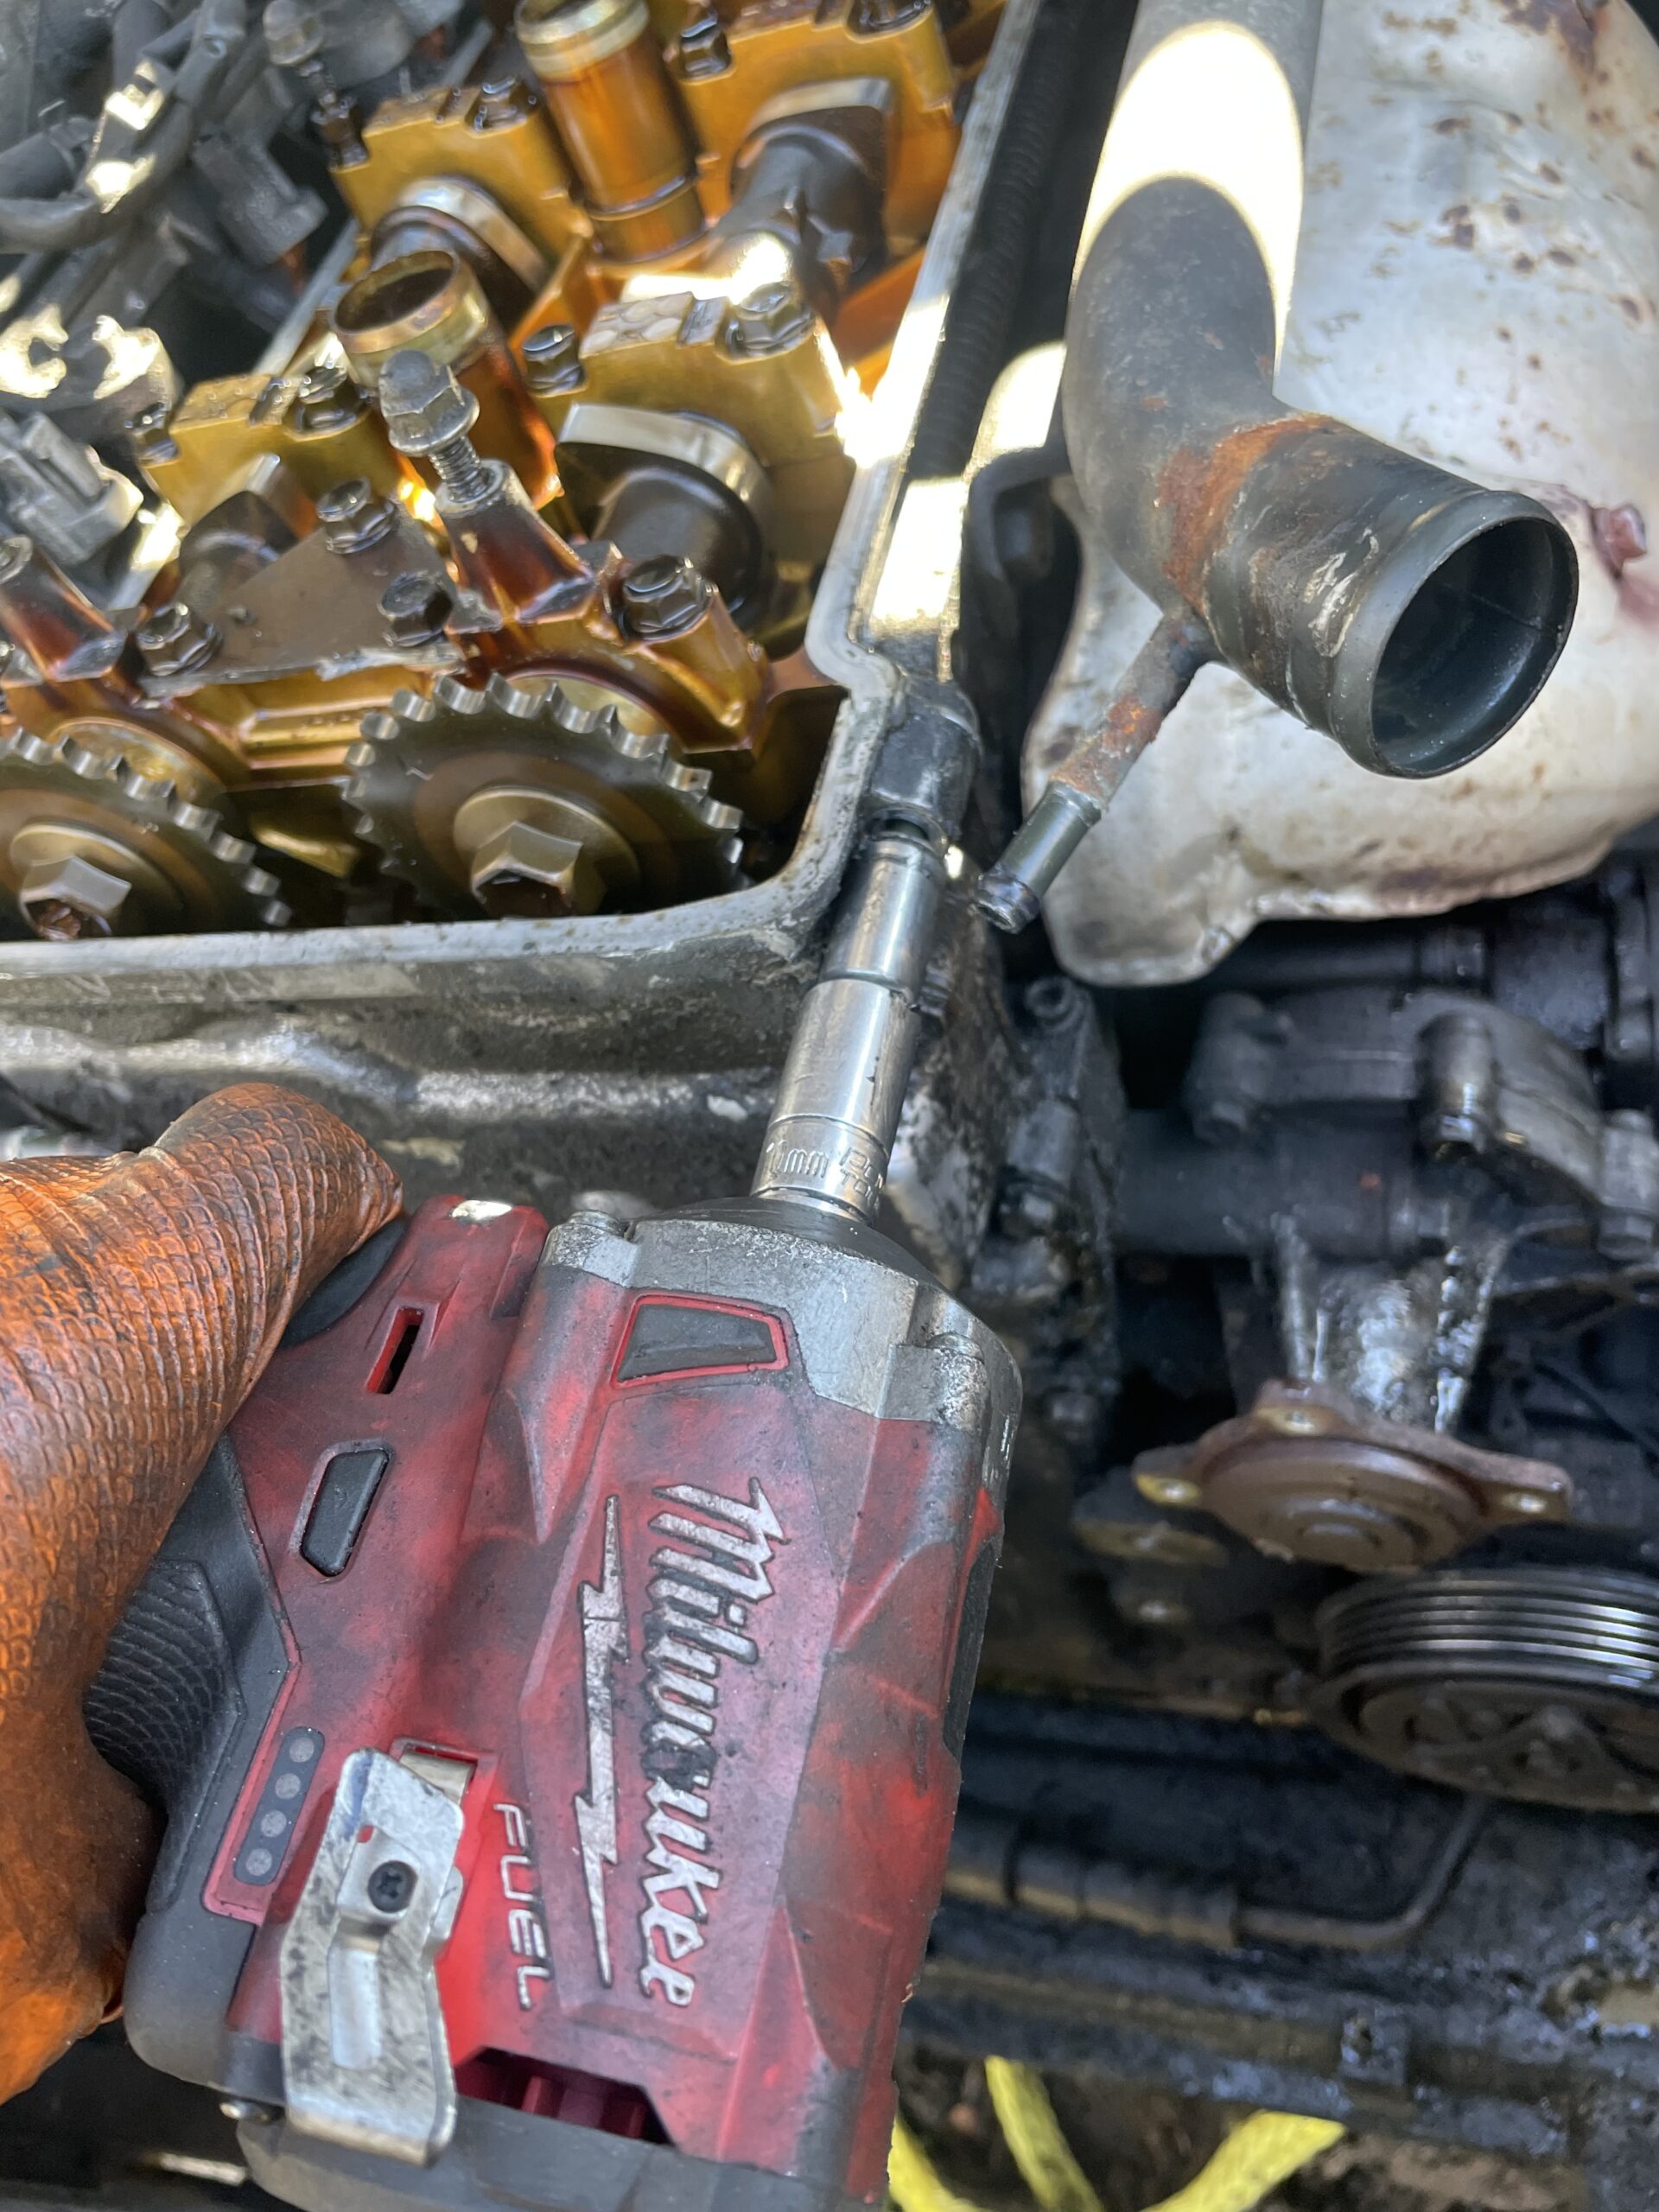
25: Remove the camshaft chain tensioner (the upper chain). It is also going over the idler pulley and have a bolt holding it on.

26: Remove the lower chain tensioner.

27: Remove black plastic chain guide on the right.

28: Loosen the camshaft bolts.
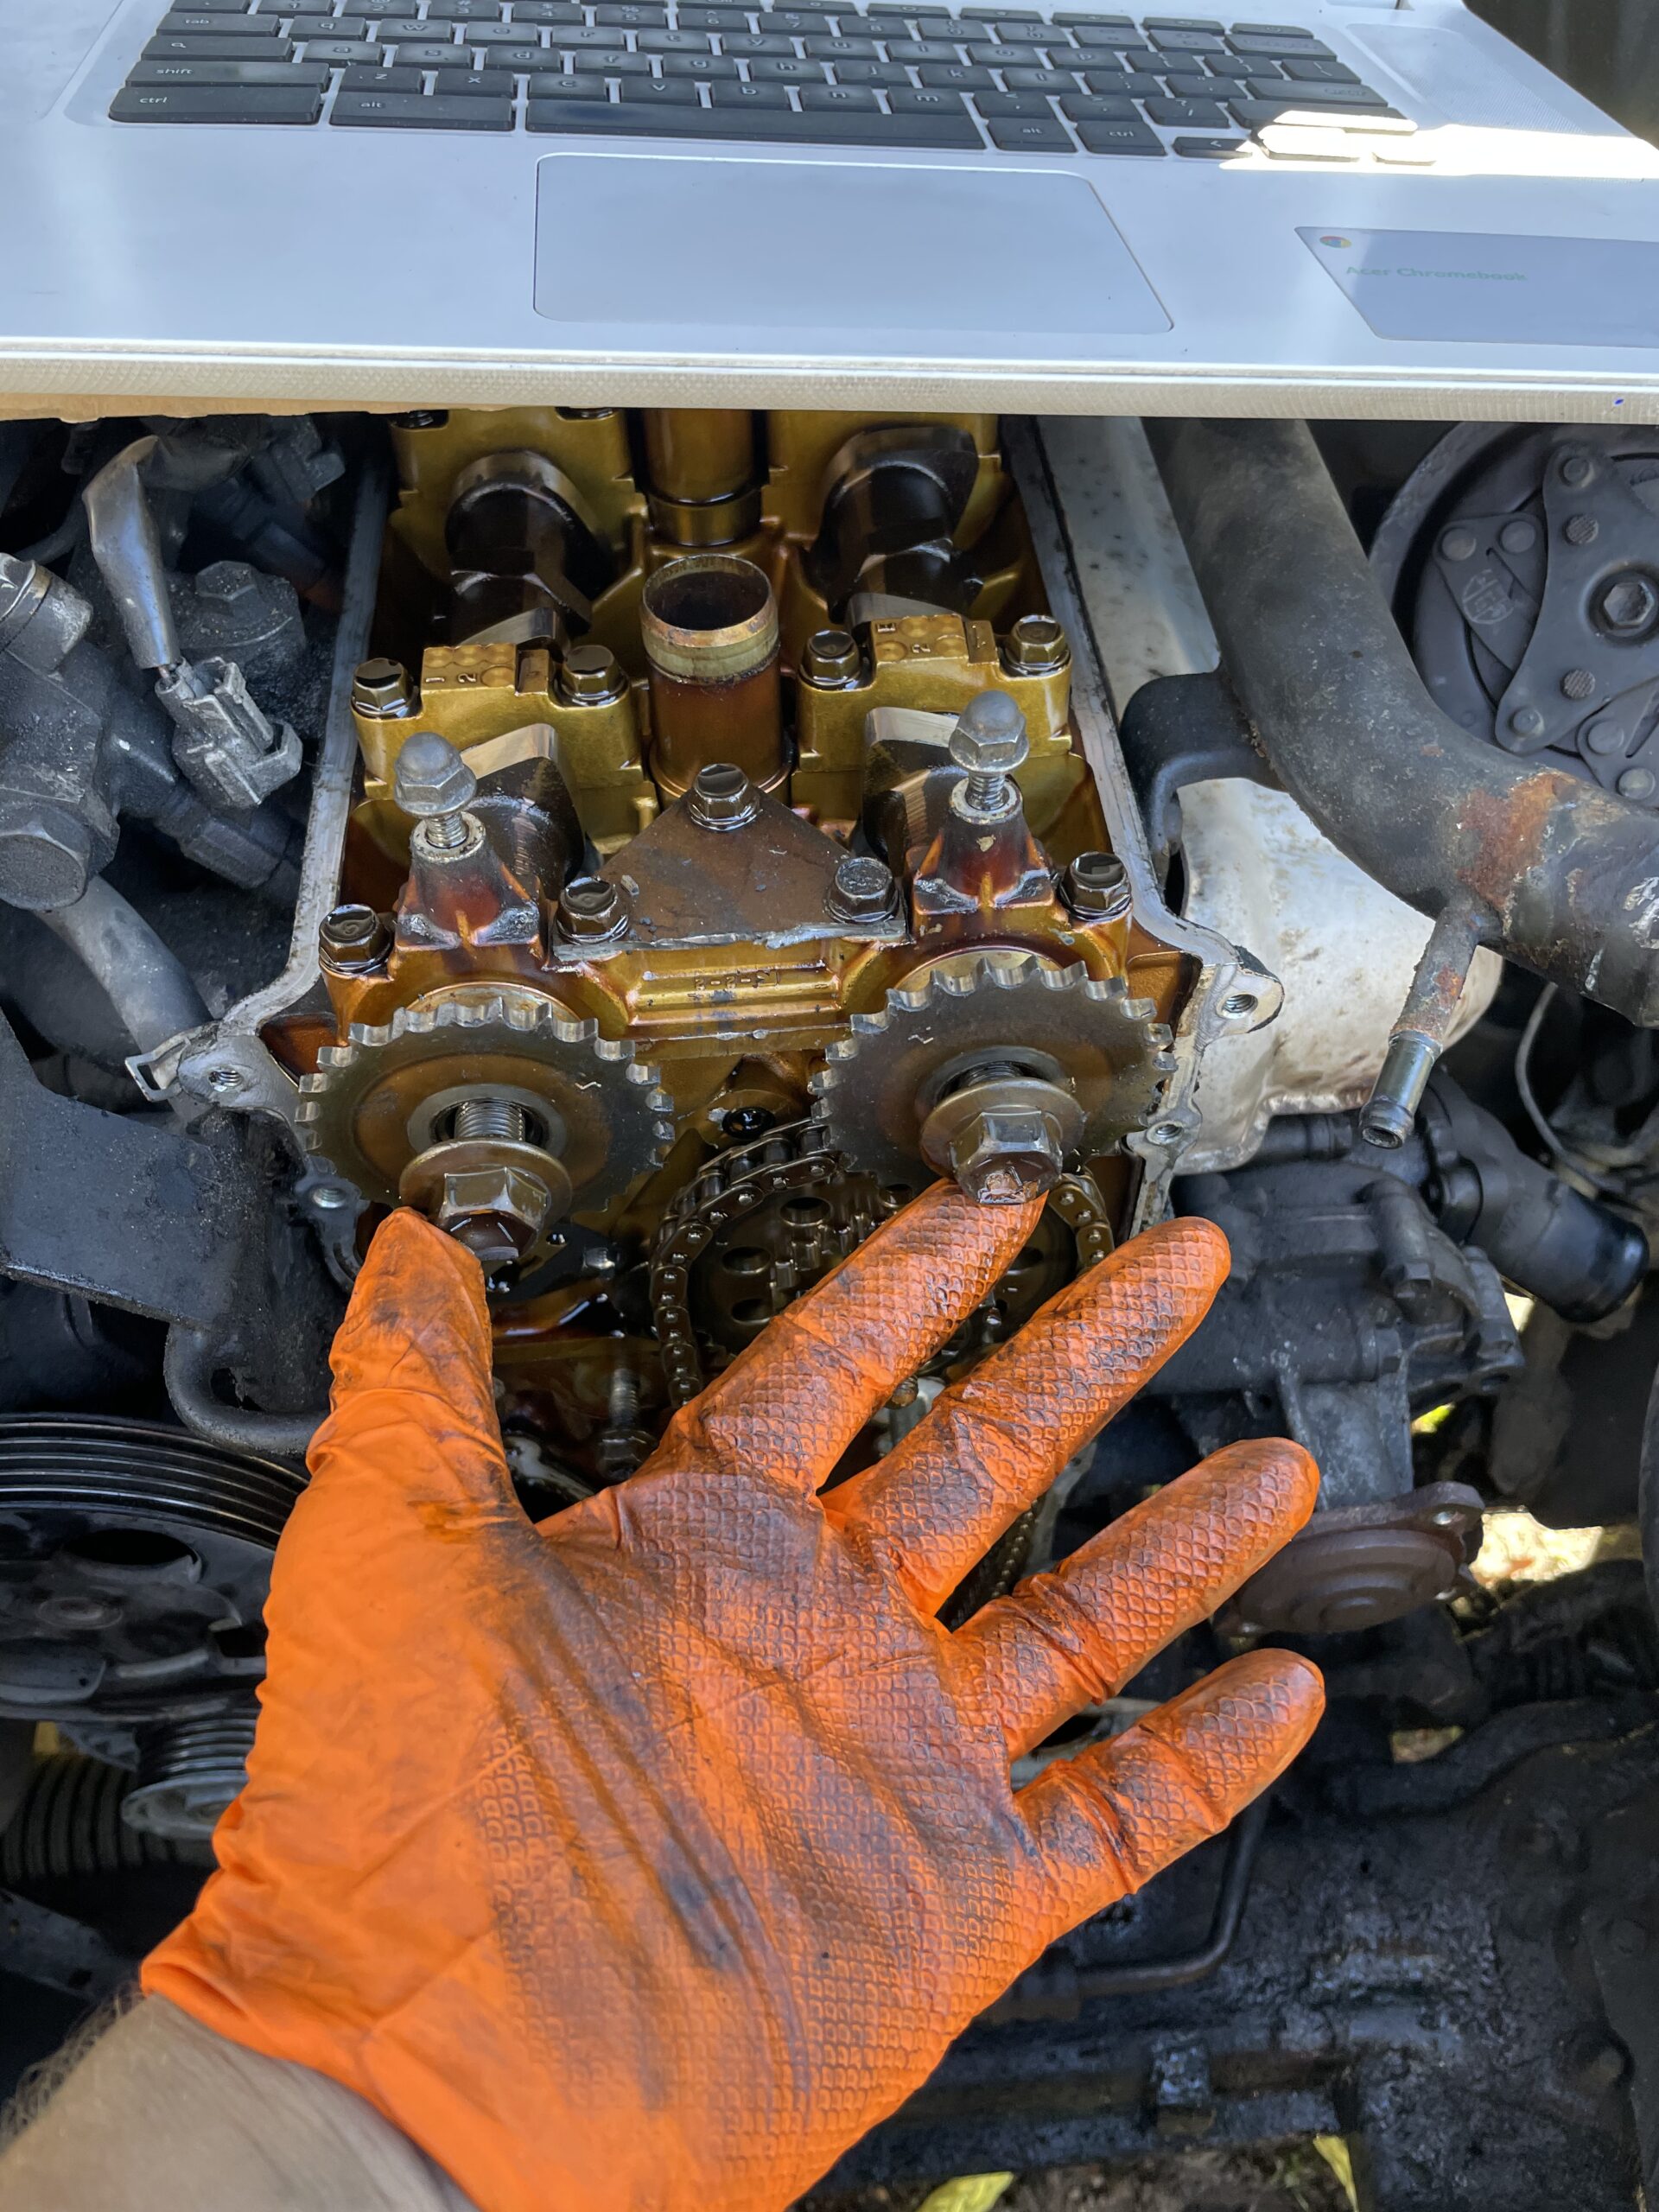
29: Remove the idler pulley and everything else. Wipe the gasket surfaces clean.
30: Lay all the old parts and new parts together side by side. This will give you a good comparison between old and new parts. Also you can confirm you have the right parts.
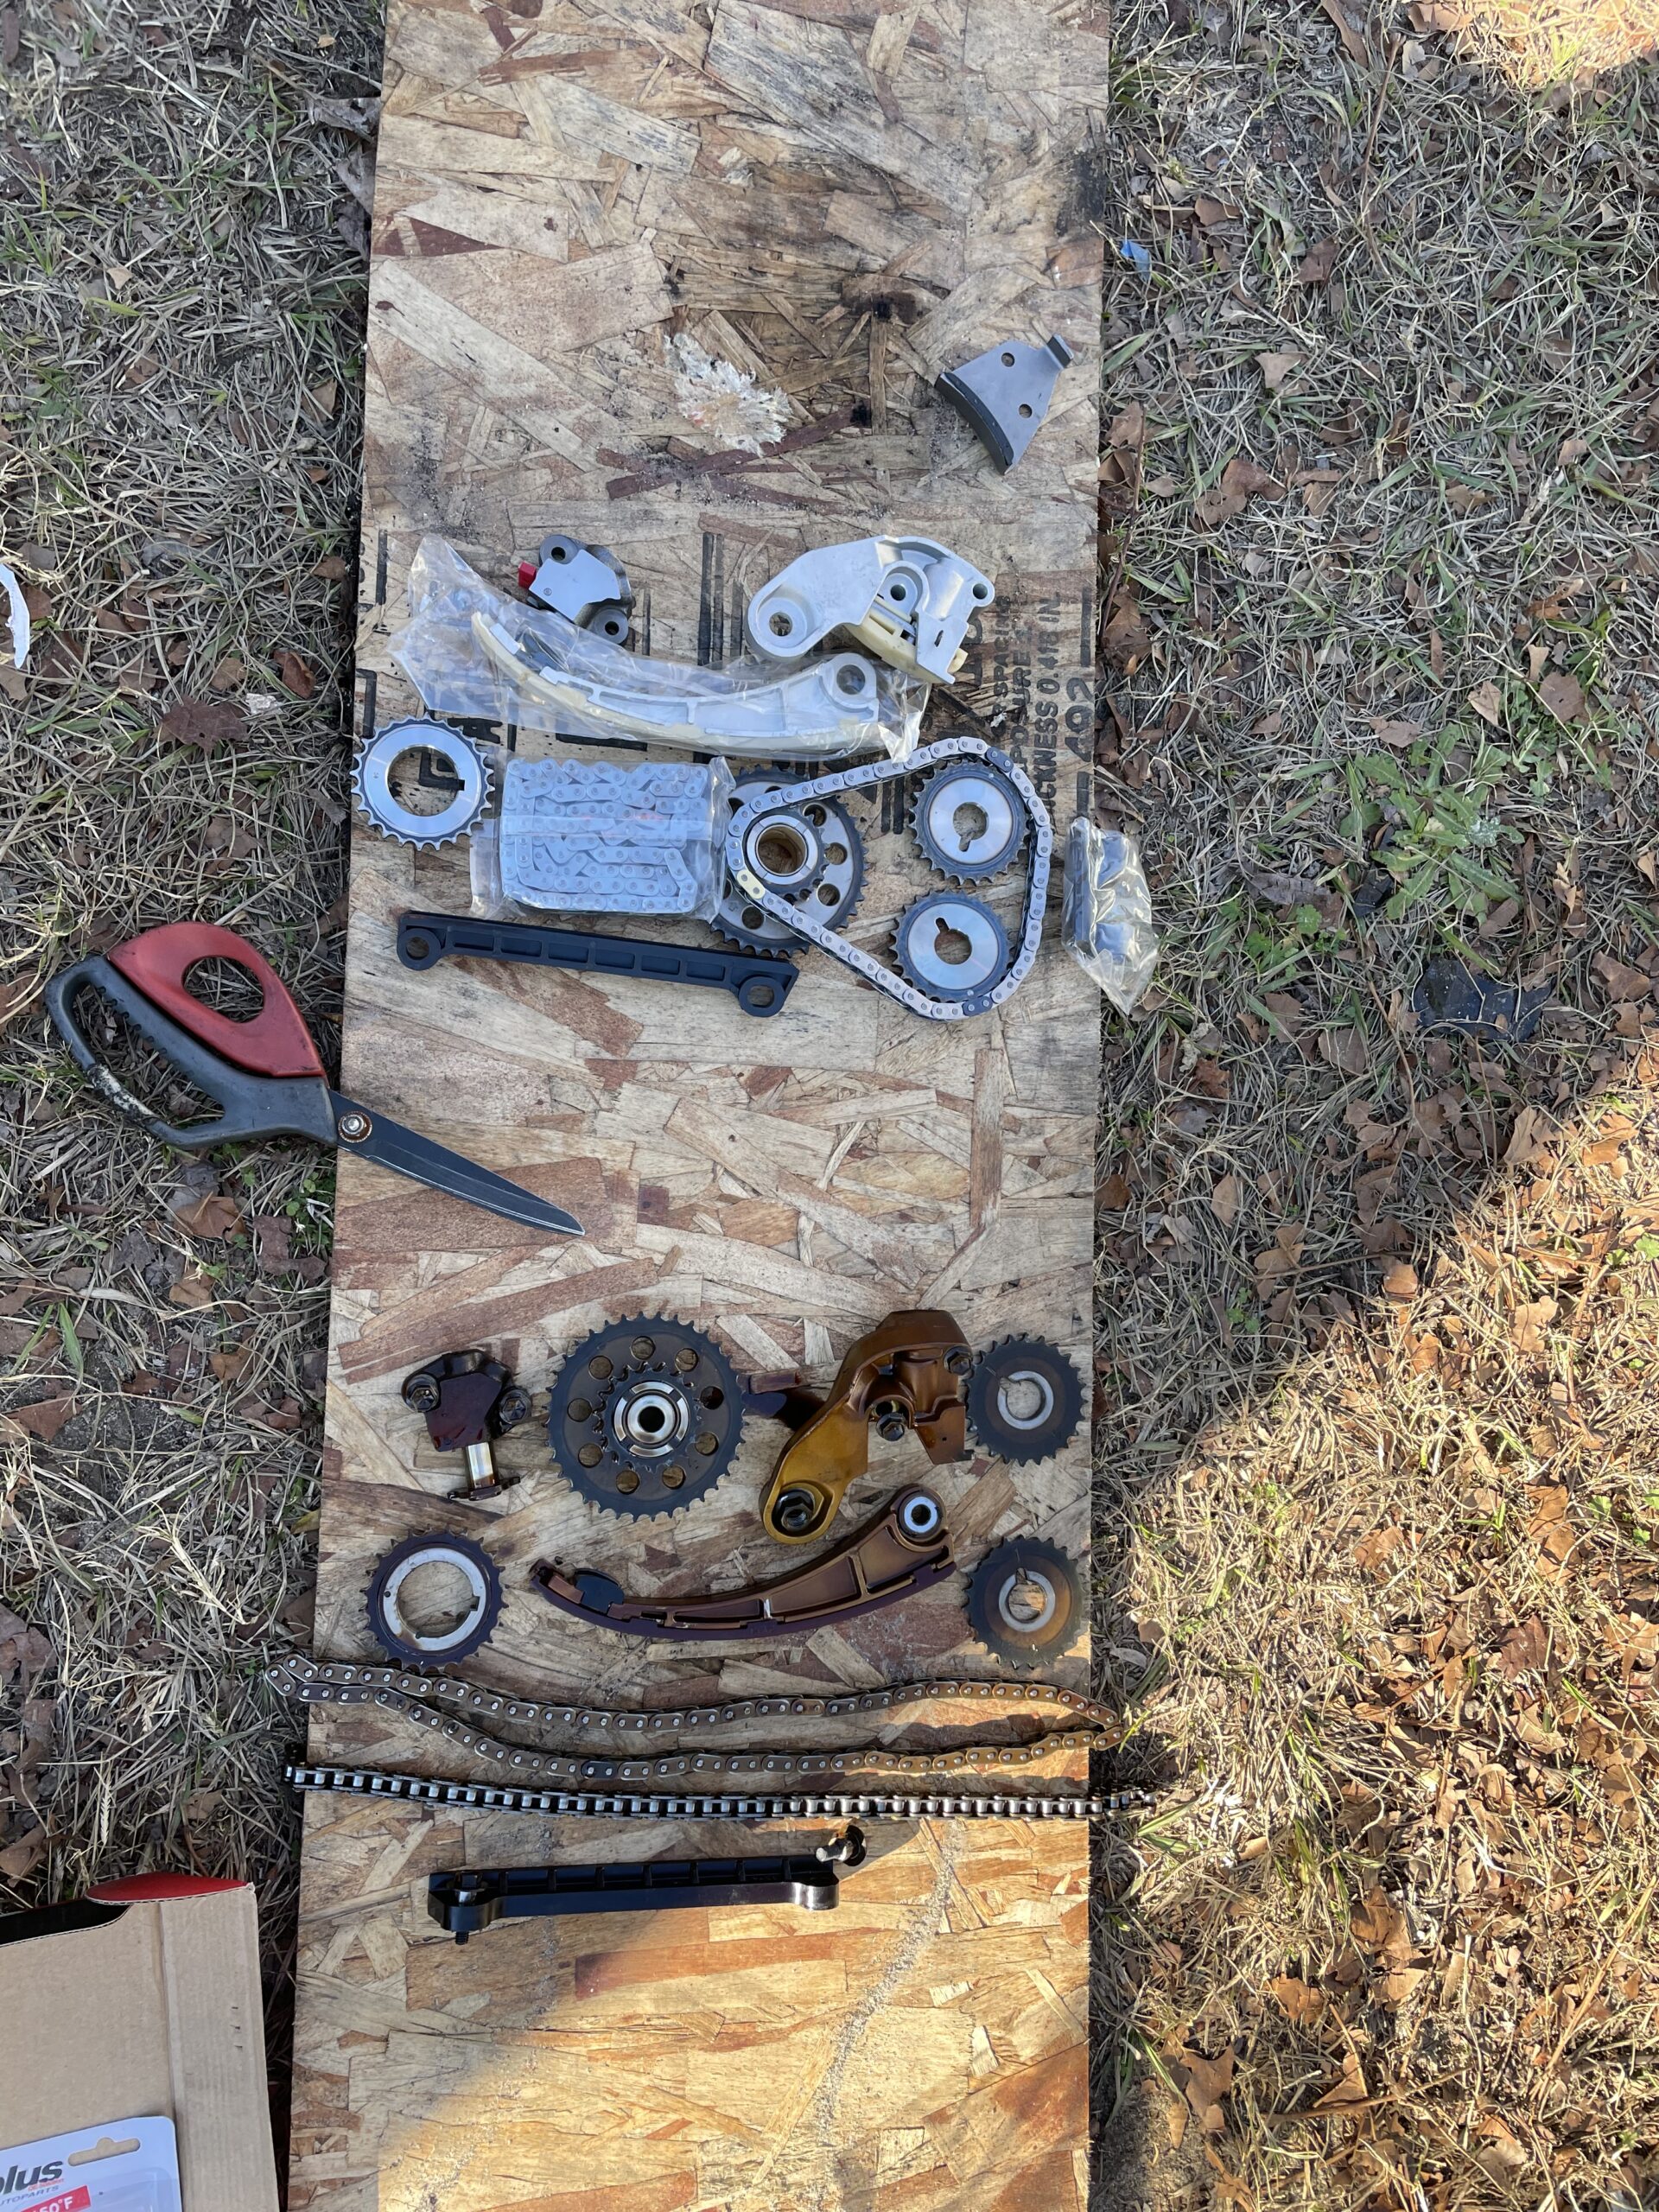
31: Clean the old timing chain cover. Don’t use any abrasive cleaning materials.

32: Install the lower crankshaft gear with the notch matching the notch on the block,
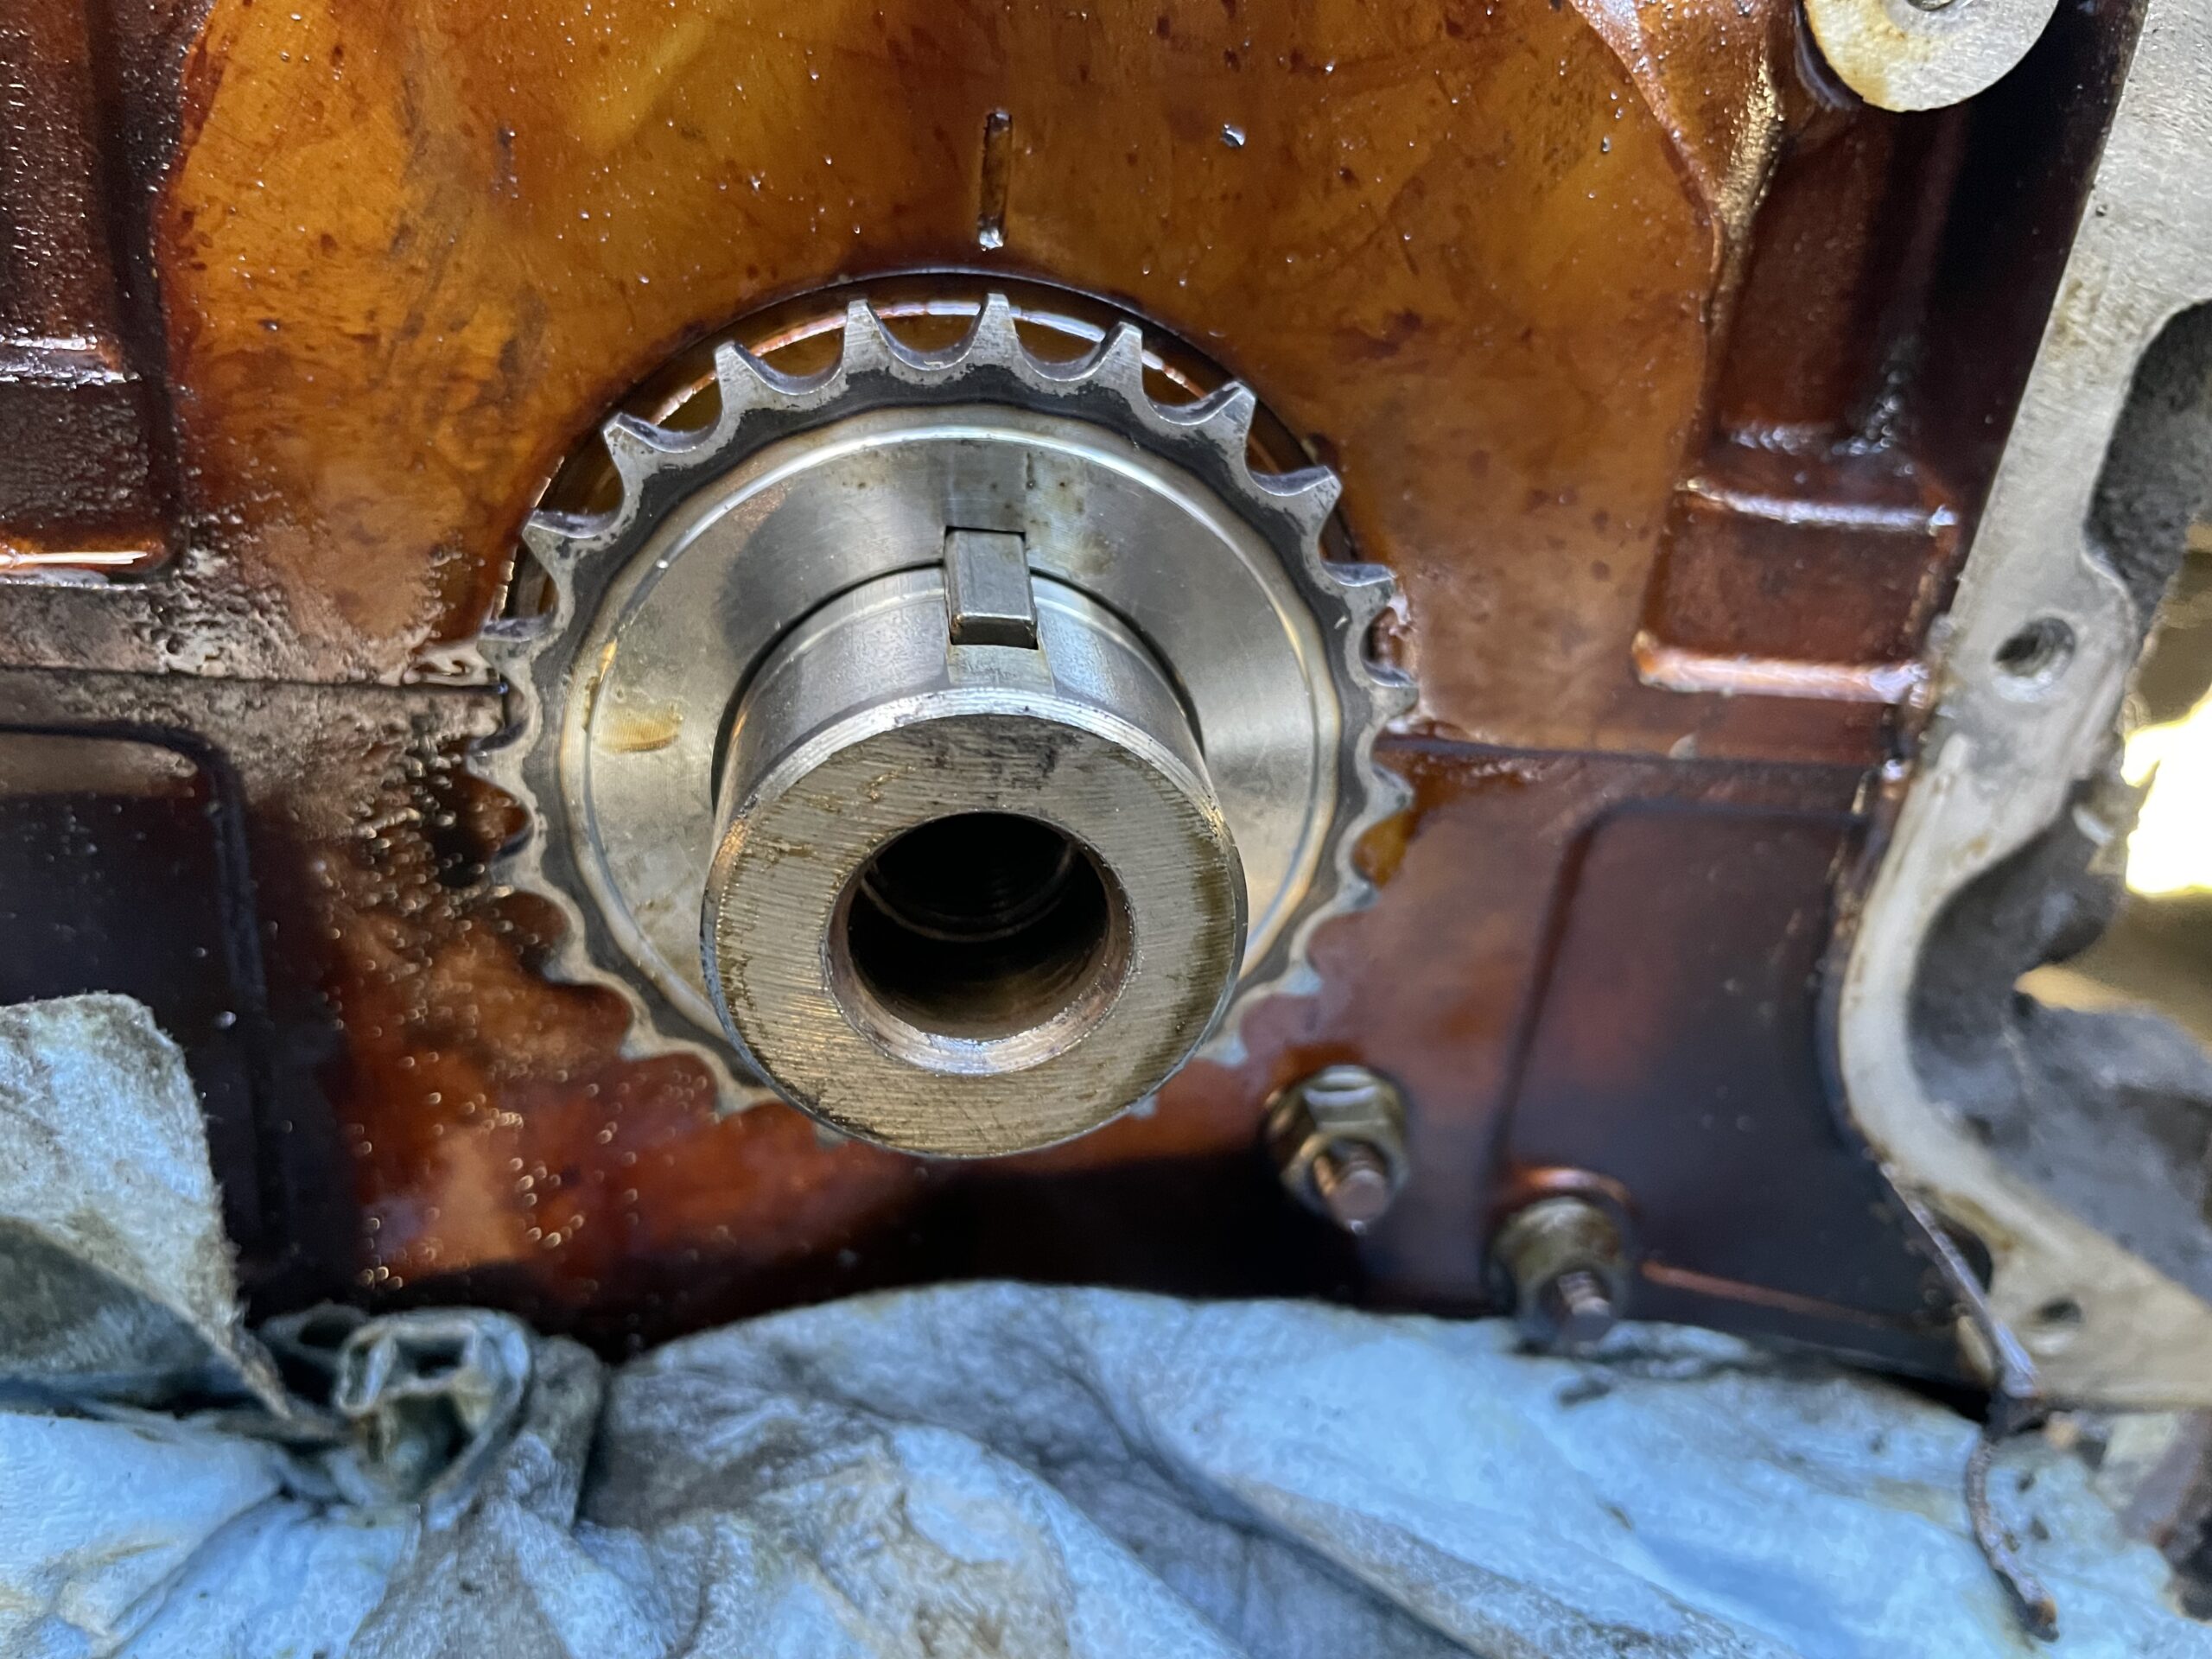
33: Install the idler pulley. Then match the blue link to the top of the idler pulley. Match the gold link to the BOTTOM of the crankshaft pulley.


34: After that your longer chain should look like this.

35: Install the chain tensioner guide.

36: Install the black plastic chain guide on the right side of the longer chain.

37: Using a big adjustable wrench, adjust the camshaft to line up the notches if needed. Our chain broke, but if your chain didn’t break and you set the top dead center you are probably fine just replacing the chain.

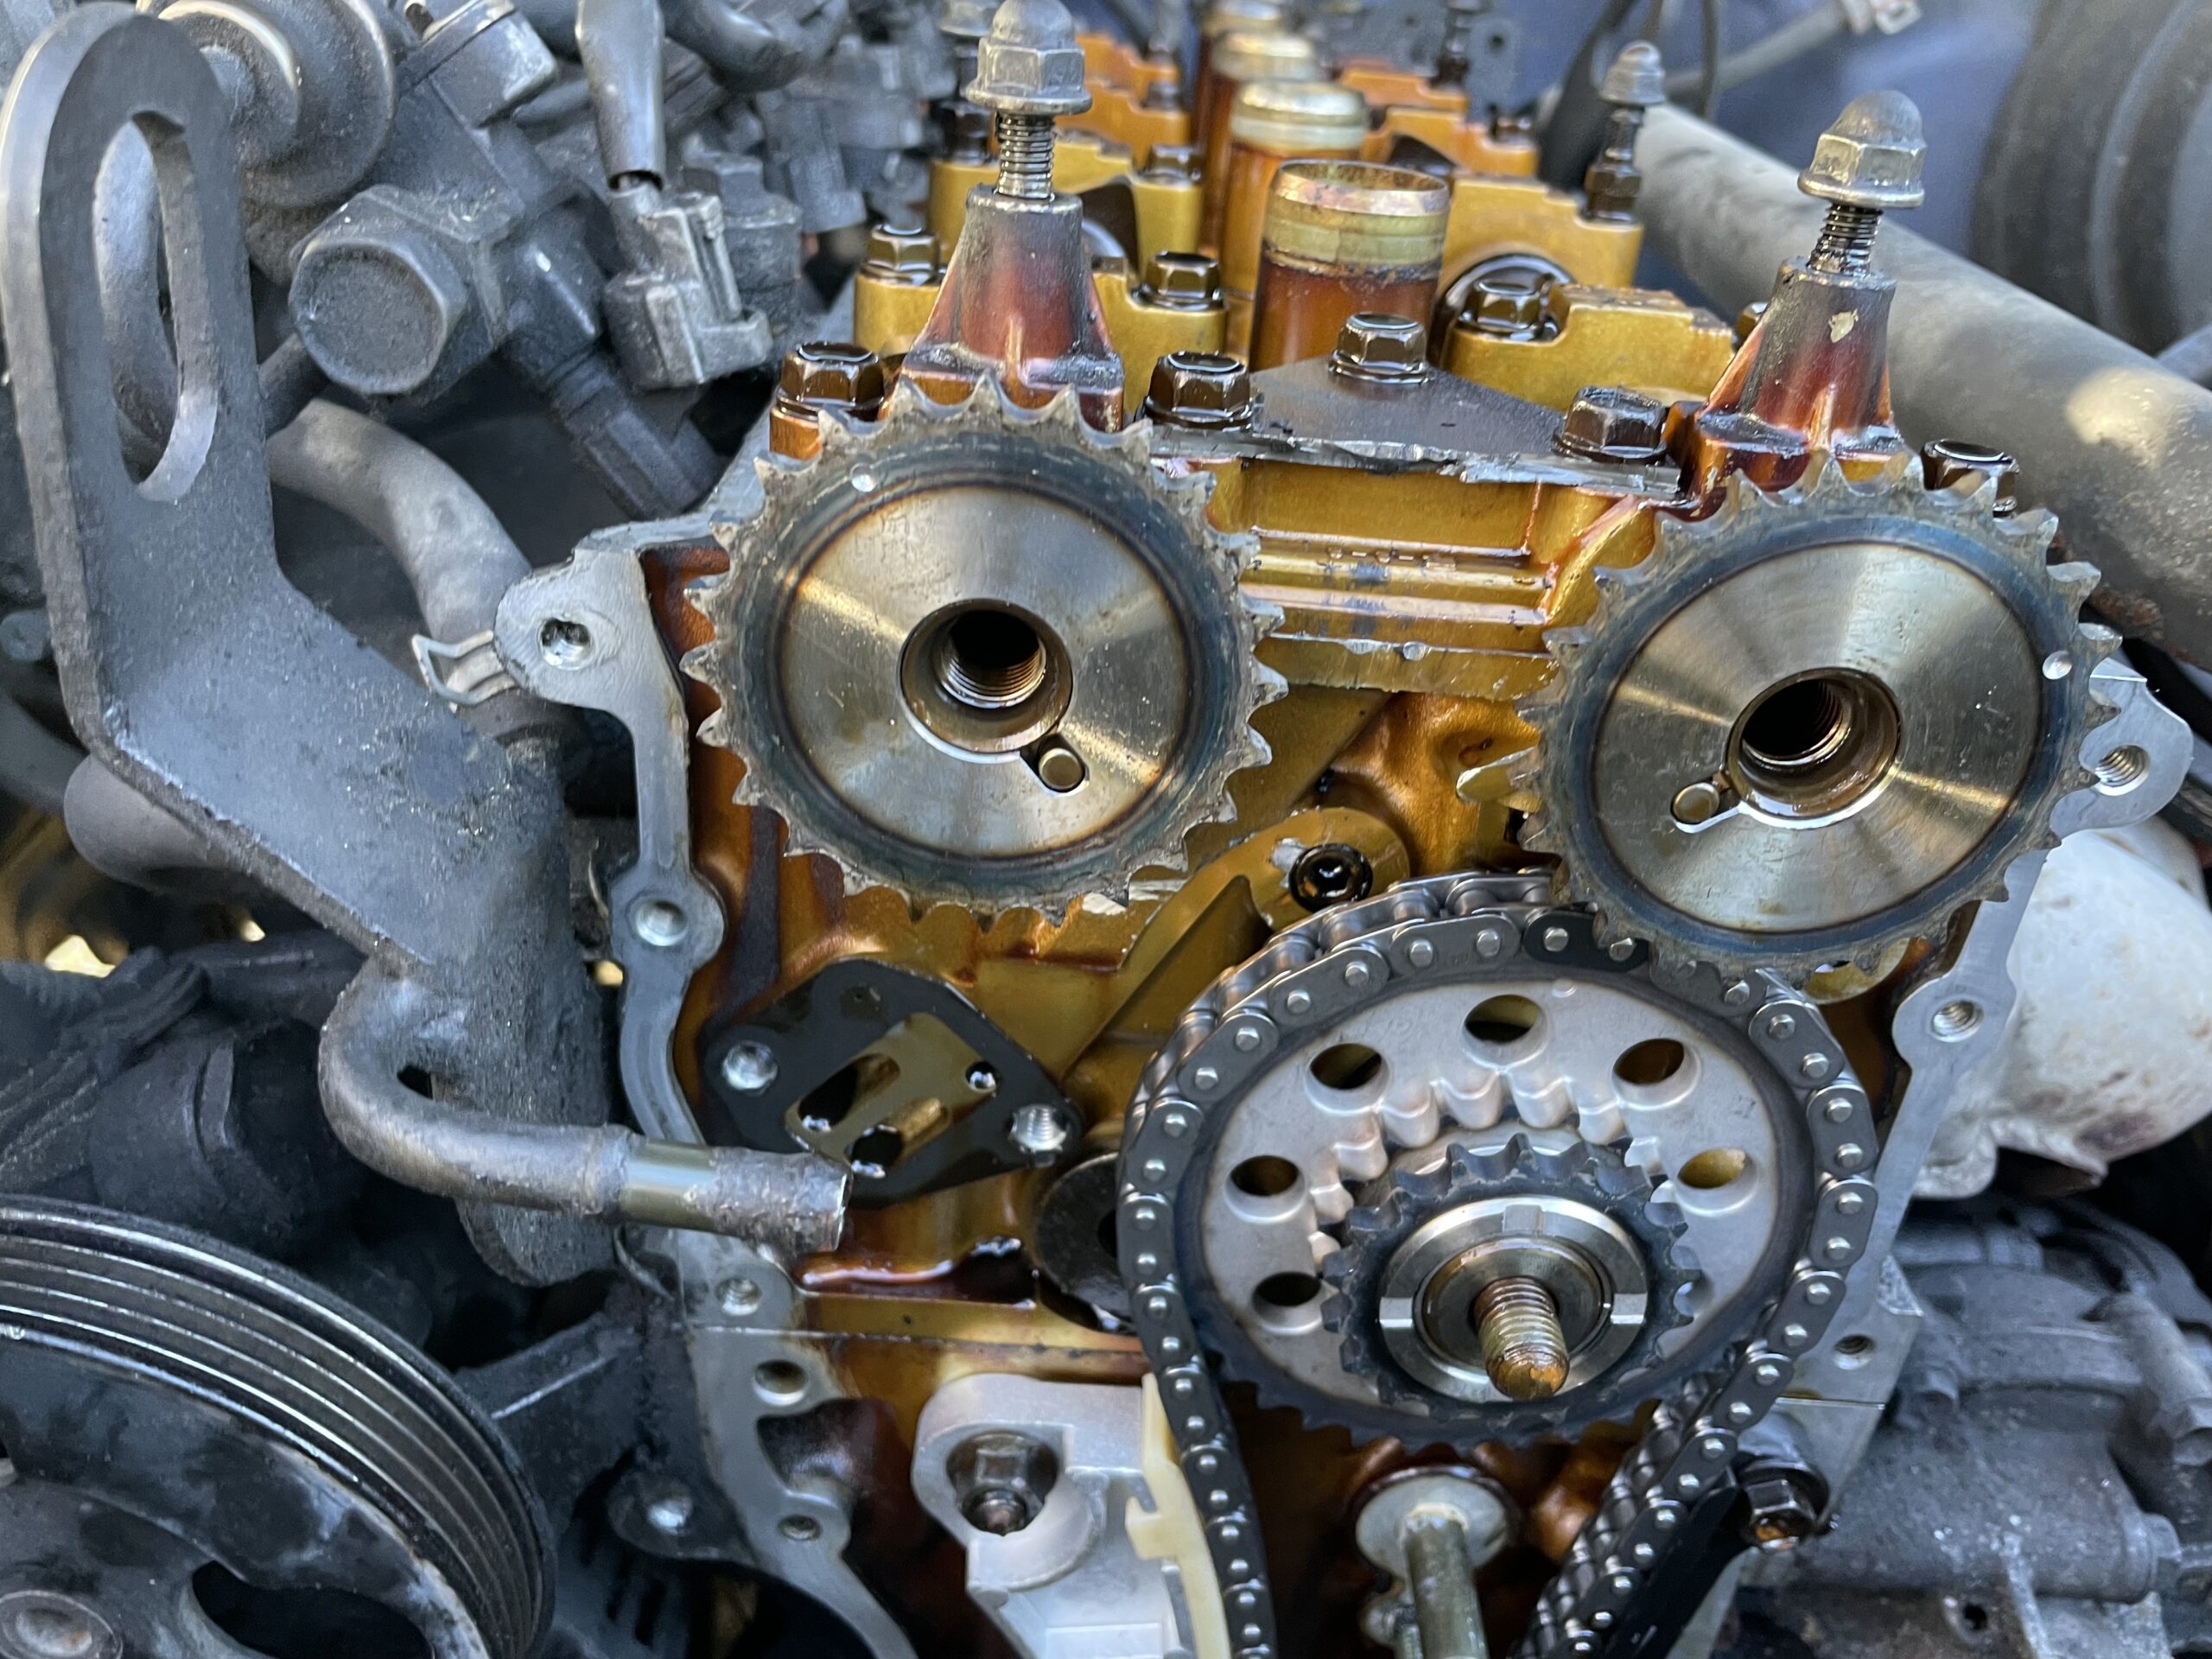
38: Install the camshaft chain. Make sure the blue links line up with the two notches on the camshaft gears. If you have done everything right so far The idler gear should have an arrow on the bottom that also lines up with a blue link on the chain. To install the camshaft chain easier, line up the chain on the right side gear with the gear already installed on the camshaft. With the gear on the left side line of the chain with the gear off of the cam shaft THEN slide it over the camshaft.

39: After that reinstall new camshaft tensioner. Then release pin holding the tension in. Make sure you pull the pin on the lower tensioner as well. After this step make sure all the timing chain components are fully tightened and ready for testing
40: Using a 19mm socket with long ratchet, and rotate the chain (crankshaft pulley) about 20 times to make sure everything is working properly.
41: Before you reinstall the timing chain cover, double check all your timing marks.
42: Add a new crankshaft gasket on the timing chain cover Add gasket maker to the timing chain cover. The reinstall all the 10mm bolts to the cover. do not forget about the 2-10mm bolts on the bottom.


FROM THIS POINT JUST FOLLOW THE STEPS IN REVERSE.
⚠ DISCLAIMER: While MMILM strives to make the information provided in this write up as accurate as possible, it makes no claims, promises, or guarantees about the accuracy, completeness or applicability of the content. No information contained in this write up shall create any expressed or implied warranty or guarantee of any particular result. All do-it-yourself projects entail some risk. It is the sole responsibility of the viewer to assume this risk. MMILM is not responsible or liable for any loss damage (including, but not limited to, actual, consequential, or punitive), liability, claim, or any other injury or cause related to or resulting from any information posted in this video.

